This post may contain affiliate links. Read my privacy policy.
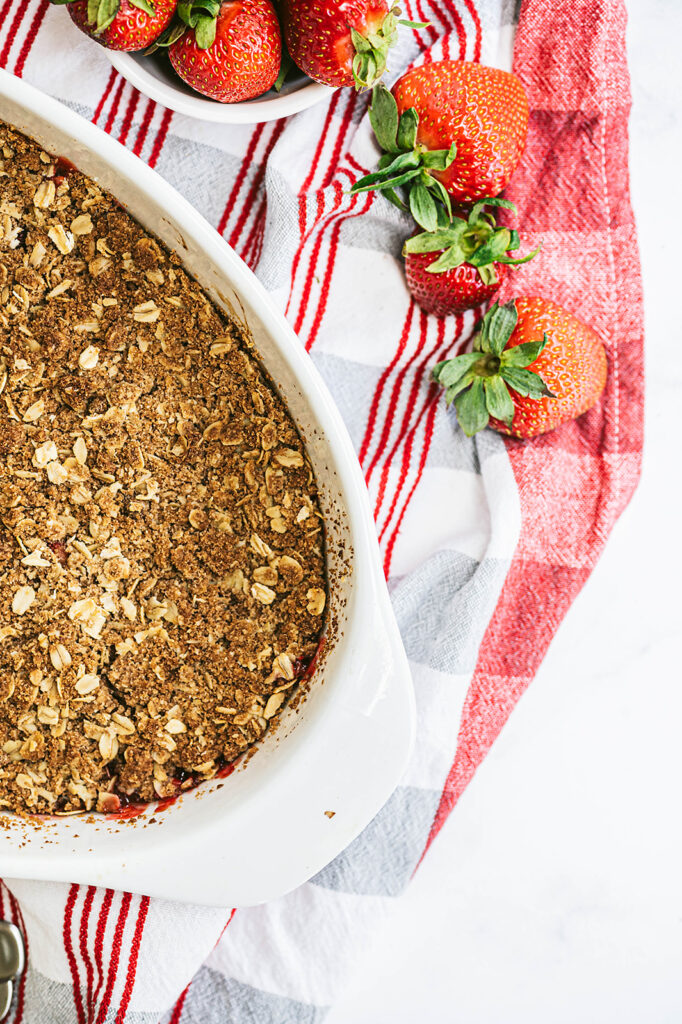
This Strawberry Rhubarb Crisp is an easy fruit dessert that can be made year-round and what makes it even better is the oat streusel topping!
Normally we see fruit desserts throughout the spring and summer seasons, but Strawberry Rhubarb crisp can truly be made any time of the year!
Both of these fruits are filled with antioxidants and packed full of vitamins and nutrients that have anti-inflammatory properties and have been shown to decrease risks of certain diseases.
Did you know that frozen fruit is just as healthy as fresh? Fruits are picked and frozen at peak ripeness, and studies show that they retain a comparable vitamin, mineral, and phytochemical content to their fresh counterparts.
If you love recipes that have a crisp topping, don’t leave before you check out my Almond Pear Crisp for Two!
Crisp, Cobbler, Crumble: What’s the Difference?
Sometimes these terms are used interchangeably but there is actually a difference! All of these types of recipes usually contain fruit, but it’s the topping that makes the difference!
A cobbler typically has a doughy, biscuit-like topping. When you think of cobblers you are probably thinking about your grandma’s traditional recipe that has been passed down for ages!
Crumbles are more like a streusel topping, but they don’t contain any oats.
If it’s a true crisp, it will definitely have oats in the topping!
What You Need to Make Strawberry Rhubarb Crisp with Streusel Topping
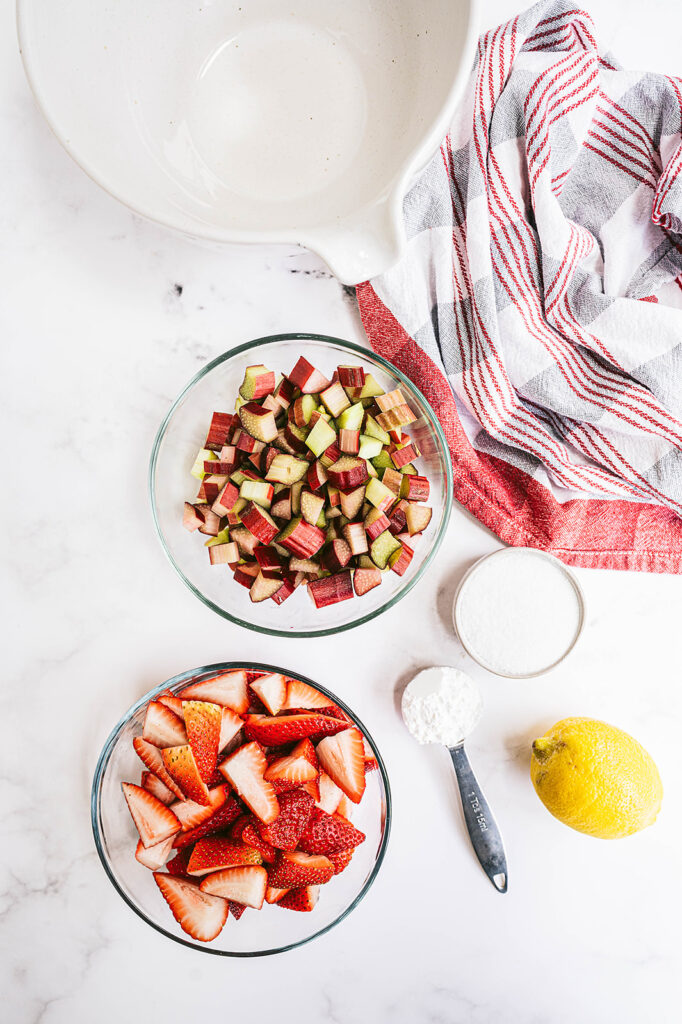
For the filling:
fresh strawberries
rhubarb
granulated sugar – you can also swap this for coconut or maple sugar
cornstarch
lemon juice
salt
For the topping:
light brown sugar
old-fashioned rolled oats – Bob’s Red Mill is a great option!
whole-wheat pastry flour
unsalted butter – be sure to set it out in time so it can soften up
How to Make a Crisp with Strawberries and Rhubarb
Go ahead and preheat your oven to 350 degrees and spray your baking dish with non-stick cooking spray.
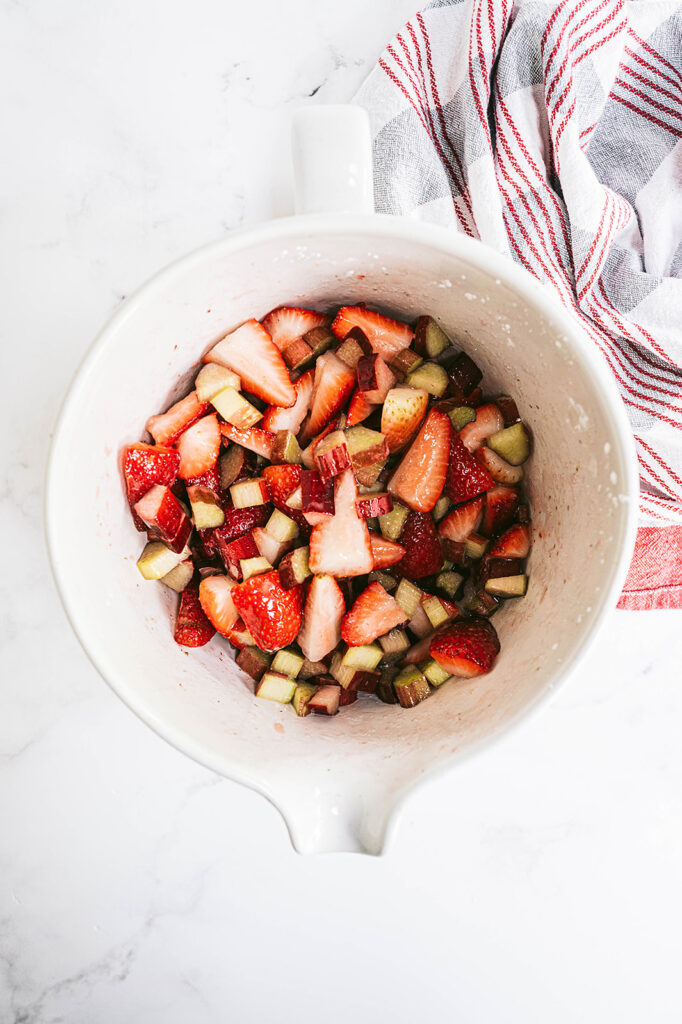
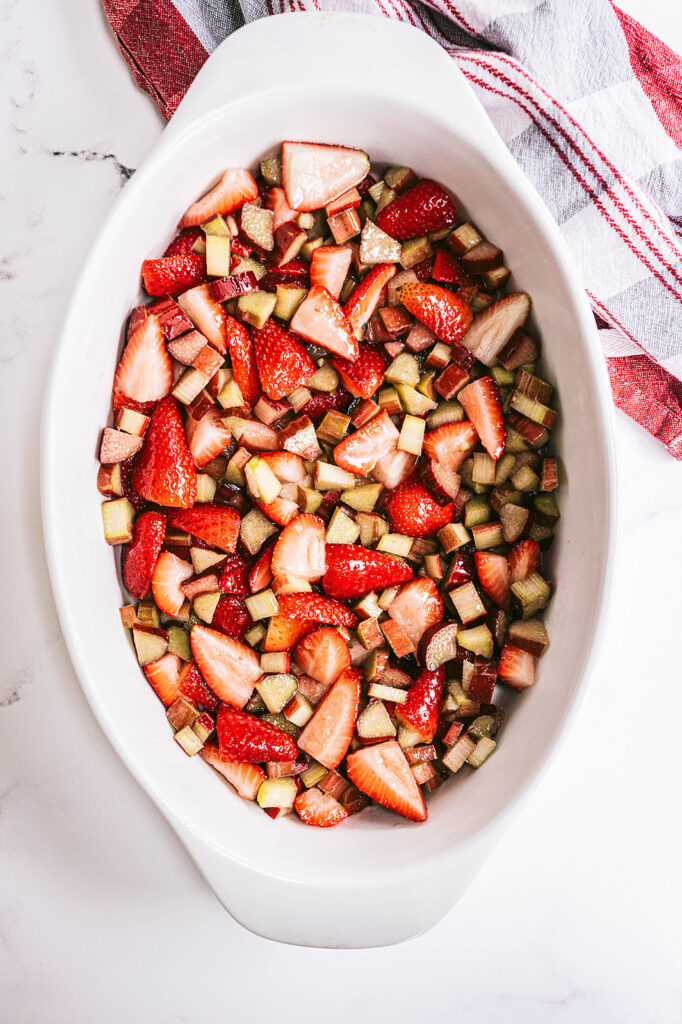
In a large mixing bowl, combine granulated sugar, lemon juice, cornstarch, strawberries, rhubarb, and salt. Stir together then transfer the mixture to your baking dish.
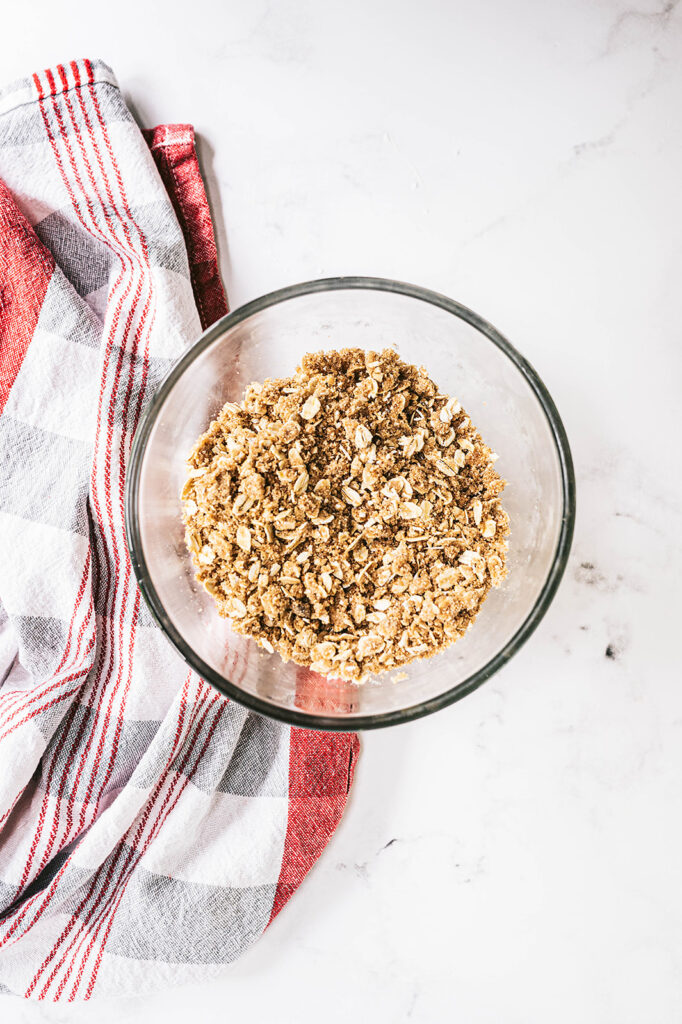
Now let’s make the streusel topping!
In a medium bowl, add the oats, flour, brown sugar, and 4 tablespoons of butter. Stir it all together until it’s combined well. Add additional butter ( one to two tablespoons) if it seems too dry.
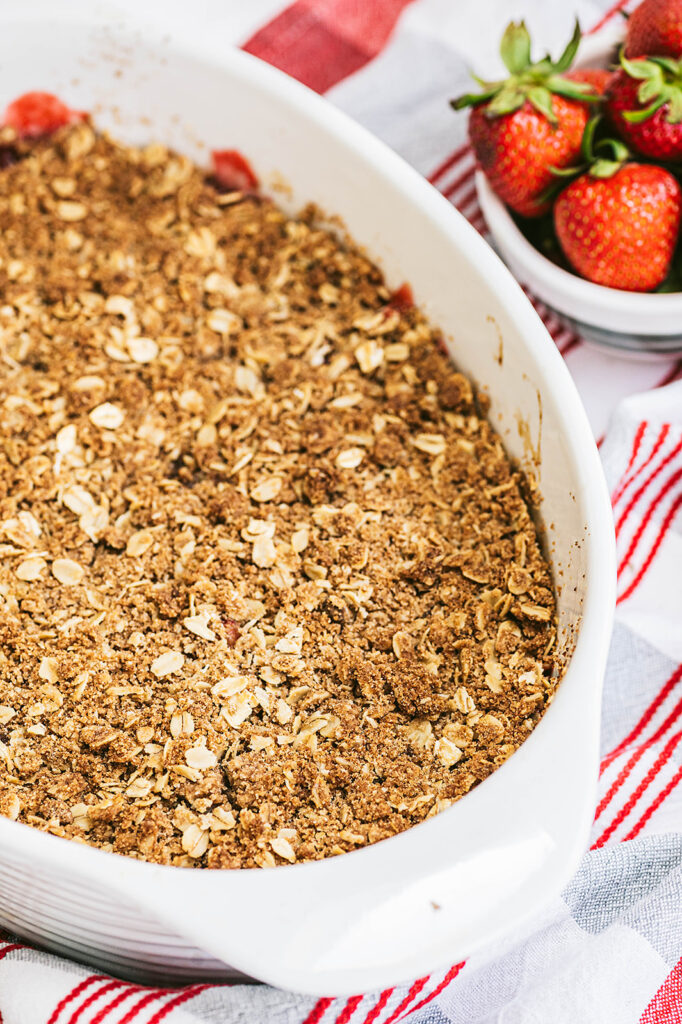
Crumble the topping over the mixture into a baking dish.
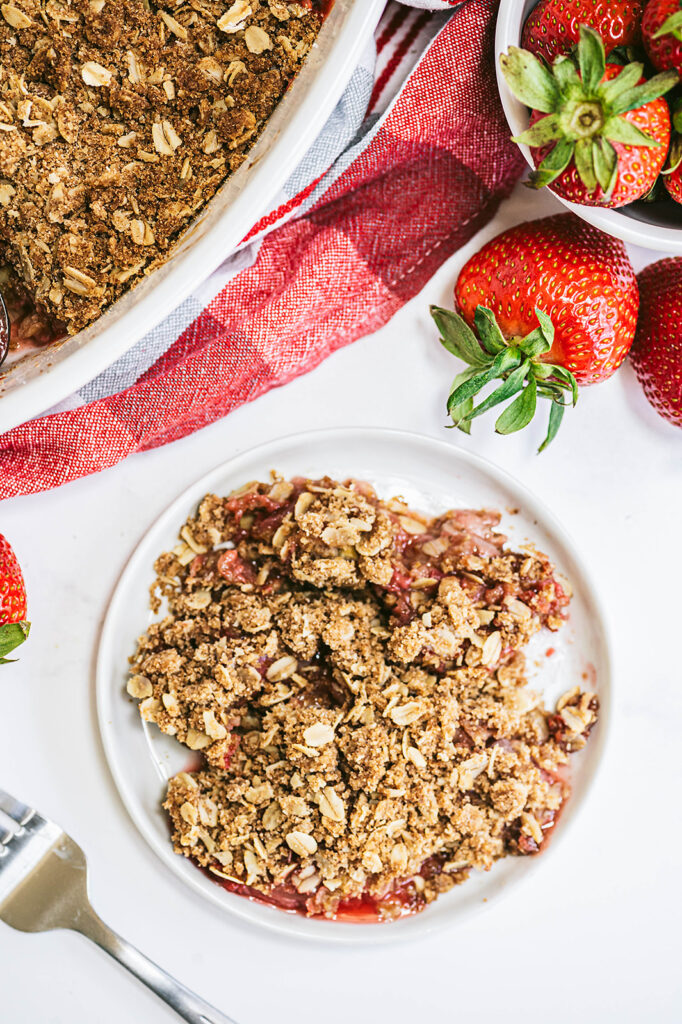
Bake until the top of the crisp is golden, which will take about 35 to 50 minutes.
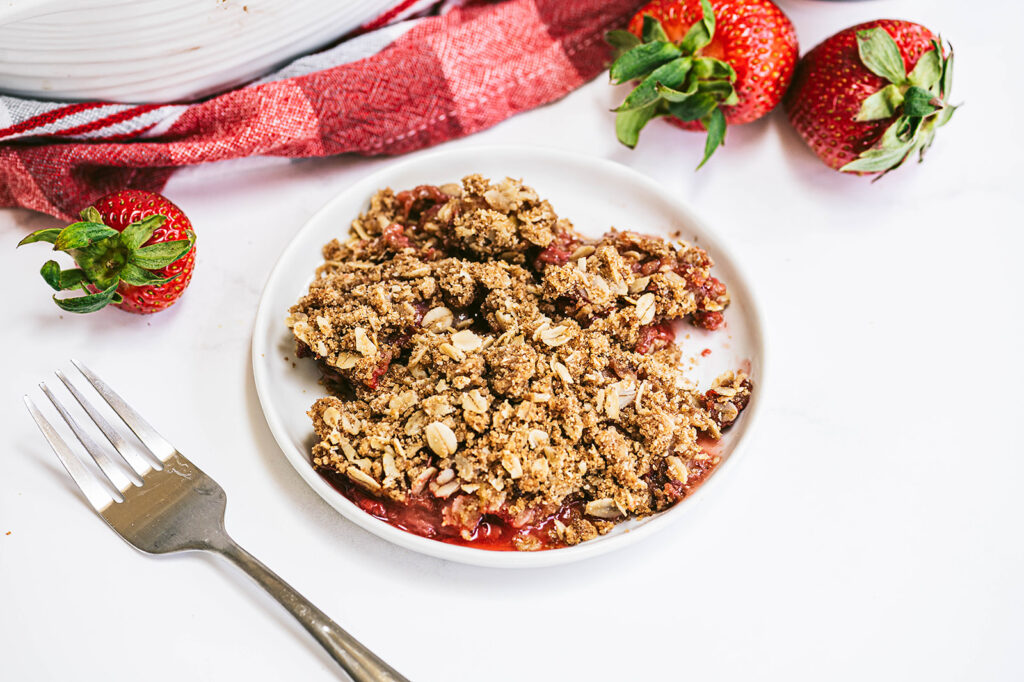
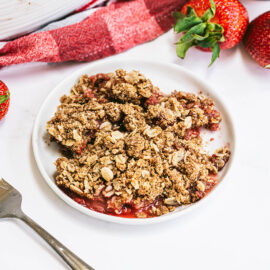
Once it has finished baking, let it cool on a wire rack before serving.
You can serve it warm or at room temperature!
What If I Don’t Have Whole Wheat Pastry Flour?
A nice substitute when you don’t have whole wheat pastry flour is a 1:1 ratio of all purpose flour and whole wheat flour.
Crisp Topping and Serving Suggestions
This strawberry rhubarb crisp is perfect just the way it is, but here are some great ideas for serving and other variations
- Serve with a scoop of your favorite vanilla ice cream
- Add a dollop of my Homemade Coconut Whipped Cream
- Sprinkle some nuts into the streusel topping for a nice crunch
Can This Recipe Be Made Vegan Friendly?
Sure! To make this crisp vegan, simply use a plant based butter!
Need a Gluten Free Option?
If you want to make the topping using gluten free ingredients, make sure the oats are gluten free and swap the pastry flour or almond flour instead!
Can You Use Frozen Strawberries and Rhubarb?
If you want to make this fruit crisp and you don’t have a chance to grab fresh strawberries and rhubarb, or maybe they are out of season you can use frozen instead.
Be sure that the fruit is thawed completely and drained so that the crisp does not come out soggy from the excess liquid.
Strawberry Rhubarb Crisp with Streusel Topping
- Prep Time: 15
- Cook Time: 40
- Total Time: 55 minutes
- Yield: 6
- Category: dessert
- Method: bake
Description
This Strawberry Rhubarb Crisp is an easy fruit dessert that can be made year round and what makes it even better is the oat streusel topping!
Ingredients
For the filling:
3 cups quartered fresh strawberries
3 cups sliced fresh rhubarb or thawed frozen rhubarb*
¼ cup granulated sugar
1 tablespoon cornstarch
1 tablespoon lemon juice
¼ teaspoon salt
For the topping:
½ cup lightly packed light brown sugar
½ cup old-fashioned rolled oats
⅓ cup whole-wheat pastry flour
4–6 tablespoons unsalted butter, softened
Instructions
- Preheat the oven to 350 degrees F. Coat an 11-by-7-inch baking dish with cooking spray.
- In a large bowl, combine strawberries, rhubarb, granulated sugar, cornstarch, lemon juice, and salt, transfer to the prepared baking dish.
- To prepare topping: Combine brown sugar, oats, flour, and butter (starting with 4 tablespoons of butter) in a medium bowl; stir until thoroughly combined. If mixture seems to dry, add additional 1-2 tablespoons of butter. Crumble the topping evenly over the strawberry-rhubarb mixture.
- Bake the crisp until the topping is golden, 35 to 40 minutes. Cool on a wire rack for 5 minutes; serve warm or at room temperature.
Notes
- If using frozen rhubarb or strawberries, thaw then be sure to drain any excess liquid.
Keywords: crisp, strawberry, rhubarb, summer dessert, dessert