Chipotle Lime Shrimp Tacos with Creamy Avocado Broccoli Slaw

Get dinner on the table under 30 minutes! These Chipotle Lime Shrimp Tacos with a Creamy Avocado Broccoli Slaw is simple to make and you might already have all the ingredients already on hand!

The beauty of tacos is that they are easily customizable. Kick it up a notch and add more spices to the shrimp. Swap shrimp for cod. What I love about taco recipes is that they act more as a guide. You don’t need to follow them exactly. That is what’s fun about cooking, you get to be creative in the kitchen!
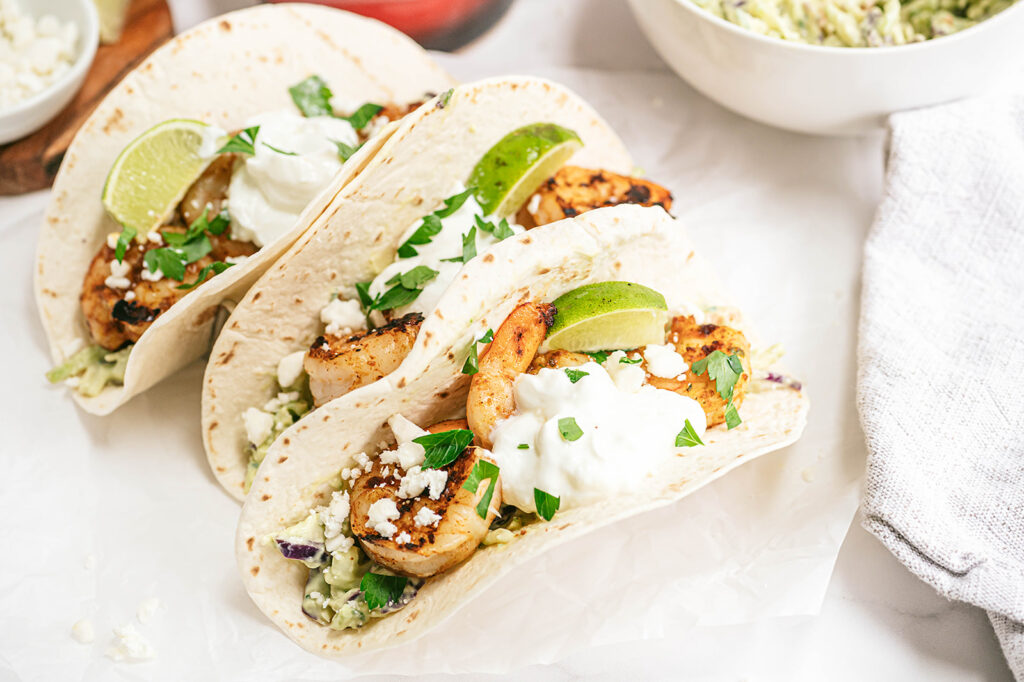
Chipotle Lime Shrimp Tacos with Creamy Avocado Broccoli Slaw on a white linen napkin
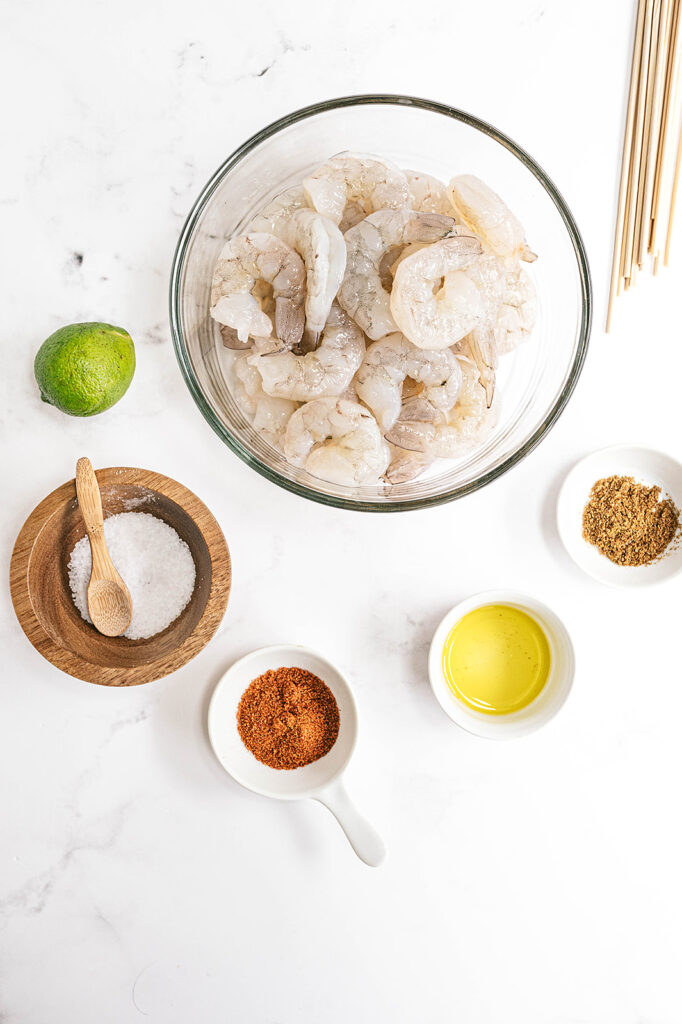
raw shrimp in a glass bowl with marinade ingredients

How to make Chipotle Lime Shrimp Tacos with Creamy Avocado Broccoli Slaw

Ingredients

  • Shrimp. I prefer using large or jumbo shrimp. Cut down on prep time by purchasing already peeled and deveined shrimp.
  • Olive oil. Olive oil or any neutral oil works.
  • Lime. The title of the recipe is lime tacos .. so ya know .. lime is needed here.
  • Chipotle seasoning blend. Take out the guess work and use a blend. The blend I used was a combo of: Sweet Chili Pepper, Chipotle Chili Pepper, Cayenne Pepper, Oregano, Cumin, Parsley, Mustard, Garlic, Onion, Carrot, Sugar, Citric Acid, Orange Peel, Lemon Peel, Oil Of Lemon & Lime.
  • Ground cumin. To add a warm, earthy flavor and aroma with a bit of both sweetness and bitterness.
  • Salt. To enhance the flavors!
  • Broccoli slaw mix. Cut down on prep time and use a slaw mix which is typically a mixture of shredded broccoli stalks with julienned carrots and a bit of purple cabbage. It can be purchased at almost any grocery store along with the bagged salads.
  • Scallions.
  • Plain yogurt. I used this in place of sour cream. Yogurt will add the same tanginess and creaminess needed for the slaw.
  • Avocado. Your avocado still hard as a rock? Place it in a brown paper bag with a banana overnight. The banana will ripen faster giving off ethylene gas in a closed space to help ripen the avocado faster.
  • Cilantro. Don’t go crazy picking off each individual leaf. The stems pack in a ton of flavor too!
  • Tortillas. Use flour or corn tortilla – whatever you like best!
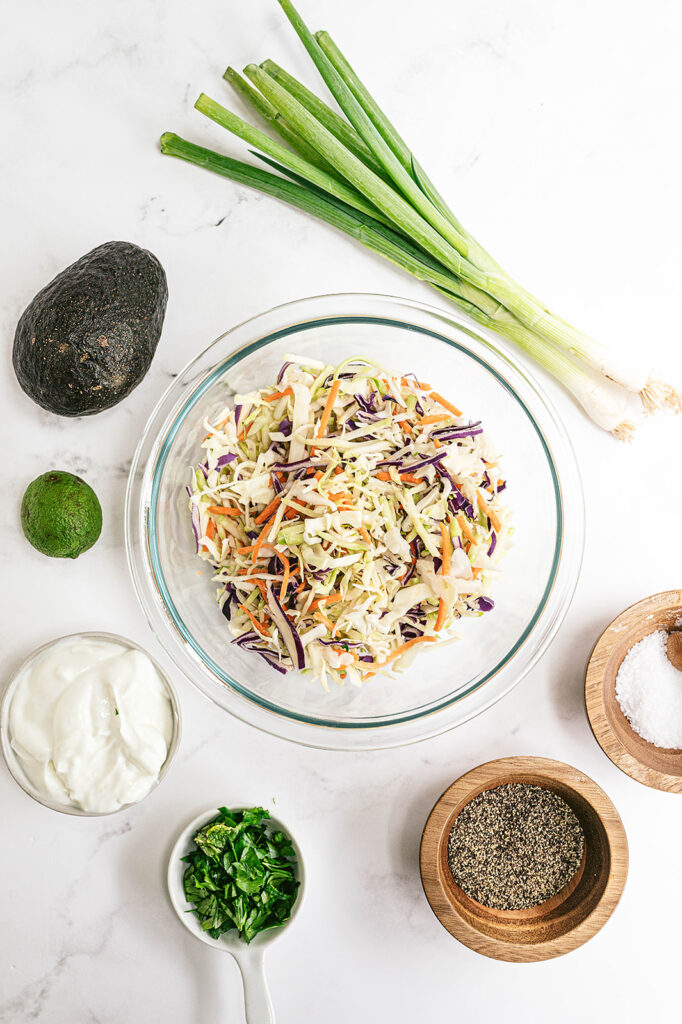
broccoli slaw in a glass bowl with scallions, avocado, lime, yogurt, cilantro, black pepper, salt surrounding the bowl on a marble platter

Equipment

  • Large mixing bowls for both marinating the shrimp and mixing the broccoli slaw.
  • A microplane is needed to zest the lime.
  • A food processor or blender helps make the avocado yogurt mixture creamy, but it’s not needed. Use a potato masher to mash to desired consistency.
  • A grill or grill pan to cook the shrimp and give it a smokier flavor.
  • Wooden skewers will help to easily flip the shrimp as it cooks.
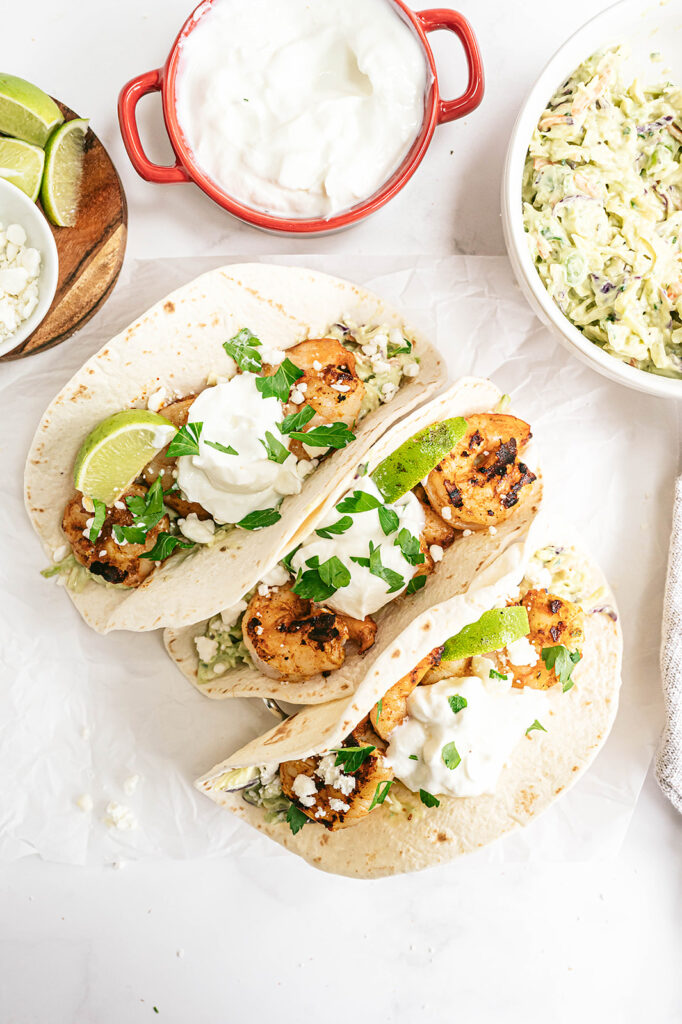
three shrimp tacos in flour tortillas garnished with yogurt and cilantro

Step-by-Step Instructions

  1. Rinse and pat the shrimp dry. Transfer to a large mixing bowl. Drizzle with olive oil and lime juice. Sprinkle with the lime zest, chipotle seasoning, cumin, and salt. Toss to coat evenly. Cover in place in the refrigerator to marinate for at least 20 minutes. Soak skewers in water as the shrimp marinades.
  2. In a bowl, combine the broccoli slaw and scallions. In a food processor, combine the yogurt, avocado, cilantro, lime juice, and zest. Pour over the slaw and toss to combine. Season with salt and pepper, to taste.
  3. Heat a grill (or grill pan) to medium-high heat. Place the shrimp on the skewers and grill until shrimp turn pink, about 1-2 minutes per side. (Alternatively, heat a large skillet over medium high heat. Add the shrimp to the hot pan and sauté, flipping occasionally, until the shrimp are cooked through.)
  4. Assemble tacos by layering the broccoli slaw, shrimp, then toppings in the tortilla.

Cooking Tips

A general rule of thumb for marinades is needing approximately 1/4 to 1/2 cup of marinade for every pound of protein. Always marinate in the refrigerator, not at room temperature Before cooking, remove the protein from marinade and pat dry with a paper towel to promote even browning and prevent steaming
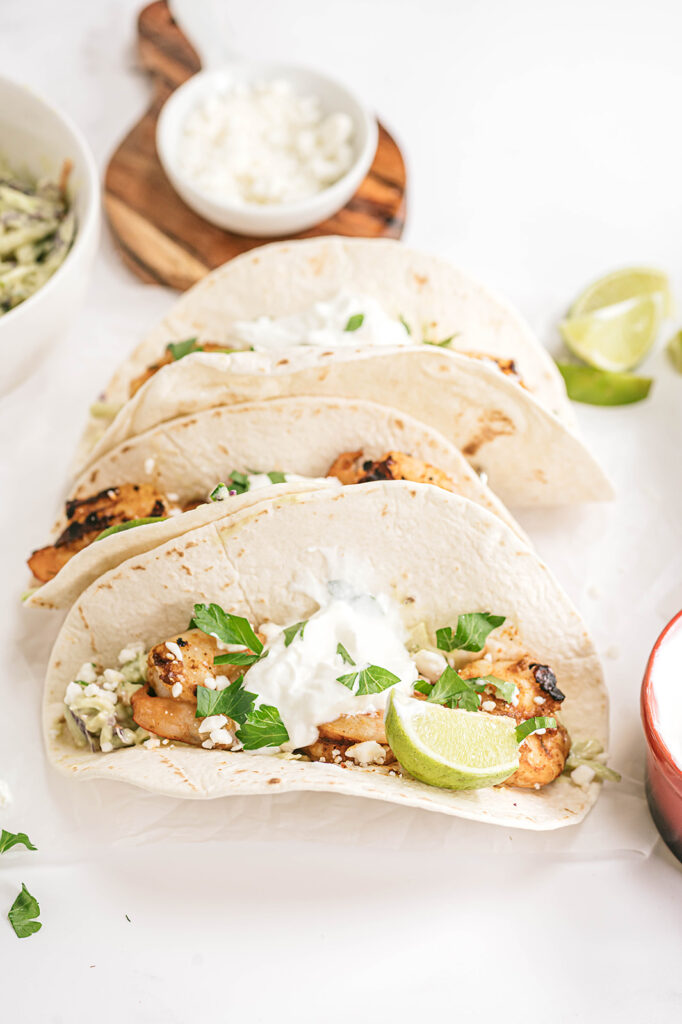
opened shrimp taco
Print
clock clock iconcutlery cutlery iconflag flag iconfolder folder iconinstagram instagram iconpinterest pinterest iconfacebook facebook iconprint print iconsquares squares iconheart heart iconheart solid heart solid icon

Chipotle Lime Shrimp Tacos with Creamy Avocado Broccoli Slaw

  • Author: Chef Julie Harrington, RD
  • Prep Time: 20
  • Cook Time: 5
  • Total Time: 25 minutes
  • Yield: 4

Ingredients

Scale

For the shrimp:
1 pound large or jumbo shrimp, peeled, deveined, and tails removed (fresh or frozen and thawed)
1 teaspoon olive oil
1 lime, juiced and zested
1 teaspoon chipotle seasoning blend
½ teaspoon ground cumin
½ teaspoon salt
Wooden skewers

For the broccoli slaw:
2 cups broccoli slaw mix
2 tablespoons scallions, thinly sliced
½ cup plain yogurt
1 avocado
1/4 cup fresh cilantro, chopped
1 lime, juiced and zested
Salt and pepper, to taste

For the tacos:
8 small flour or corn tortillas
Optional toppings: Cotija cheese, sour cream, cilantro, sliced avocado, lime wedges


Instructions

  1. Rinse and pat the shrimp dry. Transfer to a large mixing bowl. Drizzle with olive oil and lime juice. Sprinkle with the lime zest, chipotle seasoning, cumin, and salt. Toss to coat evenly. Cover in place in the refrigerator to marinate for at least 20 minutes. Soak skewers in water as the shrimp marinades.
  2. In a bowl, combine the broccoli slaw and scallions. In a food processor, combine the yogurt, avocado, cilantro, lime juice, and zest. Pour over the slaw and toss to combine. Season with salt and pepper, to taste.
  3. Heat a grill (or grill pan) to medium-high heat. Place the shrimp on the skewers and grill until shrimp turn pink, about 1-2 minutes per side. (Alternatively, heat a large skillet over medium high heat. Add the shrimp to the hot pan and sauté, flipping occasionally, until the shrimp are cooked through.)
  4. Assemble tacos by layering the broccoli slaw, shrimp, then toppings in the tortilla.

Keywords: taco, shrimp tacos, heart healthy, taco Tuesday, healthy tacos

Recipe Card powered byTasty Recipes

FAQ

What if I don’t have a grill pan?
Alternatively, heat a large skillet over medium high heat. Add the shrimp to the hot pan and sauté, flipping occasionally, until the shrimp are cooked through.

What can I use in place of shrimp?
Any mild white flakey fish will do – cod, tilapia, halibut, grouper, etc.

Can I make the broccoli slaw from scratch?
Of course! Create a mixture of shredded broccoli stalks with julienned carrots and thinly sliced purple cabbage.

Other recipes you may enjoy

Watermelon Mojito Kombucha Mocktail

Sip on this refreshing Watermelon Mojito Kombucha Mocktails and set up a fun drink station to wow your guests this summer.
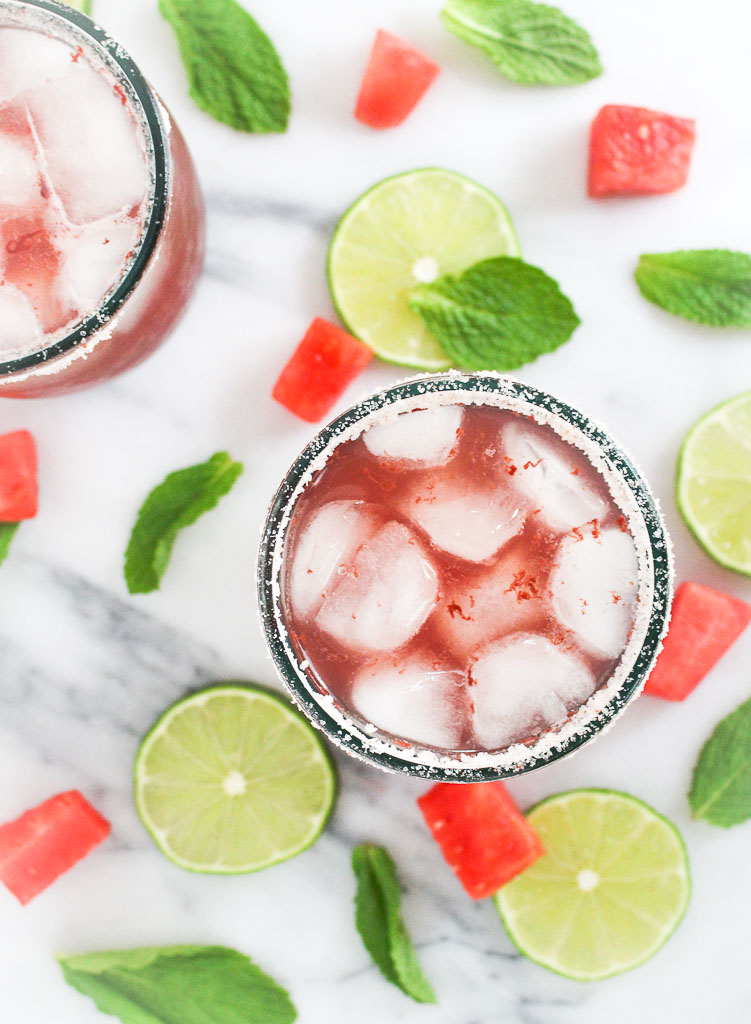
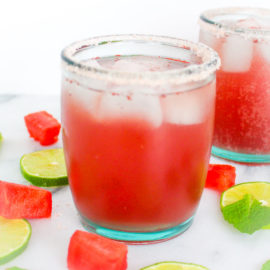
Watermelon mojito in a clear glass with ice
I’ve come to really enjoy kombucha.

What is kombucha?

Kombucha is a fermented tea that naturally contains probiotics. These probiotics are actually good bacteria that line your digestive tract and support your immune system, as they absorb nutrients and fight infection and illness.
With its health benefits, I wanted to make it into a fun mocktail instead of just drinking it straight. Kombucha comes in many flavors, which ranges in many colors to create a variety of colorful mocktails.

What’s a better way to enjoy your Kombucha Mocktail than with a perfectly styled drink station? A bar cart makes the perfect base for your drink station along with being a great conversation starter. They’re easy to move around your house or even outside for entertaining. The best part is that there really is a bar cart out there to match any design style or budget. You can find a glam rose gold cart with leather accents or more rustic wooden piece that’s perfect for housing all of the accouterments for fixing the perfect mocktail. Pick your favorite cart and you’ll have no problem creating a fun drink station in your home.

(Image source)

Large glass beverage dispensers are perfect for making a statement atop your bar cart. The bright fun color of your kombucha along with any floating fruit slices or herbs will become a tantalizing focal point for guests! This dispenser from Crate & Barrel has a trendy wooden stand or if you’re looking for more variety this set has two dispensers with cute chalkboard labels to tell your drinks apart. You can supplement your beverage dispensers with elegant carafes of juices or fizzy drinks for plenty of customization.

Next, add a few fun touches to really bring your station to life. There are practical additions like printed napkins or bright straws that are always sure to be a hit. A stack of books is a great way to show off your personality and can be a fun conversation starter for guests. In their post on bar cart styling tips, the professional designers at Havenly suggest hanging a piece of art above your cart to give the area a finished look. No matter how you decide to accessorize your drink station, adding thoughtful touches of your personality will elevate it from a simple beverage center to a stylish focal point in your home.
Oregon Glass Drink Dispenser with Brooks Wood Stand Crate and Barrel

(Image source)

Accenting your station with a small potted plant atop your cart gives it a perfect touch of vibrancy and life! From succulents to bouquets of fresh flowers, plants are a great accessory for any style of decor. For extra fun, use a small herb planter set to showcase live garnishes for the drinks you’re serving, like some fresh mint for my Watermelon Mojito Kombucha Mocktail. Include a small pair of scissors so guests can snip their own fresh herbs for adding to their beverages.
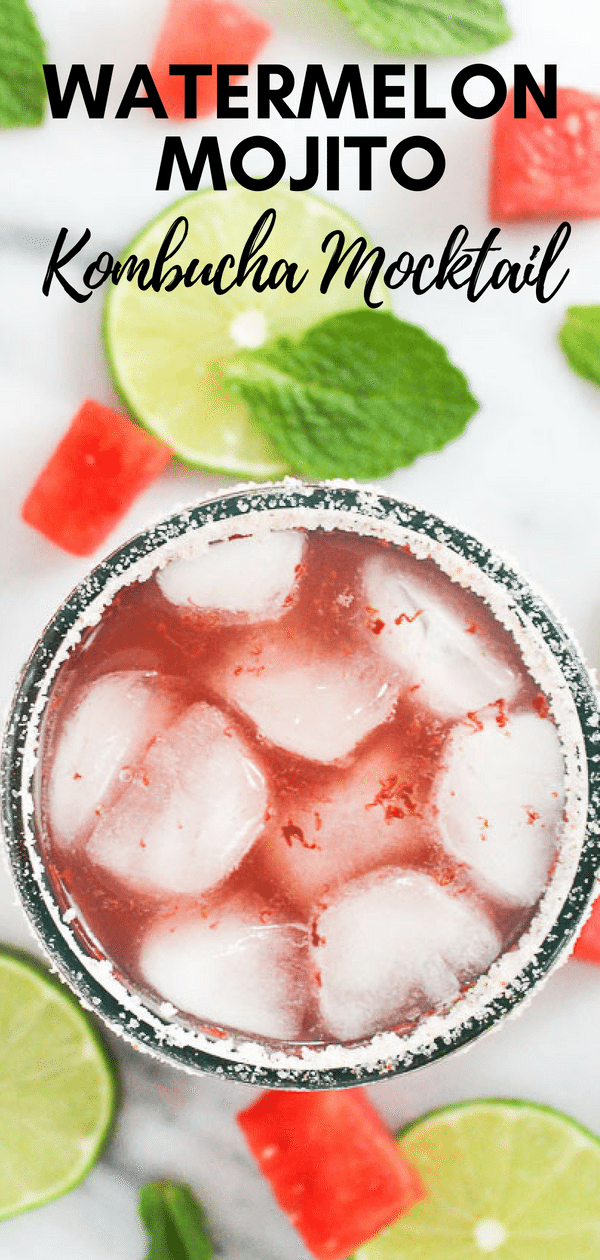
Finally, when styling a drink station, your glassware is more than just functional. Pick out some fun glasses that match your personality and show them off on top of your bar cart like a decor piece. Cut crystal glasses are always a classic choice for some sophisticated sparkle or just grab some cute mason jars if your style is more casual. Varying the sizes and shapes of your glassware will add some fun diversity to the look of your station.Overhead shot of Watermelon Mojito with salt rimmed edges
Put it all together atop your cart and you’ll have a perfectly adorable station for showing off your kombucha mocktails in style!
Design style tips provided by Havenly. I was not compensated for this post. All thoughts and opinions are my own.

Print

clock clock iconcutlery cutlery iconflag flag iconfolder folder iconinstagram instagram iconpinterest pinterest iconfacebook facebook iconprint print iconsquares squares iconheart heart iconheart solid heart solid icon
bright pink mocktail in glass with watermelon and lime

Watermelon Mojito Kombucha Mocktail

  • Author: Chef Julie Harrington RD
  • Yield: 2

Description

Sip on this refreshing gut-healthy kombucha mocktail.


Ingredients

Scale
  • 8 oz. watermelon kombucha
  • 8 oz. seltzer or club soda
  • 2 tablespoons lime juice, plus more for garnish
  • ¼ cup mint, muddled, plus more for garnish
  • salt, to garnish the rim of the glass

Instructions

  1. Using a mortar and pestle crush the fresh mint leaves to release the flavor.
  2. In a shaker, add the kombucha, lime juice. and mint. Gently shake. (Be careful, the kombucha is carbonated.)
  3. Pour in a glass with ice with the ridges lined with salt (optional).
  4. Top with seltzer. Garlic with a mint leave and/or lime wedge.

Recipe Card powered byTasty Recipes


Chef Julie Harrington, RD - Culinary Nutrition Consultant of chefjulierd.com

Pin for later!

Overhead shot of watermelon mojito beverage with text

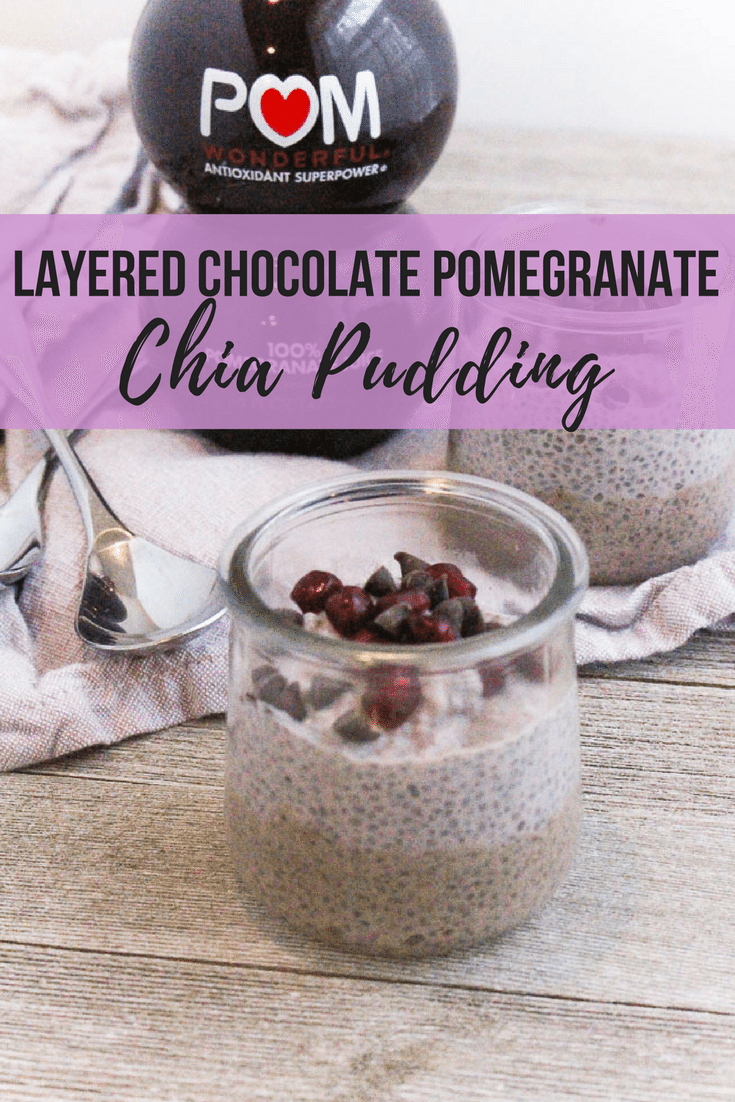
Layered Chocolate Pomegranate Chia Pudding

Not one, but two layers of delicious chia pudding. Have you ever tried using pomegranate juice to thicken your chia pudding? You will now because I know you’ll want to try this Layered Chocolate Pomegranate Chia Pudding.
ad: Layered Chocolate Pomegranate via RDelicious Kitchen @RD_Kitchen #chia #pomegranate #chocolate #mealprep
By posting this recipe I am entering a recipe contest sponsored by POM Wonderful and am eligible to win prizes associated with the contest. I was not compensated for my time.
Do you ever go through food phases? Chia pudding has been on constant repeat for me these past few weeks. I love that it’s easy to meal prep in advance for a quick (and satisfying) breakfast in the morning.
Learn how to (easily) seed a pomegranate!

Plus, chia pudding is easy to customize with various flavors. Another food phase I’ve been into is pomegranates. It definitely helps that they are in season right now, so I am grabbing one every time I am at the grocery store.
ad: Layered Chocolate Pomegranate via RDelicious Kitchen @RD_Kitchen #chia #pomegranate #chocolate #mealprep
When fresh pomegranates aren’t in season, I can still get my pomegranate fix with POM Wonderful 100% Juice.

POM Wonderful 100% Juice is powered by antioxidants. The pomegranate is whole-pressed, meaning a unique blend of polyphenol antioxidants from two whole pomegranates – including its fruit, pith, and rind – is found in each 8 oz bottle.
You can usually always find a bottle of POM Wonderful 100% Juice in my refrigerator. I love adding a splash of pomegranate juice to sparkling water for a fun fizzy drink.
ad: Layered Chocolate Pomegranate via RDelicious Kitchen @RD_Kitchen #chia #pomegranate #chocolate #mealprep
I had fun partnering with POM Wonderful 100% Juice and The Recipe ReDux to create a recipe using pomegranate juice. With my current chia pudding food phase, this was the first idea that popped into my head. I’ve always made chia pudding with milk or non-dairy milk as the liquid, so I wanted to see if POM Wonderful 100% Juice would yield the same kind of pudding-like consistency.
It did! I wouldn’t be posting this recipe if it didn’t 😛

Print

clock clock iconcutlery cutlery iconflag flag iconfolder folder iconinstagram instagram iconpinterest pinterest iconfacebook facebook iconprint print iconsquares squares iconheart heart iconheart solid heart solid icon
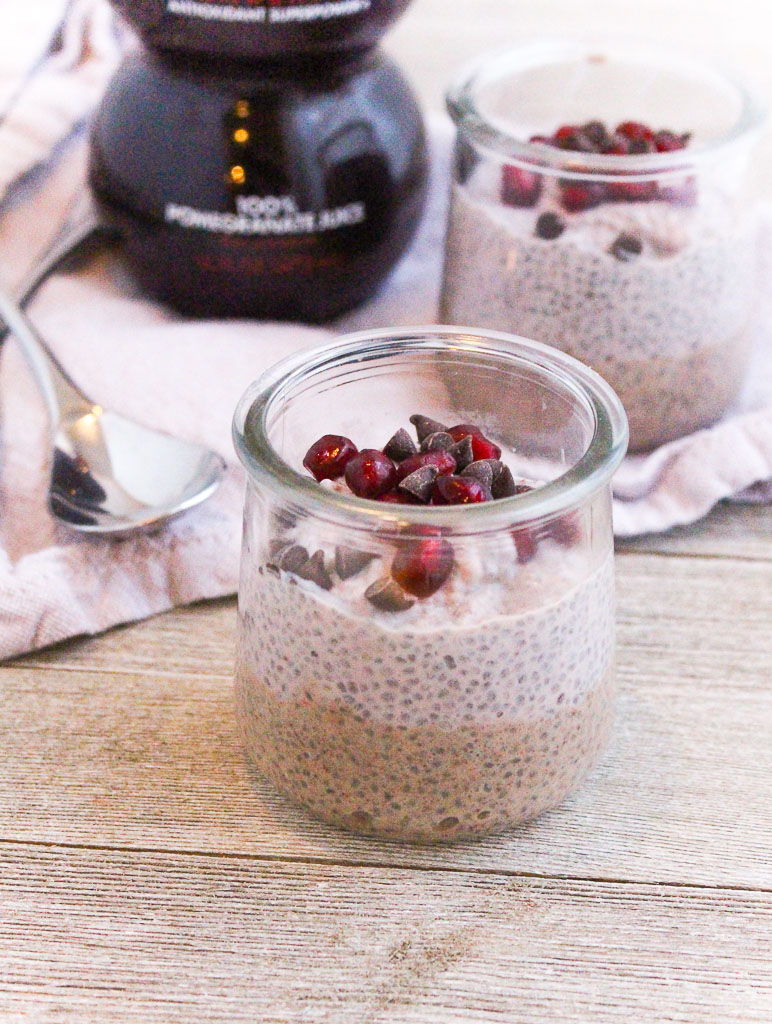
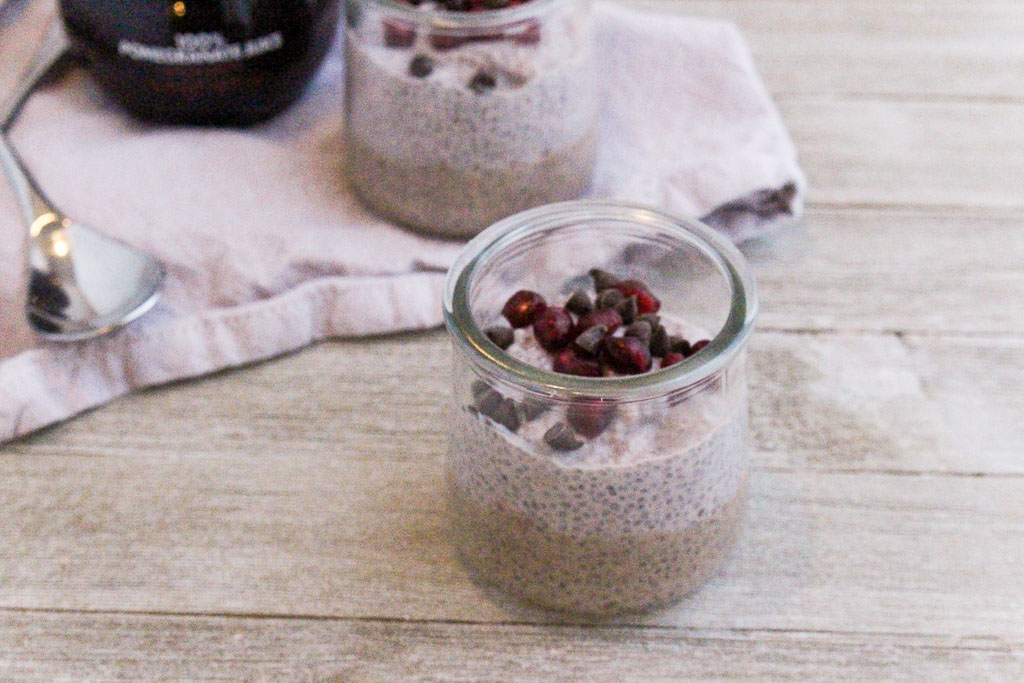
pomegranate chia pudding in a small glass jar

Layered Chocolate Pomegranate Chia Pudding

  • Author: Chef Julie Harrington, RD
  • Prep Time: 8
  • Total Time: 8 minutes
  • Yield: 4

Description

Not one, but two layers of delicious chia pudding. Have you ever tried using pomegranate juice to thicken your chia pudding? You will now because I know you’ll want to try this Layered Chocolate Pomegranate Chia Pudding.


Ingredients

Scale
  • Chocolate layer:

  • 1/4 cups chia seeds
  • 2 tablespoons Greek yogurt
  • 1/2 cup milk (or non-dairy milk)
  • 1 tablespoon maple syrup
  • 2 tablespoons cocoa powder
  • Pomegranate layer:

  • 1/4 cup chia seeds
  • 2 tablespoons Greek yogurt
  • 1/2 cup POM Wonderful 100% Pomegranate Juice
  • (Optional) toppings: mini chocolate chips. pomegranate arils

Instructions

  1. Chocolate layer: In a small bowl, whisk together chia seeds, yogurt, milk, maple syrup, and cocoa powder. Cover and transfer to the refrigerate for 1 hour.
  2. Pomegranate layer: In a small bowl, whisk together chia seeds, yogurt, and POM Wonderful 100% Pomegranate Juice. Cover and transfer to the refrigerate for 1 hour.
  3. Assembly: Remove the chia puddings from the refrigerator. In 4 separate serving cups or containers, and 1/2 cup chocolate pudding to each cup. Add 1/2 cup pomegranate pudding on top to each cup. Top with mini chocolate chips and pomegranate arils, if desired.

Keywords: chia pudding

Recipe Card powered byTasty Recipes


Chef Julie Harrington, RD - Culinary Nutrition Consultant of chefjulierd.com

Be sure to also check out the other pomegranate-inspired recipes from fellow dietitians and food bloggers in this Recipe ReDux link-up. It’s the first and only recipe challenge founded by registered dietitians. Enjoy!

Pin for later!

ad: Layered Chocolate Pomegranate via RDelicious Kitchen @RD_Kitchen #chia #pomegranate #chocolate #mealprep

Sheet Pan Miso Salmon and Green Beans

This sheet pan recipe has a special gut health ingredient – miso! Sheet pan dinners are becoming a staple for busy weeknights. Sheet pans dinners are versatile and can be mixed and matched with different ingredients and flavor blends.

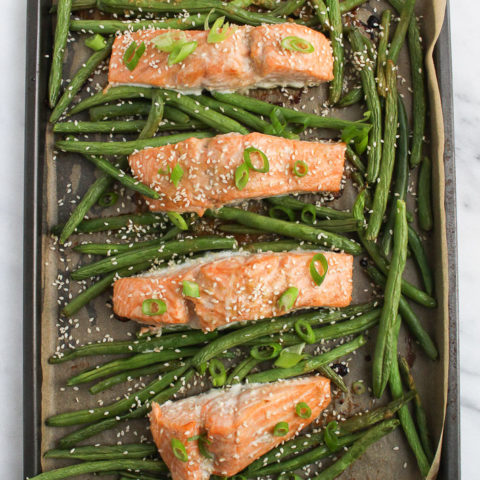
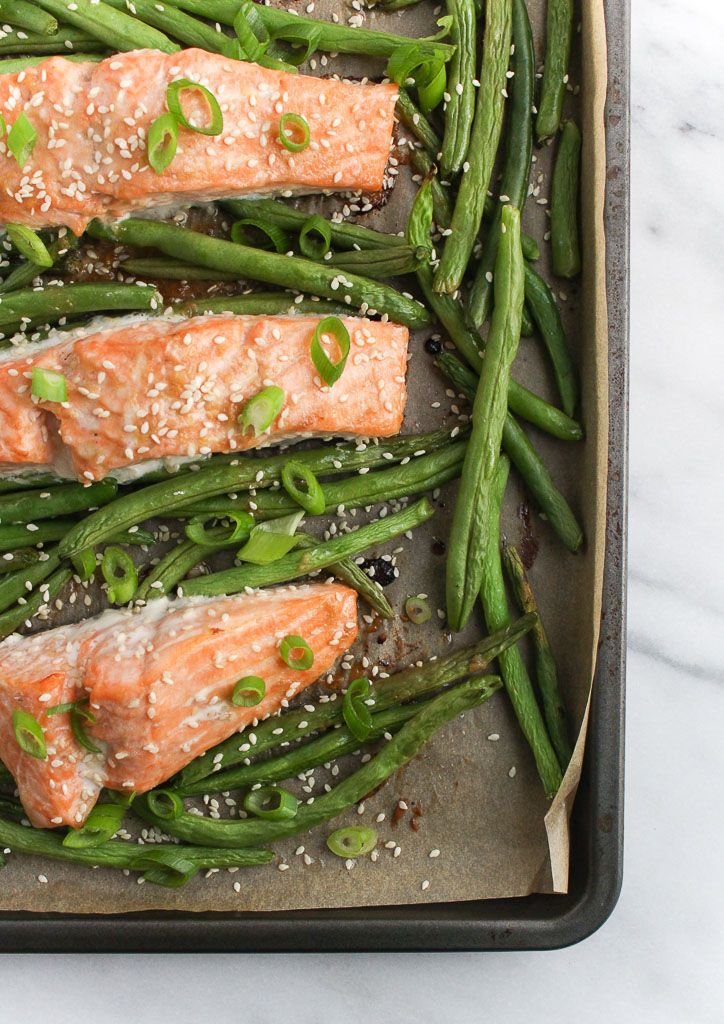
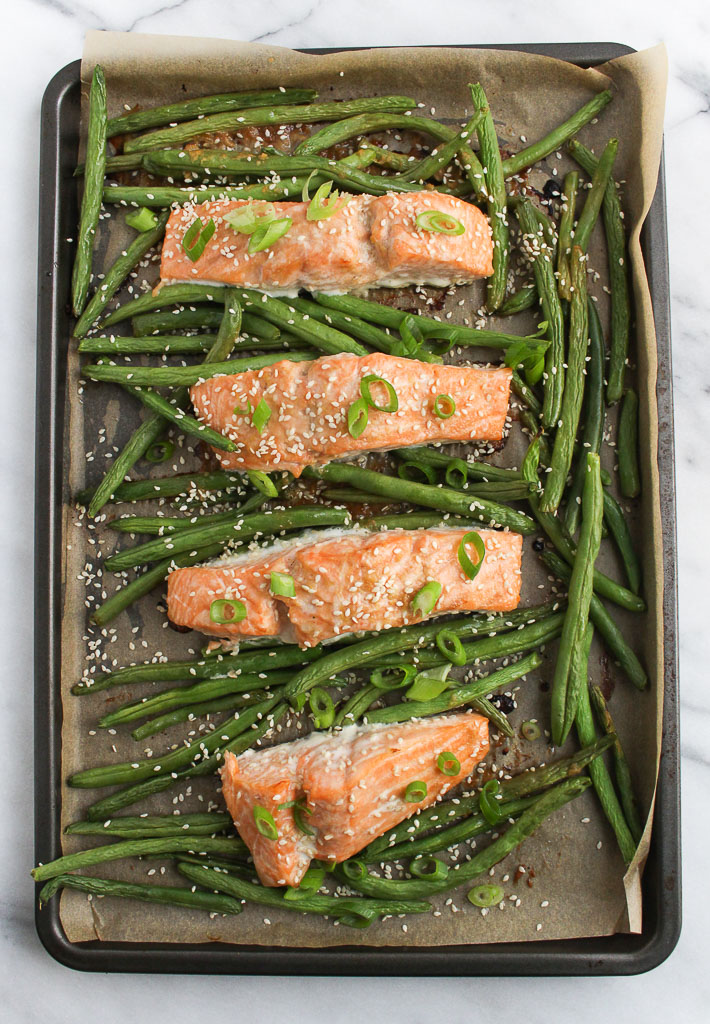
Miso Salmon & Green Beans on a baking sheet

Gut Health:

More and more research is being studied about gut health and the connection to overall health. Some are even calling the gut a “second brain” as now studies are showing how much they continuously work together.
According to Harvard Medical School, a troubled intestine can send signals to the brain, just as a troubled brain can send signals to the gut. Therefore, a person’s stomach or intestinal distress can be the cause or the product of anxiety, stress, or depression because the brain and the gastrointestinal (GI) system are intimately connected. 

Why gut health is important

I’m sure you’ve heard about how probiotics support gut health. If not, probiotics are live bacteria and yeasts that are good for your health, especially your digestive system. We usually think of bacteria as something that causes diseases. The body is full of bacteria, both good and bad. Probiotics are often called “good” or “helpful” bacteria because they help keep the gut stay healthy.

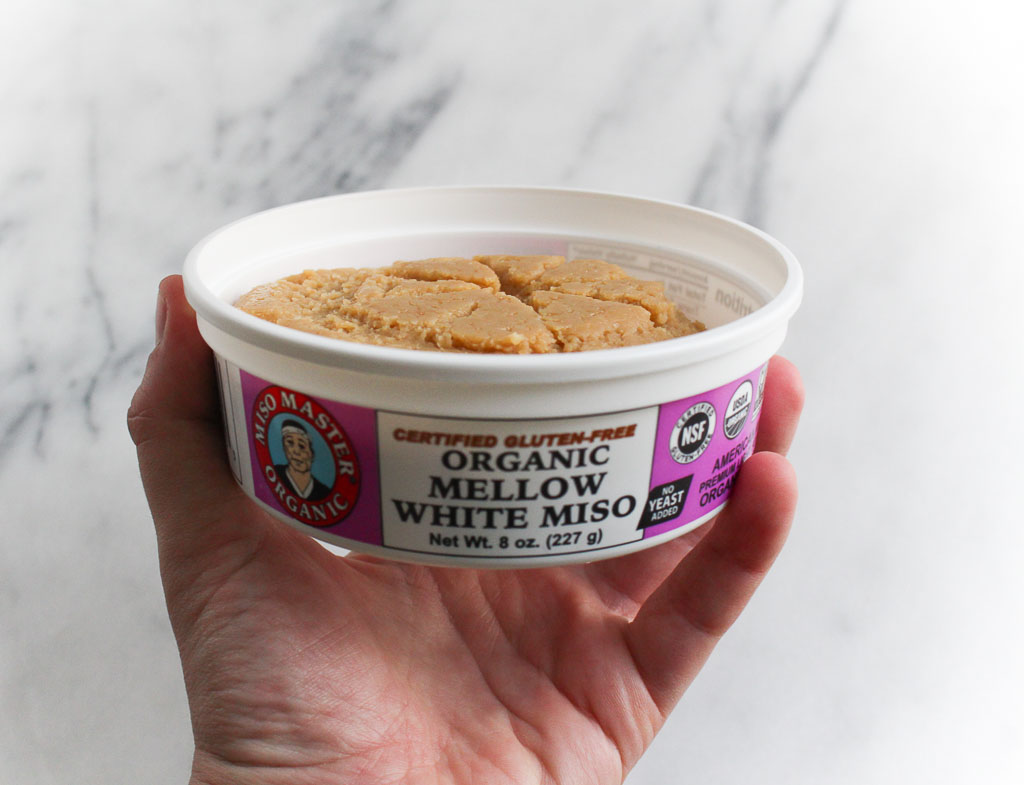
hand holding Miso Master Organic Mellow White Miso


Food rich in probiotics includes yogurt, kefir and fermented foods like sauerkraut, kombucha, tempeh, and miso – the probiotic-rich food I used in this recipe.

What is Miso Paste?

In simple terms, miso is a fermented bean. Primarily, miso is made from soybeans, but any bean can be used. I use chickpea miso or white soybean miso often, just because it’s lighter in color and a more neutral flavor.

salmon with sesame seeds on a baking sheet

Varieties of Miso Paste

Diving a little deeper into the difference between varieties of miso, I consulted one of my favorite cooking resources, The Kitchn.

White Miso

White miso is made from soybeans that have been fermented with a large percentage of rice. The actual resulting color can range from white to light beige, and the miso has a definite sweet taste. White miso is best used in condiments like mayo or salad dressings, or in light sauces.

Yellow Miso

Yellow miso is usually made from soybeans that have been fermented with barley and sometimes a small percentage of rice. It can be yellow to light brown in color. Yellow miso has a mild, earthy flavor and is better for general use in not only condiments, but soup, marinades, and glazes.

Red Miso

Red miso is typically made from soybeans fermented with barley or other grains, though with a higher percentage of soybeans and/or a longer fermentation period. It can range in color from red to dark brown. The deep umami flavor of red miso can overwhelm mild dishes but is perfect for hearty soups, braises, and glazes.

miso salmon and green beans on a sheet pan sprinkled with sesame seeds

My go-to miso brand is, Miso Master.

Many have an understanding that probiotics are important for gut health and with cold and flu season upon us, the best defense may be good gut health, but the key to these helpful gut health bacteria is feeding them with prebiotics for the probiotics to flourish in the gut.
Prebiotics are a type of fiber. They are un-digestible plant fibers that already live inside the large intestine. The more food, or prebiotics, that probiotics have to eat, the more efficiently these live bacteria work and the healthier your gut will be.

Prebiotics are found in whole foods that are packed with fiber (aka. plants)! To improve gut health, a mixture of both probiotics and prebiotics is needed. Probiotics need to be fed (by prebiotics) in order to remain active and healthy and to benefit you as much as possible.

Bottom Line

Prebiotics (fiber) is the food for probiotics (helpful bacteria) to flourish, to improve gut health.

Let’s put it this way: It’s like you can’t out-exercise a poor diet. The same goes for gut health. You can’t consume more probiotics without consuming prebiotics to improve gut health.

Print
clock clock iconcutlery cutlery iconflag flag iconfolder folder iconinstagram instagram iconpinterest pinterest iconfacebook facebook iconprint print iconsquares squares iconheart heart iconheart solid heart solid icon
salmon and green beans on a sheet pan

Sheet Pan Miso Salmon and Green Beans

  • Author: Chef Julie Harrington, RD
  • Prep Time: 10 mins
  • Cook Time: 12 mins
  • Total Time: 22 mins
  • Yield: 4
  • Category: dinner

Description

Sheet pan dinners are becoming a staple for busy weeknights. They are versatile and can be mixed and matched with different ingredients and flavor blends. This sheet pan recipe has a special gut health ingredient – miso!


Ingredients

Scale
  • 1 ¼ pounds salmon, sliced into even portions
  • 2 tablespoons white miso
  • 1 teaspoon sesame oil
  • 1 tablespoon mirin
  • 1 tablespoon low-sodium soy sauce (or liquid aminos)
  • 1 tablespoon fresh ginger, minced
  • 1 clove garlic, minced
  • 1 lb. green beans, ends trimmed
  • 1 tablespoon sesame seeds, toasted
  • 2 scallions, thinly sliced

Instructions

  1. Preheat oven to 375 degrees F. Line a large baking sheet with parchment paper or coat with cooking spray.
  2. In a small bowl, whisk together miso, sesame oil, soy sauce, ginger, and garlic until smooth.
  3. In an even layer spread the green beans on the baking sheet. Make room in between green beans and place salmon skin side down. Brush salmon generously with miso mixture. Drizzle remaining miso mixture over green beans.
  4. Bake for 6-10 minutes, depending on the thickness of the salmon, until salmon is opaque in the center and can flake easily. Broil for the last 1-2 minutes.
  5. Garnish salmon and green beans with sesame seeds and scallions.

Keywords: dinner, salmon, sheet pan

Recipe Card powered byTasty Recipes

Disclosure: This recipe has been updated to be entered into the #CelebrateSeafood recipe contest.

Other recipes you may enjoy

Parsley Stem Pesto over Roasted Asparagus

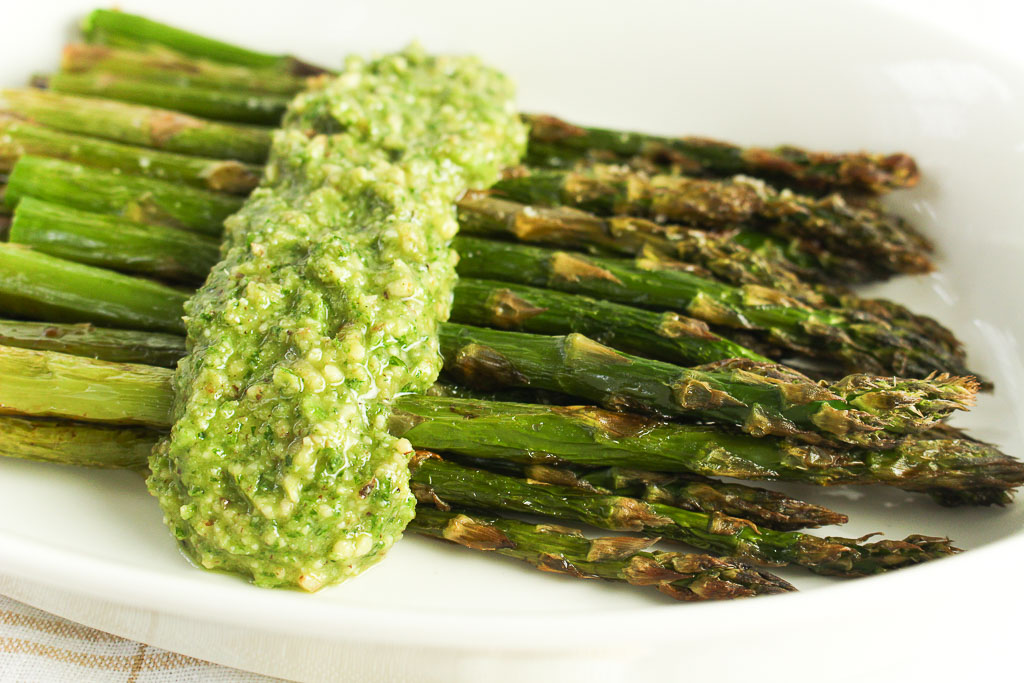
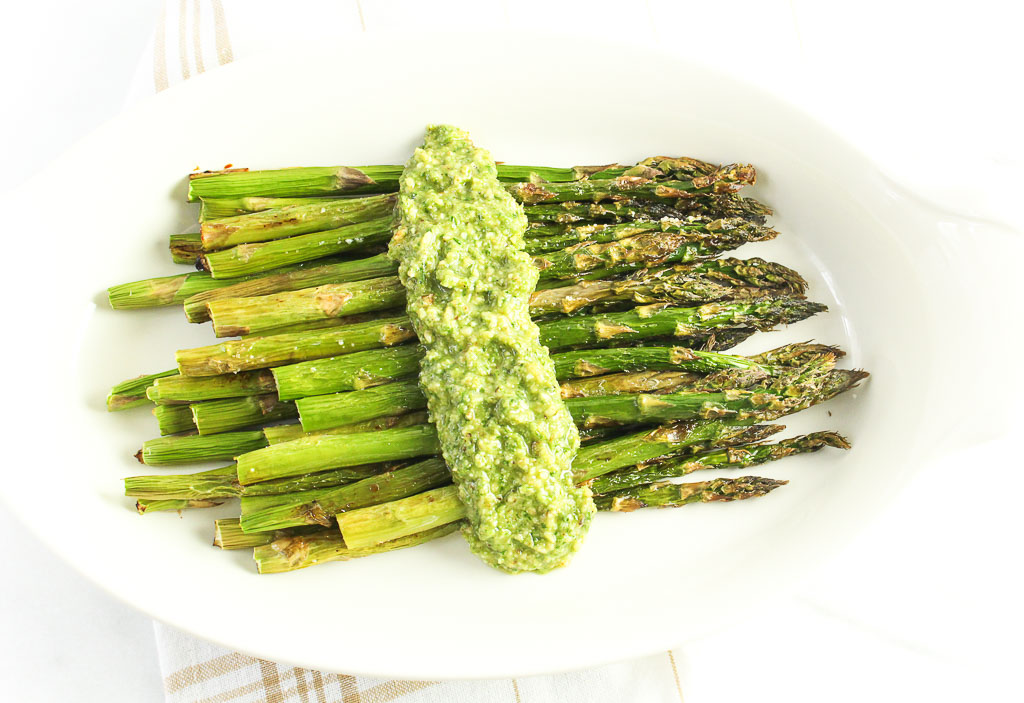
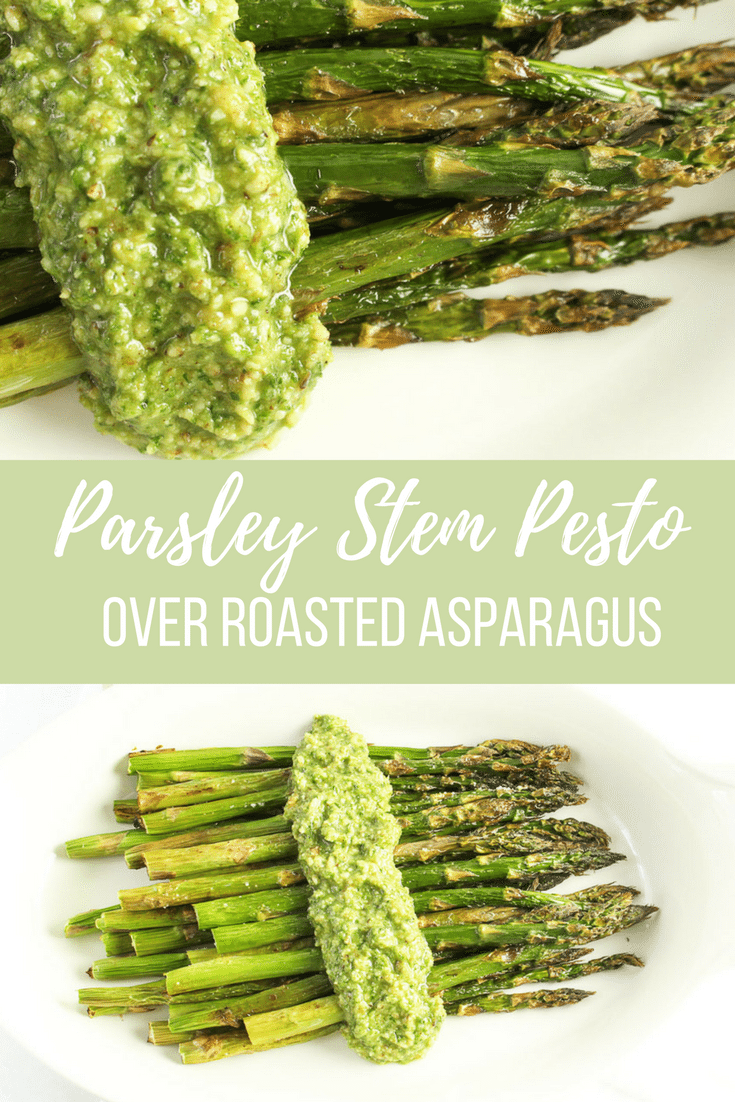
Happy Earth Day! There are so many food scraps that are often thrown out but can be repurposed into something new, just like this Parsley Stem Pesto.Parsley Stem Pesto over Roasted Asparagus via RDelicious Kitchen @RD_kitchenWith today being Earth Day, The Recipe ReDux members were challenged to show how to reduce food waste. Whatever you would normally toss, use it up! I use a lot of fresh herbs in my kitchen, but the stems usually end up in the trash, which is crazy because the stems actually have more of an intense flavor.Parsley Stem Pesto over Roasted Asparagus via RDelicious Kitchen @RD_kitchen
I loved this month’s theme because it got me thinking of the amount of food waste that tends to happen in my kitchen. So instead of tossing my parsley stems, I created a parsley stem pesto.Parsley Stem Pesto over Roasted Asparagus via RDelicious Kitchen @RD_kitchenThe typical herb to use in pesto is basil, but really any herb will do. Boy, do those stems have great flavor! The pesto is this intense green color with a fresh and flavorful zing to it.Parsley Stem Pesto over Roasted Asparagus via RDelicious Kitchen @RD_kitchenI also subbed pine nuts for walnuts. I tend to like my pesto a little thicker, so the walnuts are great for that. Plus, walnuts were what I had on hand and a great source of polyunsaturated fats!

Print

clock clock iconcutlery cutlery iconflag flag iconfolder folder iconinstagram instagram iconpinterest pinterest iconfacebook facebook iconprint print iconsquares squares iconheart heart iconheart solid heart solid icon
Parsley Stem Pesto over Roasted Asparagus on a white plate

Parsley Stem Pesto over Roasted Asparagus

  • Author: Julie @ RDelicious Kitchen
  • Yield: 6

Ingredients

Scale
  • 1/2 cup walnuts
  • 1 cup parsley stems, roughly chopped
  • 1/4 cup parmesan cheese
  • 2 garlic cloves, roughly chopped
  • 1 tablespoon lemon juice
  • 1/2 teaspoon salt
  • 1/2 cup + 1 tablespoon olive oil, divided
  • 1 bunch asparagus, ends trimmed

Instructions

  1. Preheat an oven to 425 degrees F.
  2. Place the asparagus into a mixing bowl, and drizzle with the olive oil. Season with salt and pepper. Toss to coat.
  3. Bake in the preheated oven until just tender, 12 to 15 minutes depending on thickness.
  4. While the asparagus is cooking, add walnuts, parsley, parmesan cheese, garlic, lemon juice, and salt in a food processor and pulse for a few seconds to combine. Scrape down the sides of the bowl and pulse again.
  5. Slowly drizzle in the olive oil while the food processor is running just long enough to incorporate the oil, about 20-30 seconds.
  6. Spread pesto over asparagus and serve.

Notes

Reserve extra pesto in an airtight container in the refrigerator.

Recipe Card powered byTasty Recipes

RDelicious Kitchen @RD_Kitchen
Parsley Stem Pesto over Roasted Asparagus via RDelicious Kitchen @RD_kitchen

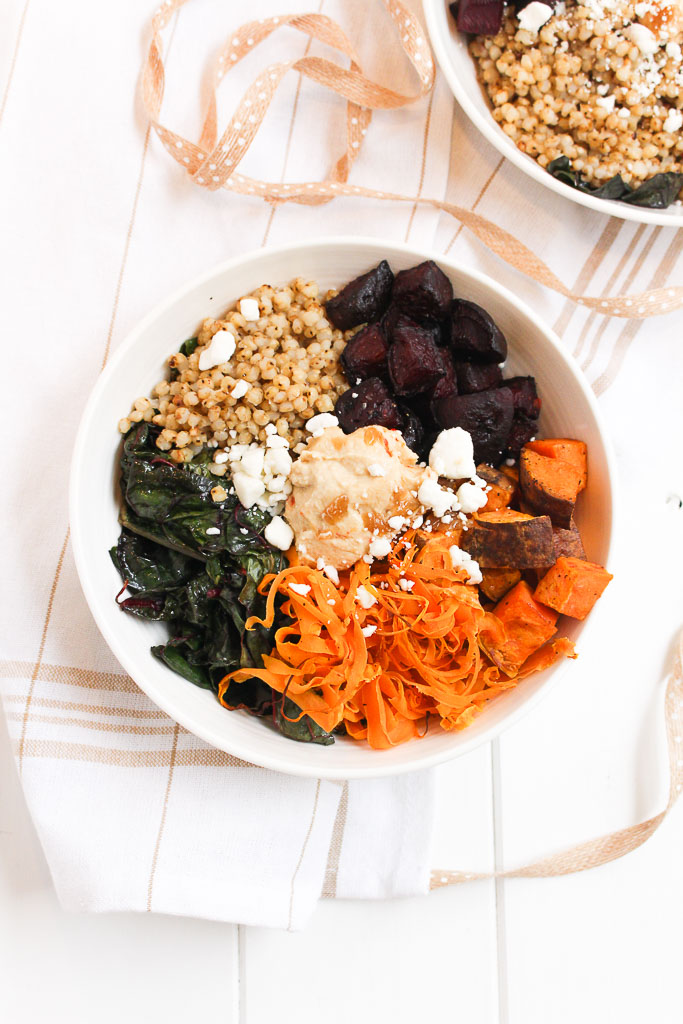
Roasted Root Vegetable Power Bowl

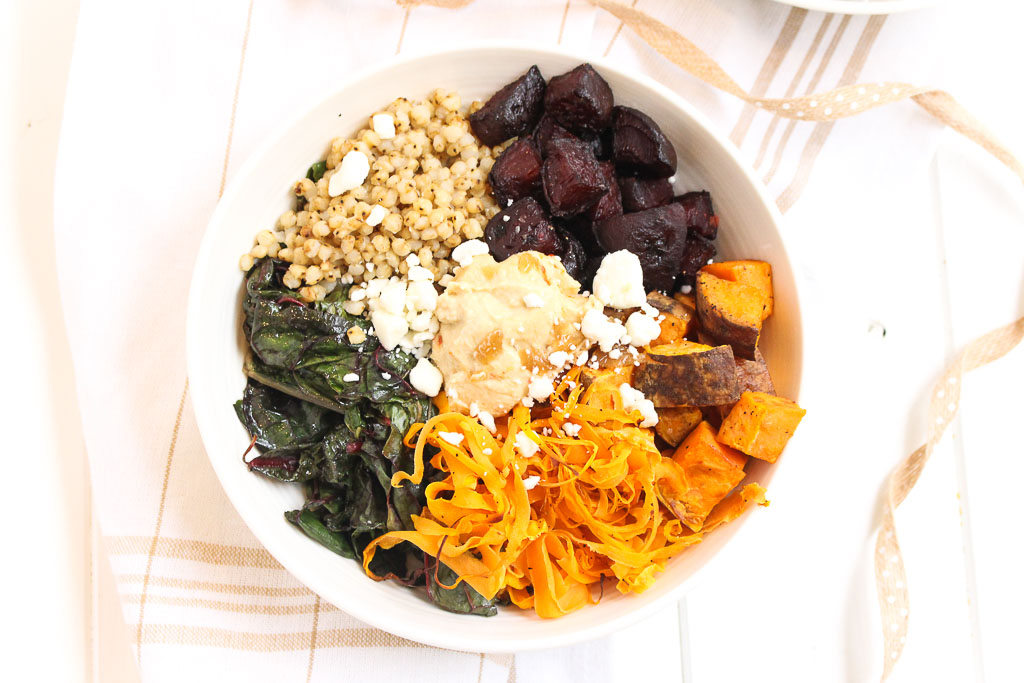
A comforting, satisfying plant-based bowl, this Roasted Root Vegetable Power Bowl is the perfect colorful fall dinner to cozy up to on a chilly night. 
Fall is my favorite season! I just love the cool, crisp weather, the beautiful fall foliage, and of course the food!
Roasted Root Vegetable Power Bowl via RDelicious Kitchen @RD_Kitchen
This time of year, I find myself roasting vegetables daily. Roasting is one of my favorite cooking methods for veggies, but there’s something about cracking the windows on a cool fall evening and cozying up with fluffy blankets with a warm comforting meal.
Recipe ReDux members were challenged to create a plant protein power bowl, packed with protein, fiber and color, plant power bowls are trendy and delicious.
Roasted Root Vegetable Power Bowl via RDelicious Kitchen @RD_Kitchen

I decided to use sorghum as my whole grain in this recipe because I was inspired when I met Katie Cavuto, RD at the sorghum booth at FNCE this past weekend. She just released a new cookbook “Whole Cooking and Nutrition” and I was able to sample her sorghum recipe.
Roasted Root Vegetable Power Bowl via RDelicious Kitchen @RD_KitchenHave you ever used sorghum before? When I counsel clients, I encourage them to expand their variety of whole grains in their diet. I often see that their first swap is switching white bread to whole wheat bread or white rice to brown rice, which is great, but I don’t want them to just stop there.
Ancient grains, like sorghum, have more nutrition bang for your buck. Sorghum, which doesn’t have an inedible hull like some other grains, is commonly eaten with all its outer layers, thereby retaining the majority of its nutrients. One serving of sorghum contains 5 grams of fiber and is a good source of iron!
Roasted Root Vegetable Power Bowl via RDelicious Kitchen @RD_Kitchen
I absolutely love how colorful this recipe is. More colors = more nutrients. Another plus is it’s so simple to make. Simply place your veggies on a pan to roast as you prep the remaining ingredients.
If you want a shortcut, you can use Love Beets instead of the mess of peeling beets at home. Love Beets come peeled, steamed and vacuum packed.

Print

clock clock iconcutlery cutlery iconflag flag iconfolder folder iconinstagram instagram iconpinterest pinterest iconfacebook facebook iconprint print iconsquares squares iconheart heart iconheart solid heart solid icon
Roasted Root Vegetable Power Bowl

Roasted Root Vegetable Power Bowl

  • Author: Julie @ RDelicious Kitchen
  • Yield: 4

Ingredients

Scale
  • 2 sweet potatoes, chopped
  • 4 beets, peeled and chopped
  • 4 carrots, peeled
  • 2 tablespoons olive oil, divided
  • 1 bunch Swiss chard, roughly chopped
  • 1 tablespoon garlic powder
  • 1 tablespoon apple cider vinegar
  • 1 cup sorghum
  • 4 cups water
  • 1/4 cup hummus (your favorite flavor!)
  • 1/4 cup goat cheese, crumbled
  • salt and pepper, to taste

Instructions

  1. Preheat the oven to 400 degrees F. Coat a large baking sheet with cooking spray. Toss sweet potatoes and beets with 1 tablespoon olive oil and sprinkle with salt and pepper. Bake for 15 minutes.
  2. Using a peeler, create long strands of carrots. Remove vegetables from oven, add carrots and toss. Bake for an additional 10-15 minutes until vegetables are fork tender. Remove from oven.
  3. In a large bowl, massage Swiss chard leaves with olive oil and apple cider vinegar. Add garlic powder, salt and pepper. Add Swiss chard on a large baking sheet. Roast for 10 minutes until Swiss chard is tender (not crispy).
  4. As vegetables are roasting, cook the sorghum. Add sorghum and water to a pot. Bring to a boil; cook 5 minutes. Turn heat down to low; cover and cook for about 45 minutes or until tender-firm. (for an extra boost of flavor, add a splash of vegetable stock with the water) Season with salt and pepper.
  5. Assemble your bowls, by adding sections of sweet potatoes, beets, carrots, Swiss chard, and sorghum. Add a dollop of hummus and sprinkle with goat cheese. Serve warm.

Recipe Card powered byTasty Recipes

RDelicious Kitchen @RD_Kitchen
Roasted Root Vegetable Power Bowl via RDelicious Kitchen @RD_Kitchen


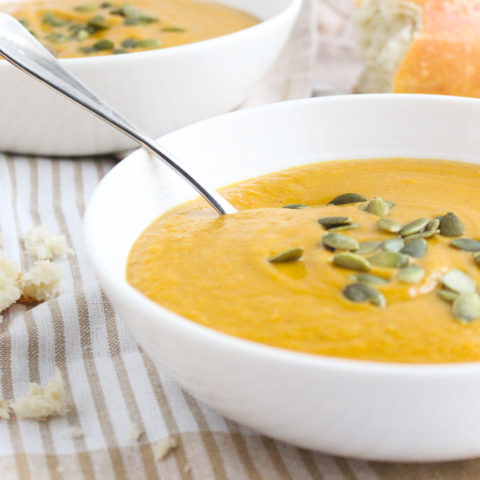
Vegetable Lentil Soup

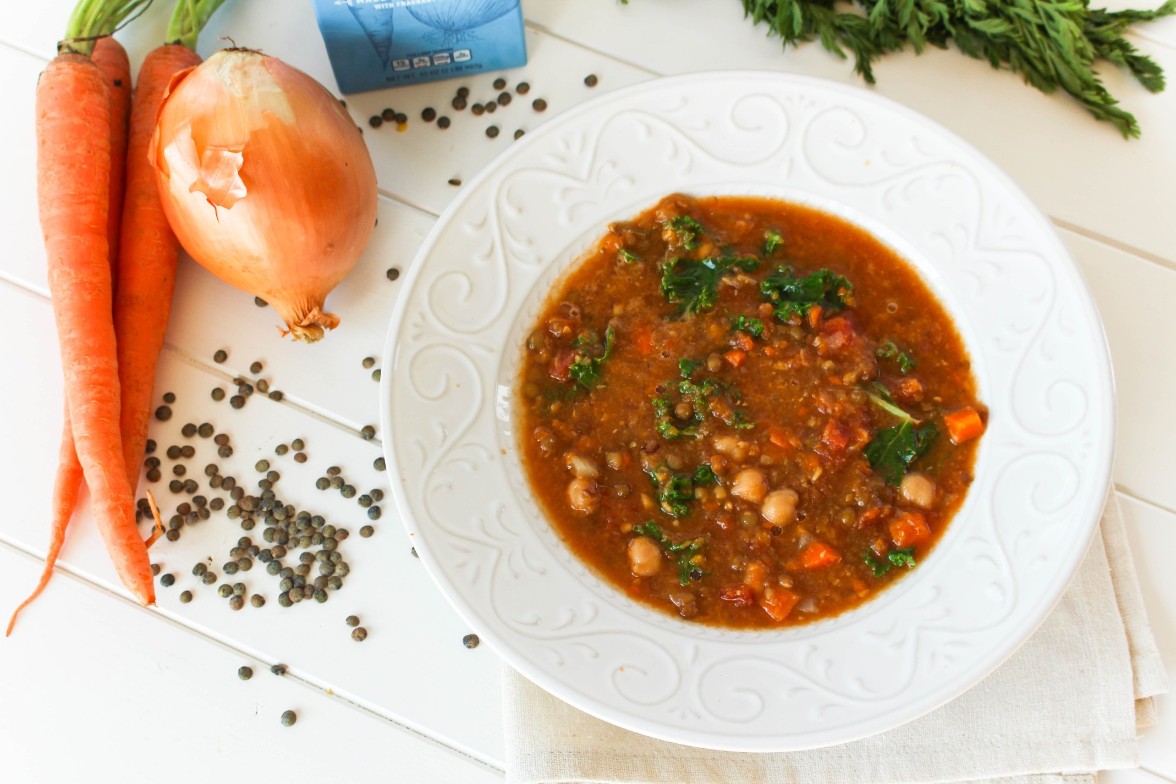
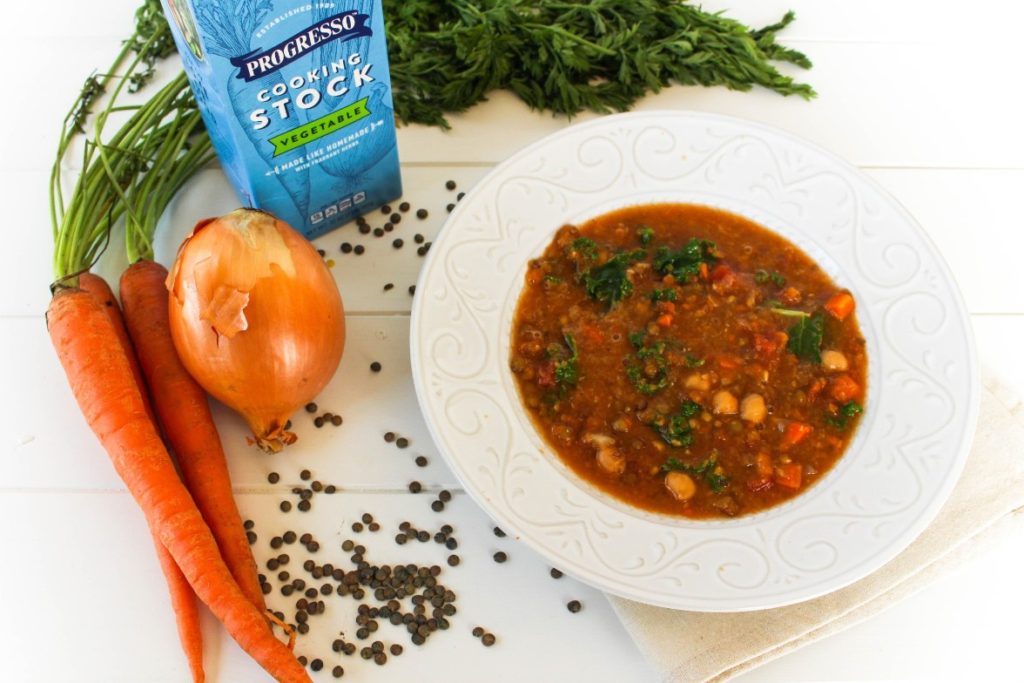
Warm-up this winter with a warm bowl of Vegetable Lentil Soup. This vegan-friendly soup will be sure to help meet your daily recommendations of veggies for the day!

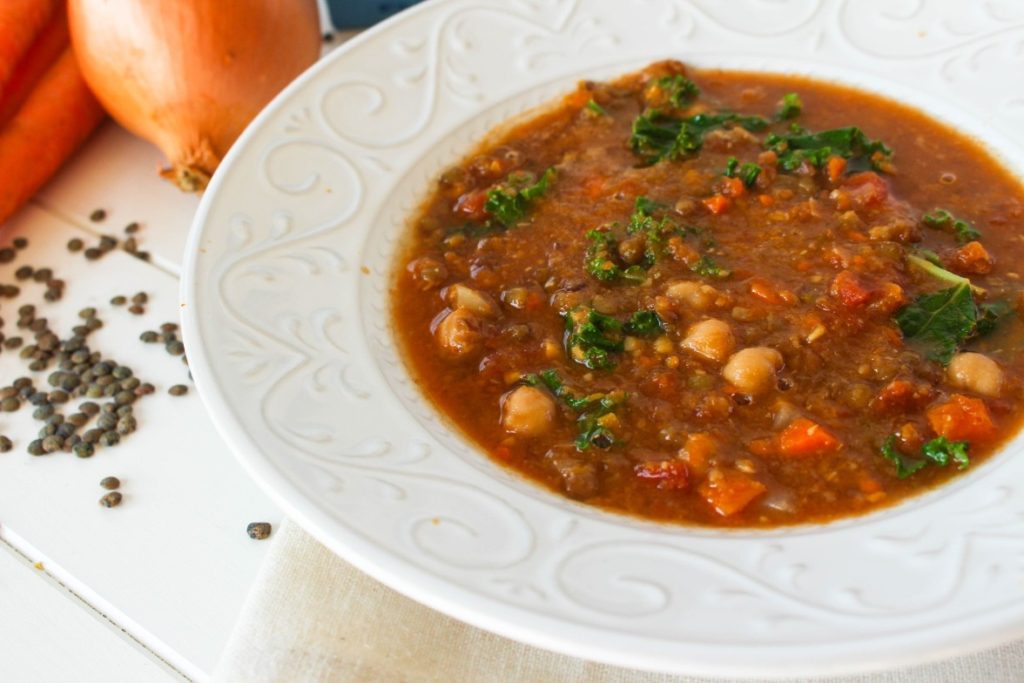
Vegetable Lentil Soup in a white decorative bowl

Dare I say it’s actually starting to feel like winter here in New Jersey. Usually, in December I’m beginning to make my favorite soups, but this year was just so warm. I’m hoping I’m not jinxing myself and all of a sudden we are going to get a blizzard. If so, I do have this big batch of vegetable lentil soup to warm up with!

vegetable lentil soup in a decorative white bowl

One of my favorite things at work is teaching cooking classes. A few months ago I taught a class called “Soups and Stocks”. My goal for the class was to show how making soup at home can be simple, nutritious, and delicious. The biggest complaints I heard from customers is when they tried making it at home, their soups “tasted bland, watered down, and boring”. The key to a flavorful soup is the base: stock. Due to the process, Progresso’s chefs use to simmer the real bones, Progresso Cooking Stocks have rich, meaty flavor and are full of body, making them ideal for adding deep, complex flavor to many dishes including soups, stews, sauces, and gravies.

lentil soup in a decorative white bowl

What’s the difference between stock and broth?

The foundation of any great soup of stew is a flavorful broth or stock. Often the terms stock and broth are used interchangeably, but there are three important differences: ingredients, cook time, and seasoning.

Stock is made by simmering a combination of bones, mirepoix (carrots, celery, and onion), and aromatics in water for two to six hours. Gelatin from the bones is an essential part of the stock that is created when the connective tissue in meat breaks down, giving stock its body; the gelatin is what causes a stock to gel when chilled.

Broth is typically made by simmering meat, mirepoix, and aromatics for a shorter amount of time, typically between 1 and 2 hours. It is also often more heavily seasoned than stock.

Bone broth is a hybrid of broth and stock. It is cooked for a long period of time and the goal is not only to extract the gelatin from the bones (like in a stock), but also to release the nutritious compounds and minerals (namely collagen, but also glucosamine, amino acids, electrolytes, calcium, and more). 

Print
clock clock iconcutlery cutlery iconflag flag iconfolder folder iconinstagram instagram iconpinterest pinterest iconfacebook facebook iconprint print iconsquares squares iconheart heart iconheart solid heart solid icon
Vegetable Lentil Soup on a white wooden board

Vegetable Lentil Soup

  • Author: Chef Julie Harrington, RD
  • Prep Time: 20
  • Cook Time: 40
  • Total Time: 1 hour
  • Yield: 8
  • Category: Soup

Description

Warm up this winter with a warm bowl of Vegetable Lentil Soup. This vegan soup will be sure to help meet your daily recommendations of veggies for the day!


Ingredients

Scale
  • 2 tablespoons olive oil
  • 1 small onion, diced
  • 2 large carrots, peeled and chopped
  • 5 cloves garlic, minced
  • 2 teaspoons cumin
  • 1/2 teaspoon dried thyme
  • 2 (15 oz) cans fire roasted diced tomatoes
  • 1 (15 oz) can chickpeas, drained and rinsed
  • 1 cup green lentils
  • 1 (1 quart) box Progresso vegetable cooking stock
  • 3 cups water
  • 1 teaspoon salt
  • 1 teaspoon pepper
  • 1/2 teaspoon red pepper flakes
  • 2 cups kale, ribs removed and chopped

Instructions

  1. Heat olive oil in a large stock pot over medium heat. Add the onions and carrots, cook stirring often, until onion becomes tender and translucent.
  2. Add the garlic, cumin, and thyme. Cook until fragrant. Add fire roasted tomatoes and chickpeas.
  3. Add the lentils, then pour in Progresso vegetable cooking stock and water. Season with salt, pepper and red pepper flakes. Bring soup to a boil, then turn down to a gentle simmer. Cook for 30 minutes, until the lentils are tender.
  4. Transfer 3 cups of soup into a blender or food processor (make sure to get an even mixture of veggies and broth). Puree mixture until smooth. Add pureed soup back into the pot and add kale. Cook until wilted.

Keywords: lentil, vegan, vegetarian, soup, plant-based

Recipe Card powered byTasty Recipes

Disclosure: By posting this recipe I am entering a recipe contest sponsored by Progresso and am eligible to win prizes associated with the contest. I was not compensated for my time.

Other recipes you may enjoy

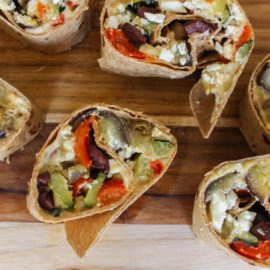
Mediterranean Hummus Wraps

Kick up the flavor and feel good about eating these Mediterranean Hummus Wraps at your next tailgate party. 

Mediterranean Hummus Wraps via RDelicious Kitchen @rdkitchen“By posting this recipe I am entering a recipe contest sponsored by Sabra Dipping Co. LLC, and am eligible to win prizes associated with the contest. I was not compensated for my time.”
In the fall, football lovers Sunday’s are dedicated to football. There is always a rivalry on Sunday (or Thursday and Mondays – so much football!) in my house. I am a big NY Giants fan and Adrian is a die hard Philadelphia Eagles fan. But we have one big thing in common.. we don’t like the Dallas Cowboys. We have gone to a few Giants/Eagles game together which has been fun, but always at Metlife stadium (where the giants play, if ya didn’t know). When you are on Giants turf and you’re wearing Eagles gear you will get taunted haha!
Screen Shot 2015-10-16 at 9.00.11 PM

This year Adrian and I are playing in a survivor pool. Pick a different winner of one pro football game each week. Win, and live to pick again the next week. Lose, and you are eliminated. We are hanging in there so far. We picked the Jets this week to win. Cross your fingers for us! The pool started with 30+. Now there are only 15 people left.

Mediterranean Hummus Wraps via RDelicious Kitchen @rdkitchen
With football viewing comes snacks. Dating a dietitian is a good guarantee that healthy snacks be included. Typical football grub like wings, creamy dips, pizza, etc. which can leave you feeling weighed down. Many of those food are heavy with saturated fats.
I’m going a little Mediterranean with this recipe to trim back on saturated fats and include heart healthy unsaturated fats instead. Sabra is the Official Dips Sponsor of the NFL which is fitting that hummus is our power player for this recipe. With its combination of chickpeas, sesame seeds (tahini) and healthy fats, hummus can be part of an eating pattern for health, including the well established Mediterranean diet.
Mediterranean Hummus Wraps via RDelicious Kitchen @rdkitchen
Nine out of 10 Americans don’t eat enough vegetables each day, including nutrient-rich beans. Sabra is encouraging everyone #TwoSpoons of hummus a day. Just two spoonfuls a day will fulfill your bean recommendation for the week. How easy is that? Hummus can be versatile in your kitchen. Enjoy simply as dip for veggies, use as a spread in place of mayo, use to make a creamy dressing, or even to thicken soups in place of cream.

Print

clock clock iconcutlery cutlery iconflag flag iconfolder folder iconinstagram instagram iconpinterest pinterest iconfacebook facebook iconprint print iconsquares squares iconheart heart iconheart solid heart solid icon
Mediterranean Hummus Wraps sliced on a cutting board

Mediterranean Hummus Wraps

  • Author: Julie @ RDelicious Kitchen
  • Yield: 8

Ingredients

Scale
  • 2 bell peppers, chopped
  • 1 small eggplant, diced
  • 1 large zucchini, diced
  • 2 cloves garlic, minced
  • 1 tbsp olive oil
  • 1/2 cup Sabra roasted pine nut hummus
  • 1/4 cup pitted katamala olive, chopped
  • 1/4 cup feta cheese
  • 4 whole wheat wraps

Instructions

  1. Preheat oven to 400 degrees F.
  2. On a large baking sheet, add the red bell pepper, eggplant, zucchini, and garlic. Drizzle with olive oil. Bake for 20-25 minutes until vegetables are tender and beginning to brown, mixing occasionally.
  3. On each wrap, add 2 tbsp of hummus. Layer the roasted vegetables, katamala olives, and feta cheese. Roll up and cut into 4 pieces. 2 pieces per serving.

Recipe Card powered byTasty Recipes

What NFL team are you rooting for?
Signature
For more tailgating hummus inspiration, check out the recipes below by fellow Recipe Reduxers:


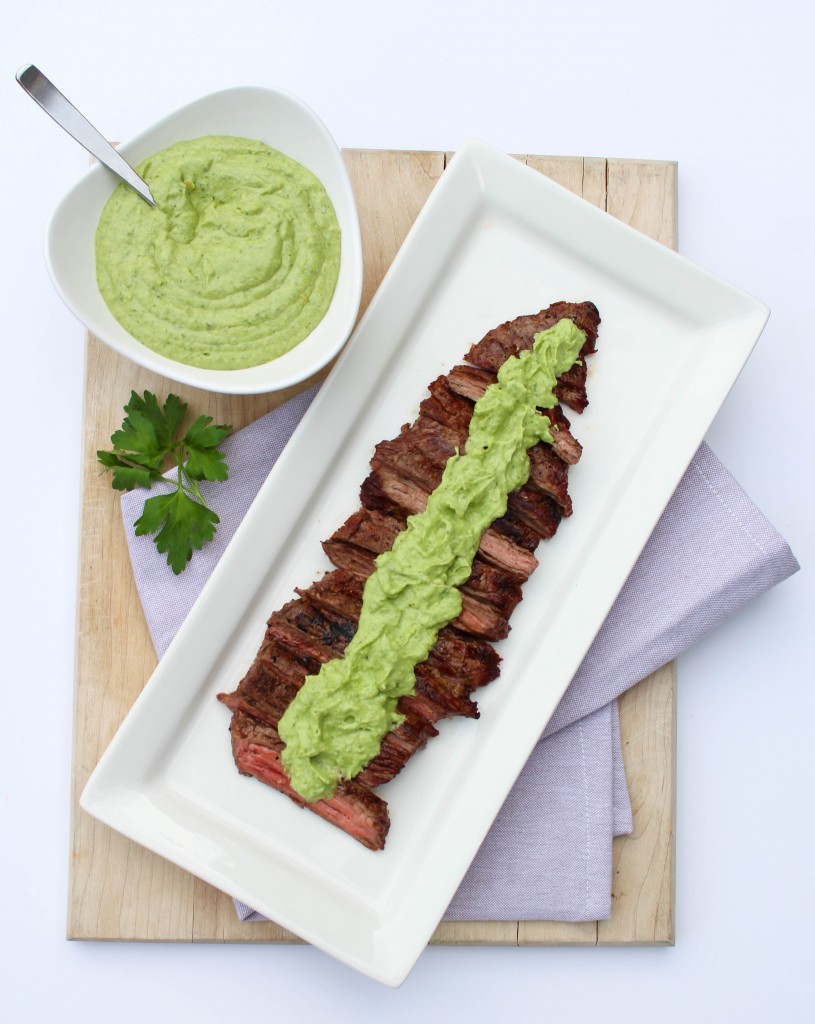
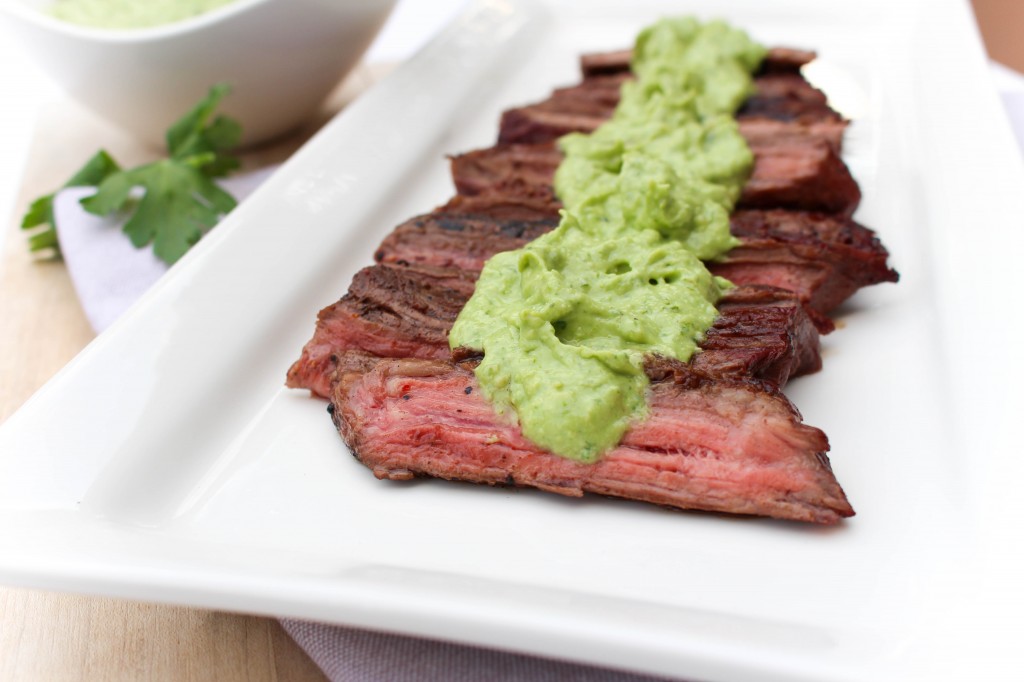
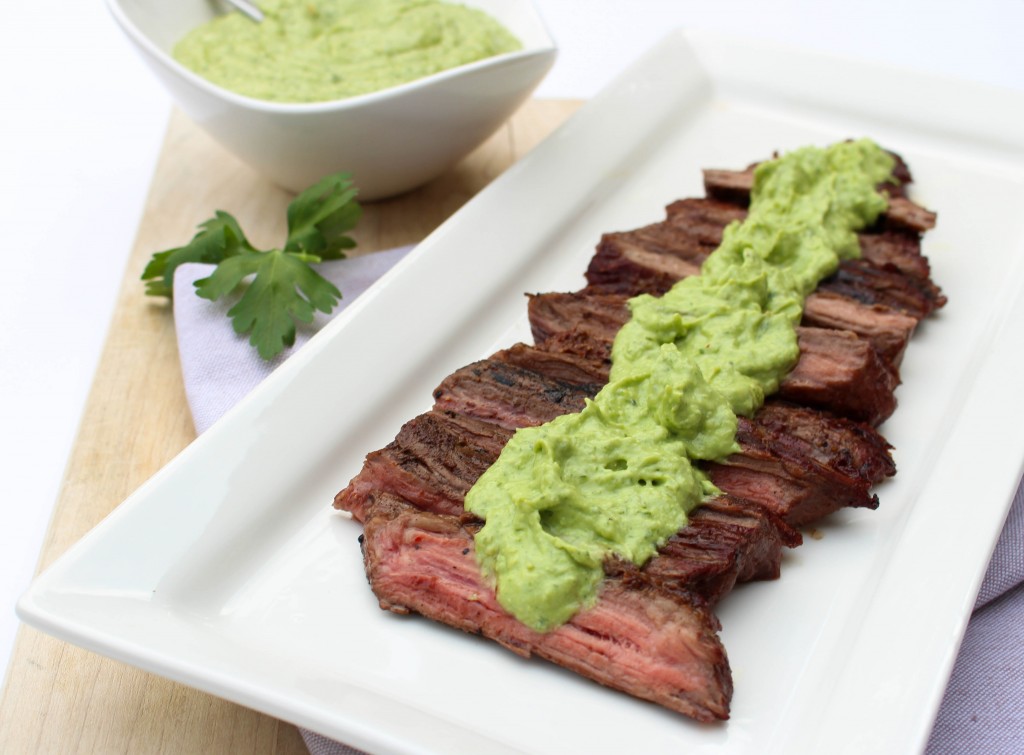
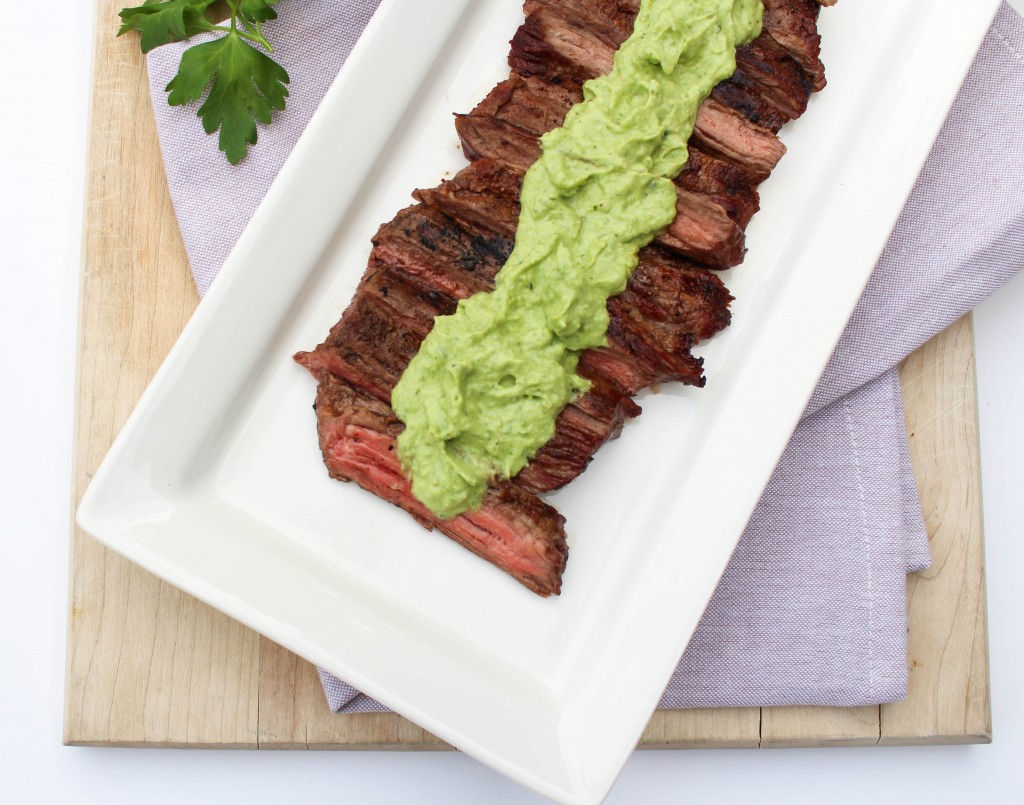
Flank Steak with Creamy Chimichurri

Need a dinner idea? Fire up the grill for lean cuts of beef, like flank steak and top it with a creamy chimichurri for a simple dinner solution. 

Flank Steak with Creamy Chimichurri via RDelicious Kitchen @rdkitchenDisclosure: By posting this recipe I am entering a recipe contest sponsored by The Beef Checkoff and am eligible to win prizes associated with the contest. I was not compensated for my time. 
Significant research shows that some people can lose and/or maintain a healthy weight, support a healthy metabolism, and age more vibrantly when they consume more high-quality protein, within calorie goals. With 25 grams of protein and 10 essential nutrients in just one 3-ounce serving, lean beef should make its way onto your dinner plate.
Flank Steak with Creamy Chimichurri via RDelicious Kitchen @rdkitchenConsuming about 20-30 gram of protein per meal has proven benefits including feeling satisfied after a protein-packed meal, which helps reduce mindless eating as well as helps build muscle and reduce body fat. But not all proteins are created equal. High quality proteins (like lean beef) are “complete” proteins that contain all the essential amino acids in the ratio needed by the body and are easily digestible.
Flank Steak with Creamy Chimichurri via RDelicious Kitchen @rdkitchenThe one thing about nutrition, is that the media really takes over with promoting or demoting certain nutrition attributes. For awhile red meat was put in a negative light due to it’s higher saturated fat content, but there are plenty of leaner cuts of red meat. Red meat contains Vitamin B12, B3 (Niacin), B6, Iron, Zinc, Selenium and plenty of other vitamins and minerals, so it is beneficial to incorporate in your diet in moderation.

The Beef Check Off makes it super easy to find out what cuts of beef are lean. Check out this online Butcher’s Counter to help you choose leaner cuts next time you are at the grocery store.
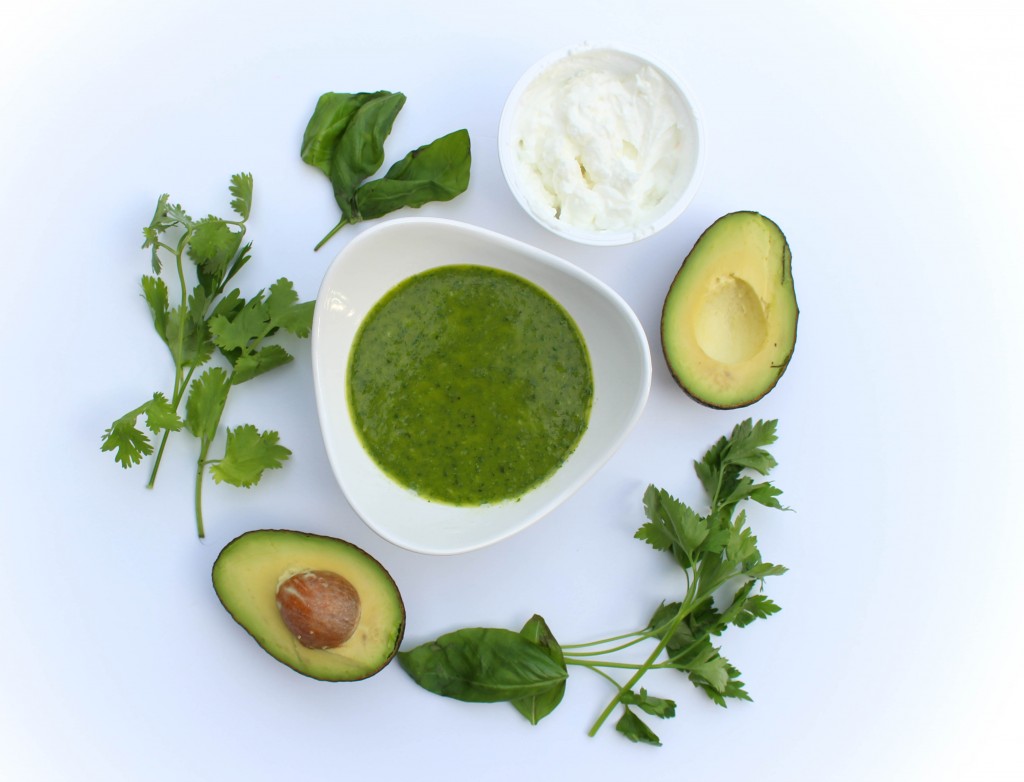
Flank Steak with Creamy Chimichurri via RDelicious Kitchen @rdkitchenThe lean cut I decided to use for this recipe is flank steak. I used to cook for a family and they would always request chimichurri to put in top of their flank steak. Chimichurri is an Argentinean sauce most commonly served with red meat. It was one of their favorite dinners, so I would cook it often. I was inspired to create a similar topping for flank steak but with a little twist. I made by regular chimichurri sauce but added plain Greek yogurt and avocado to make a rich a creamy.
Flank Steak with Creamy Chimichurri via RDelicious Kitchen @rdkitchenThe creamy chimichurri makes extra, which can be a great addition to a meal or snack as a dip or spread.

Print

clock clock iconcutlery cutlery iconflag flag iconfolder folder iconinstagram instagram iconpinterest pinterest iconfacebook facebook iconprint print iconsquares squares iconheart heart iconheart solid heart solid icon
sliced flank steak topped with creamy chimichurri

Flank Steak with Creamy Chimichurri

  • Author: Julie @ RDelicious Kitchen
  • Yield: 4

Ingredients

Scale
  • Creamy Chimichurri:
  • 1/2 cup packed fresh parsley leaves
  • 1/2 cup packed fresh basil leaves
  • 1/4 cup packed fresh cilantro leaves
  • 1/2 cup extra-virgin olive oil
  • 4 garlic cloves
  • 1 tbsp white wine vinegar
  • 2 tbsp lime juice
  • 1/2 tsp ground cumin
  • 1/2 tsp salt
  • 1/8 tsp freshly ground black pepper
  • 1 (6 oz) container plain Greek yogurt
  • 1 avocado
  • Flank Steak:
  • 1/2 tsp chili powder
  • 1/2 tsp salt
  • 1/4 tsp black pepper
  • 1 1/4 pounds flank steak

Instructions

  1. Preheat grill.
  2. For the creamy chimichurri: Combine the parsley, basil, cilantro, olive oil, garlic, vinegar, lime juice, cumin, salt, and pepper in a blender. Process until fresh herbs are finely chopped. Add the Greek yogurt and avocado and blend until smooth and creamy.
  3. For the flank steak: Combine the chili powder, salt, and black pepper in a small bowl. Rub evenly over the flank steak. Grill steak on both sides about 4 minutes each or until preferred doneness. Transfer to a cutting board and let rest for 5 minutes (to retain juices). Cut on bias into strips.
  4. Serve with the creamy chimichurri sauce.

Notes

This recipe makes extra creamy chimichurri. Enjoy as a dip or spread to accompany other recipes.

Recipe Card powered byTasty Recipes

Signature


Homemade Ranch Dressing

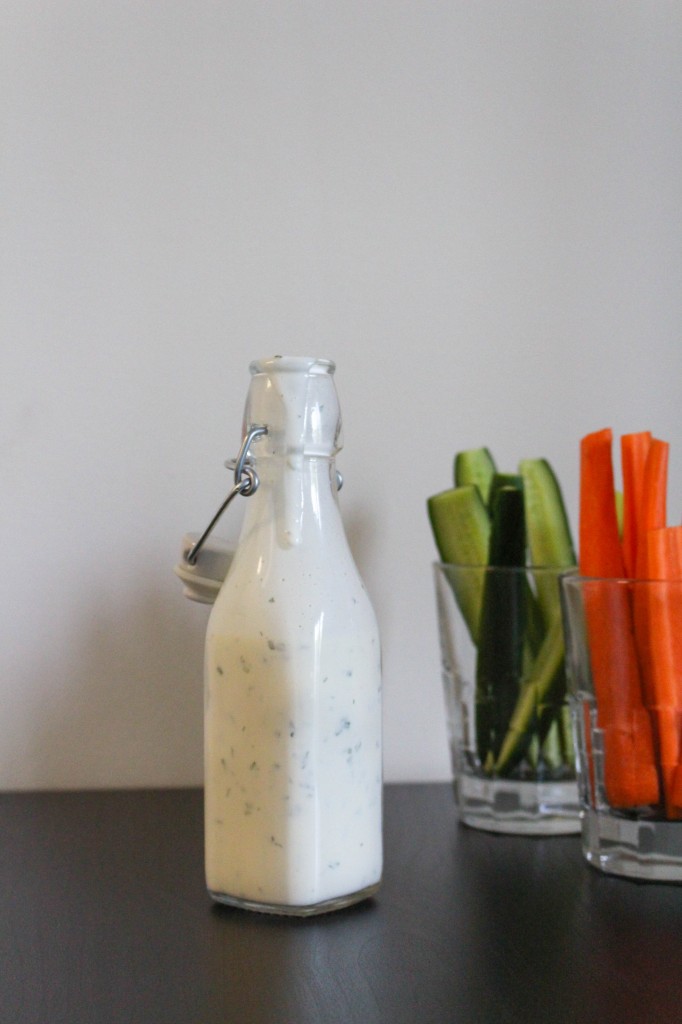
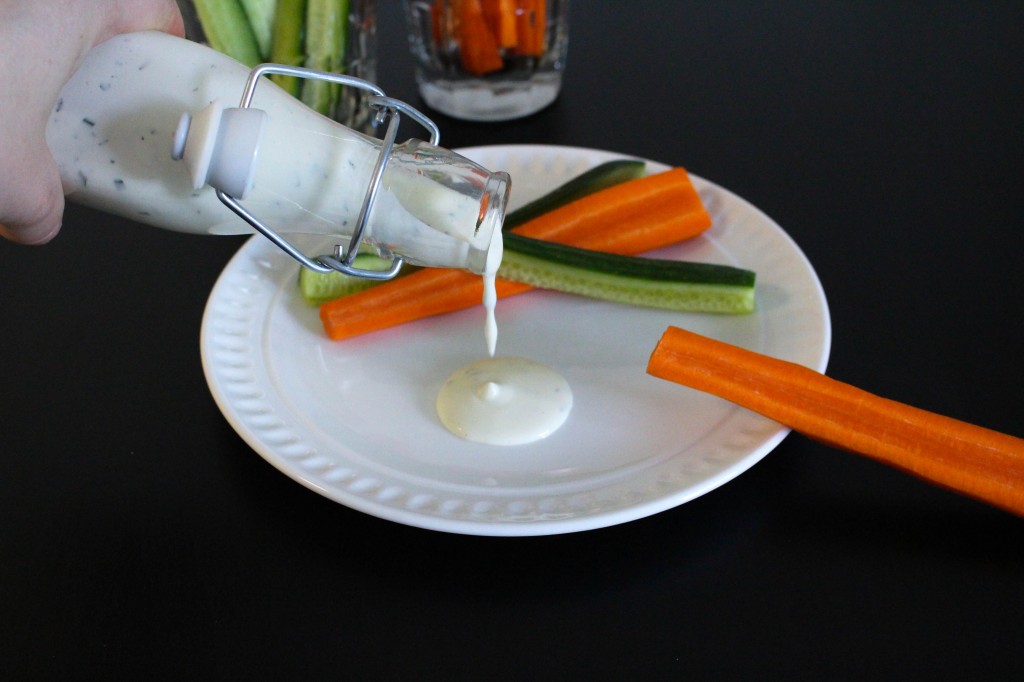
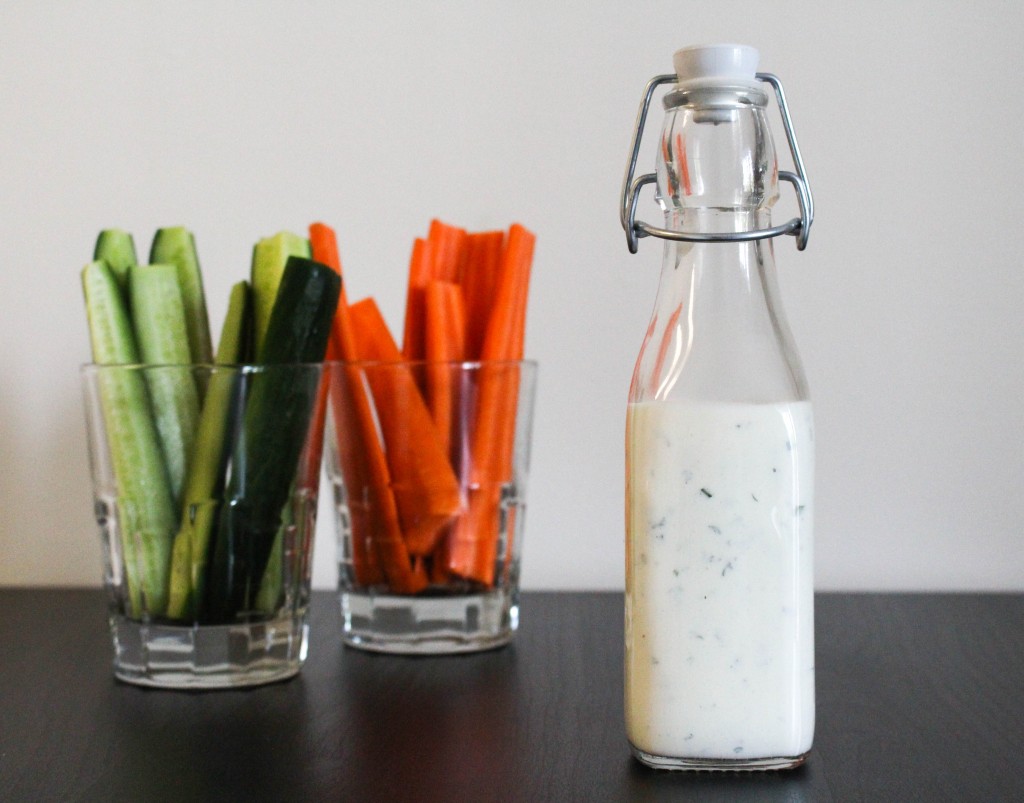
Love eating veggies dunked in ranch? Learn to make a homemade ranch dressing and feel okay with using raw eggs when using Davidson’s Safest Choice Eggs, a great option for all your recipes using raw or gently cooked eggs.

Homemade Ranch Dressing via RDelicious Kitchen @rdkitchenDisclosure: I received coupons for free samples of Davidson’s Safest Choice Eggs mentioned in this post. By posting this recipe I am entering a recipe contest and am eligible to win prizes associated with the contest. I was not compensated for my time. 

Homemade Ranch Dressing via RDelicious Kitchen @rdkitchenI recently taught a nutrition class about label reading and brought along various food items to evaluate.  As we went through the class learning about the different aspects of the nutrition facts panel, comparing labels, and discussing each item, people were astounded when we got to the ingredient list of their favorite items and couldn’t believe that in the every day foods they are consuming, they can’t even pronounce the ingredients! One of these items I brought to review was ranch dressing, that came along with a laundry list of ingredients. One person noticed that there were eggs in it, but the dressing is not cooked. To make a nice creamy buttermilk ranch, raw eggs are used. The bottle version is safe to eat, because it has added preservatives making it shelf stable.
But what if you want to make it at home? Can you use any eggs. No. You run the risk of salmonella.
Use Davidson’s Safest Choice Eggs because of their natural pasteurization process that uses a warm water bath that eliminates the the risk of Salmonella in eggs, but does not change the taste or nutritional value. Now you can have a peace of mind making a homemade ranch dressing to dunk your vegetables in!
Homemade Ranch Dressing via RDelicious Kitchen @rdkitchenThis recipe was one of those third times a charm kind of recipes. The first time I tried making it my measurements were off and it was a watery mess. The second time, my measurements were on point but the dressing broke and didn’t keep its creamy consistency. The third time.. well that’s where we are today! .. Delicious and ready to be eaten (& posted)!
The key for this recipe is patience.
Homemade Ranch Dressing via RDelicious Kitchen @rdkitchenFirst, we are starting off with a mayonnaise base of egg yolk, lemon juice (or an acid like vinegar), and oil. I made mine with good ole elbow grease. You can use a blender or food processor, but you are less in control and your mayonnaise may break more easily.
Start by whisking your egg yolk (and dijon mustard for a pop of flavor) creating a thick creamy consistency.
This is where patience is key.  The next step is where many (myself included during my second attempt of this recipe) make the mistake of adding the oil too quickly, causing the base to split. The egg yolk and mustard are going to grab hold of the oil and not letting it become thick and fluffy preventing the emulsification process. Add a few drops of oil at a time as you continuously whisk, then gradually progress to a steady stream as you remain whisking.
Don’t be alarmed as you whisk the color becomes a bright yellow. Once you add the lemon juice (acid) the color instantly lightens up. Then whisk in the buttermilk, yogurt, and seasonings to create the rest of the ranch dressing!

Print

clock clock iconcutlery cutlery iconflag flag iconfolder folder iconinstagram instagram iconpinterest pinterest iconfacebook facebook iconprint print iconsquares squares iconheart heart iconheart solid heart solid icon
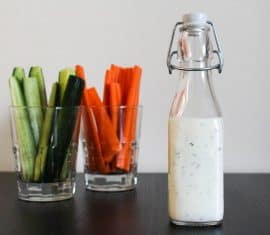
homemade ranch dressing in a glass jar with vegetables

Homemade Ranch Dressing

  • Author: Julie @ RDelicious Kitchen
  • Yield: 16 1x

Ingredients

Scale
  • 1 Davidson’s Safest Choice Pasteurized Egg yolk
  • 1 tsp dijon mustard
  • 1/2 cup canola oil
  • 1 tsp lemon juice
  • 1/4 cup reduced-fat buttermilk
  • 1/2 cup plain Greek yogurt
  • 1/2 tsp salt
  • 1/8 tsp pepper
  • 1 1/2 tsp dried parsley
  • 1 tsp dried chives
  • 1 tsp dried dill

Instructions

  1. In a large bowl, whisk together the Davidson’s Safe Egg yolk and mustard.
  2. Slowly, in a light steady stream, vigorously whisk in the canola oil until thickens. This is creating a mayonnaise base. Whisk until thick and creamy. (see blog post for detailed instructions of this step)
  3. Continue to whisk, add lemon juice, then buttermilk and yogurt.
  4. Whisk in salt, pepper, dried parsley, dried chives, and dried dill. Adjust seasonings to your flavor preference.

Recipe Card powered byTasty Recipes

Signature