This post may contain affiliate links. Read my privacy policy.
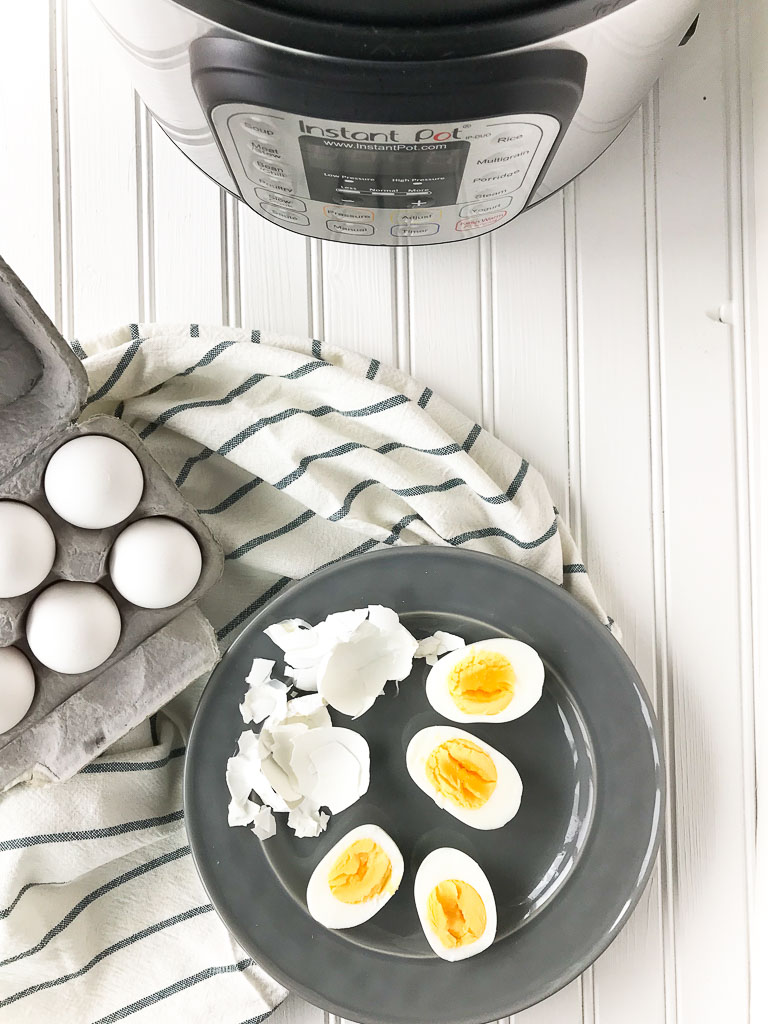
Do you have an Instant Pot and don’t know where to start? I am still getting the hang of it, but I’ve mastered how to make PERFECT hard-boiled and soft-boiled eggs in the Instant Pot.
Disclosure: This post was sponsored by the American Egg Board and the Egg Nutrition Center. Thank you for supporting the brands that make this blog possible!
What Can the Instant Pot Do?
215,000+ Amazon customers purchased the Instant Pot on Prime Day alone. Now that it’s in everyone’s kitchen they are looking for new recipes to try.
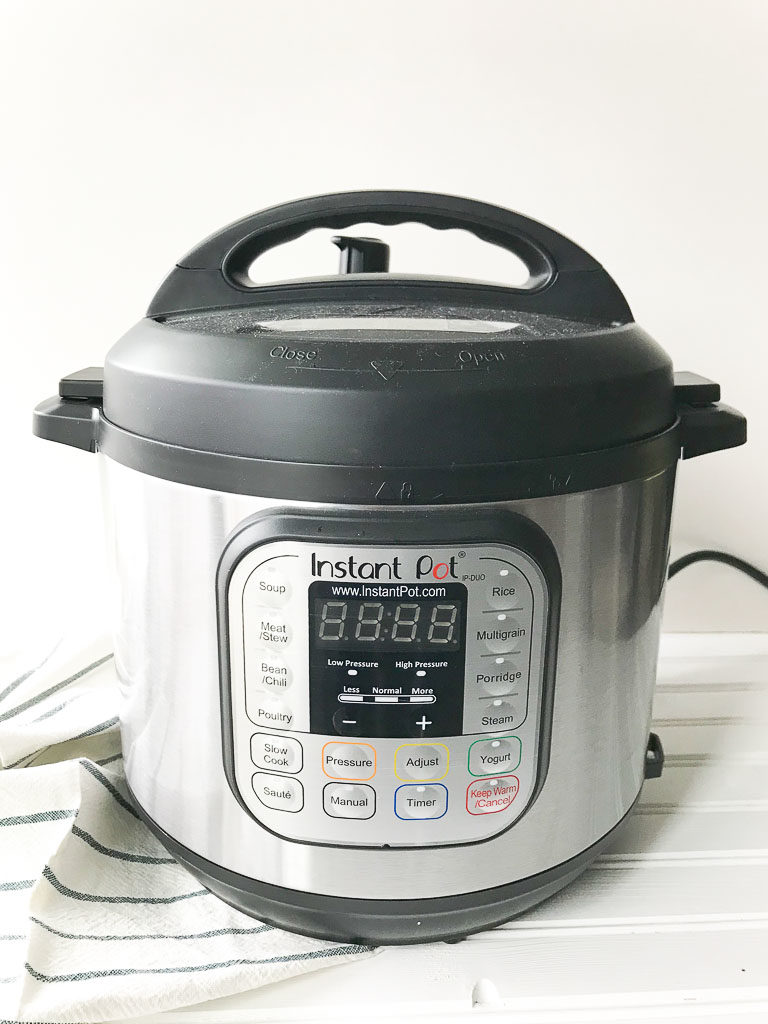
The Instant Pot is a single appliance that does the job of seven (yes, seven!) different kitchen appliances. It can handle the tasks of a slow cooker, electric pressure cooker, rice cooker, steamer, yogurt maker, sauté/browning pan, and a warming pot. Think of all those appliances taking up space in your kitchen that can be replaced by one.
New to using the Instant Pot? Learn about these seven tips for efficiently using your Instant Pot.
While I am still learning all the functions of the Instant Pot, the first technique I mastered was preparing hard and soft-boiled eggs.
How Are Eggs Healthy?
One large egg has 6 grams of high-quality protein and all 9 essential amino acids. Nearly half the protein is in the yolk so don’t ditch the yolk!
Eggs were once avoided and criticized for their cholesterol content. However, the totality of scientific research has shown no or little effect between dietary cholesterol and cardiac outcomes or markers of heart disease risk in healthy individuals.
Government and health organizations have revised their dietary cholesterol recommendations. The 2015-2020 Dietary Guidelines for Americans place no daily limit on dietary cholesterol intake. Foods like egg yolks and some shellfish are higher in dietary cholesterol but not saturated fats making them a healthful choice along with healthy eating patterns.
Hard-boiled eggs are something I pretty much meal prep every week for myself. One large egg has varying amounts of 13 essential vitamins and minerals, including choline plus the antioxidants lutein and zeaxanthin, all just for 70 calories.
Why the Instant Pot method works:
Now, I know making hard-boiled eggs on the stovetop is not too challenging, but this Instant Pot method makes it even simpler and in just 5 minutes, they are ready. Plus, there is a science behind why cooking eggs in the Instant Pot make them easier to peel. The reason according to Alton Brown is:
“Eggs that are quickly heated are easier to peel than eggs that are slowly heated, say in cold water brought to a boil. Fast cooking prevents the white from bonding so epoxy-like to the outer membranes. Since pressure steamers can generate temperatures between 230 and 250 degrees F it is suspected that this is actually why folks think they’re magic egg machines.” Also, thorough cooling eases peeling by allowing the proteins in the albumen to fully set and harden, thus preventing tearing.
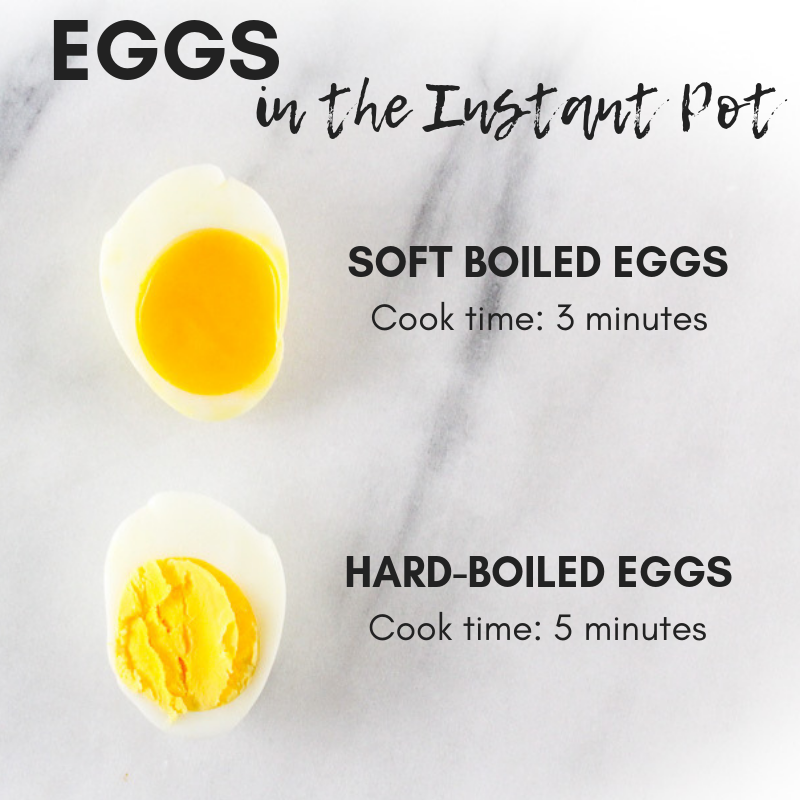
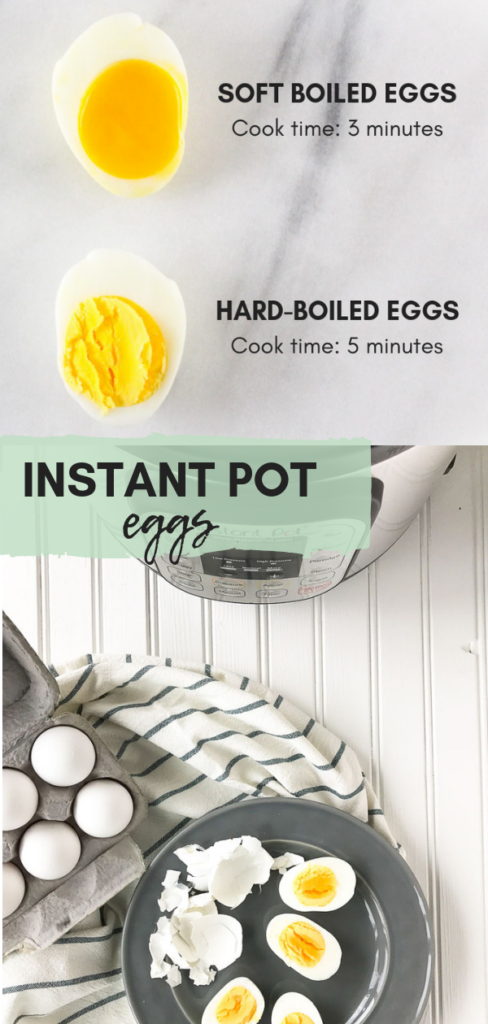
How to Make Soft Boiled Eggs in the Instant Pot
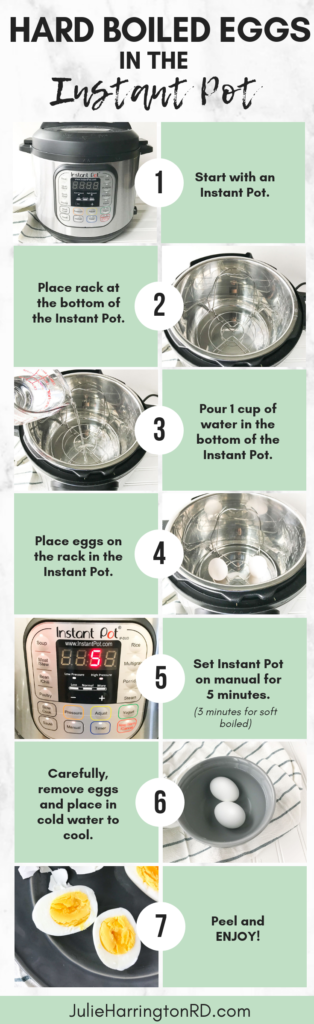
Pour the water in and place the rack (trivet) in the bottom. Then sit the eggs on the rack in the Instant Pot in a single layer.
Cook for 3 minutes on high pressure. Once the timer goes off, quickly release the pressure.
Transfer the eggs to a bowl with ice and cold water until they are cool enough to hold in your hand.
Peel right away.
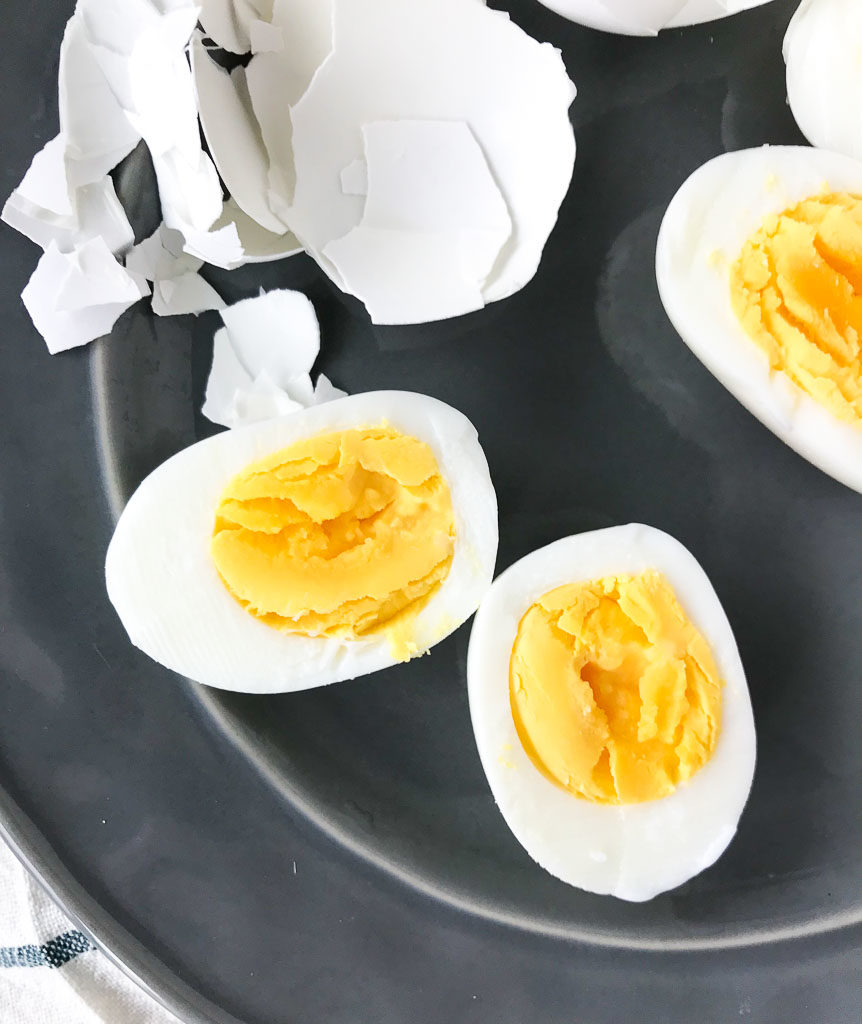
The Best Pressure Cooker Hard Boiled Eggs
If you want to make hard boiled eggs in the Instant Pot, pour the water in. Set the rack in the bottom. Place the eggs on the rack. Cook for 5 minutes using high pressure. Let the pressure release naturally for 5 minutes, then transfer to an ice bath. Peel once they are cool enough for you to hold.
Tips for Making
- Make sure the eggs are in a single layer, do not stack them.
- There is an accessory you can buy that is specifically for making eggs in the Instant Pot that may allow you to cook more at a time.
- When you release the pressure, place a towel over the top. Also make sure the pressure cooker is away from cabinets so the steam doesn’t ruin them.
How Long Do Cooked Eggs Last?
Hard-Boiled Eggs will keep up to a week in your refrigerator. Make a few perfect hard-boiled eggs to create delicious recipes throughout the week.
A few ways I use hard-boiled eggs are:
- Pair hard-boiled eggs with avocado and tomato. I usually just add a little salt and pepper, but when I’m looking to add an extra pop of flavor, I add everything but the bagel, sesame seasoning blend.
- For a filling snack, try my version of a “quick deviled egg”. Scoop out the yolk, mix with hummus and fill back in the egg white.
Ways to Use Instant Pot Eggs
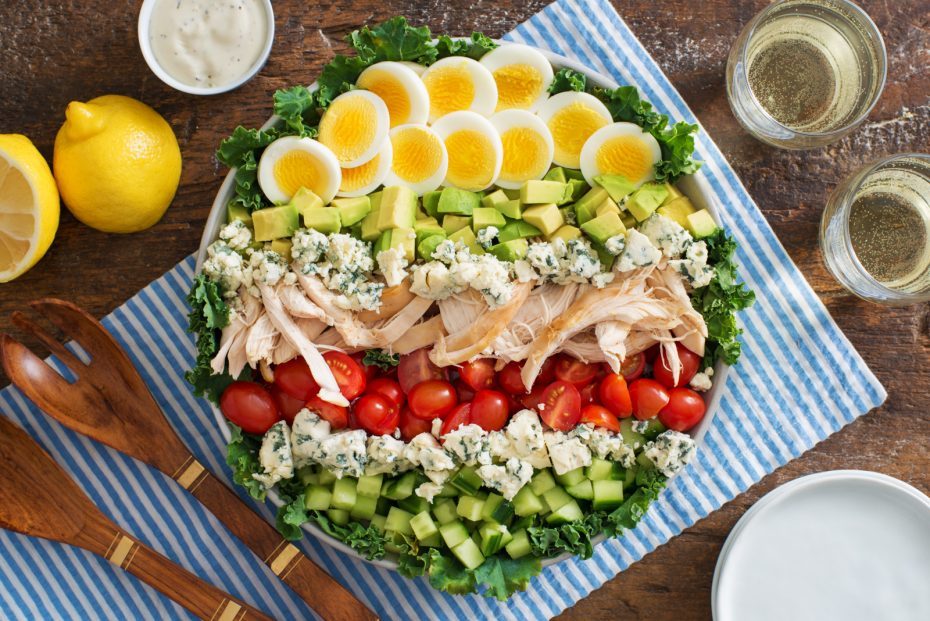
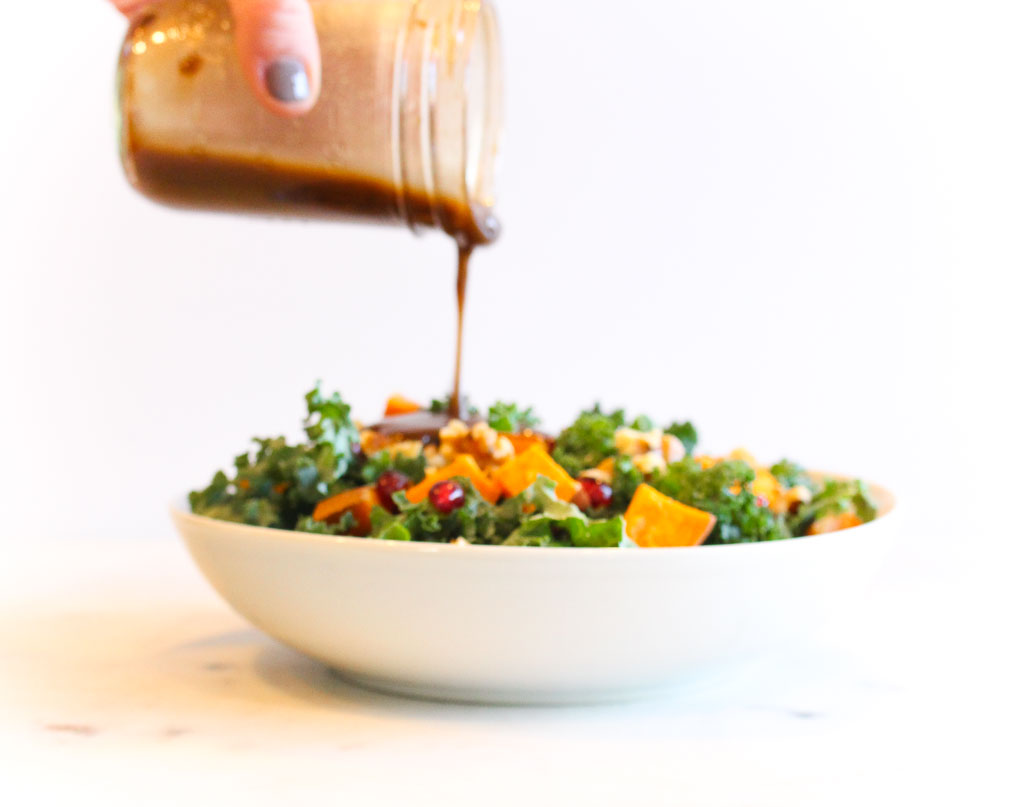
- Go for a traditional cobb salad but switch up your greens with a Kale Cobb Salad
- Serve Classic Egg Salad over greens or enjoy a Simple Egg Salad Sandwich
- Switch up your typical deviled egg appetizer with Quinoa and Greek Yogurt Deviled Eggs or Greek Deviled Eggs to serve at your next party
- Pair with whole grains! Try this Farro Grain Bowl or Brown Rice Breakfast Bowls
- Serve up lunch in style with this mason jar Mediterranean Chopped Salad
- Opt for a soft-boiled egg when served in a warm bowl of Ramen.
(source)
Print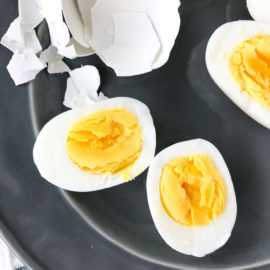
Make PERFECT Hard Boiled and Soft Boiled Eggs in the Instant Pot
- Prep Time: 3
- Cook Time: 5
- Total Time: 8 minutes
- Yield: 5
- Method: Instant Pot
Description
Make PERFECT Hard Boiled and Soft Boiled Eggs in the Instant Pot EVERY. SINGLE. TIME.
Ingredients
Ingredients:
Eggs (up to as many that can fit in an even layer in your Instant Pot – do not stack)
1 cup water
Equipment:
Instant Pot with the rack
Instructions
Place the rack in the bottom of the pot. Pour the water in the pot. Place the eggs on the rack.
For soft-boiled:
Set Instant pot on high pressure on manual 3 minutes. Quick release placing a towel over the valve. Quickly add eggs to a bowl with cold water and ice until cool enough to hold. Peel right away.
For hard-boiled:
Set Instant Pot on high pressure on manual 5 minutes. Natural release 5 minutes then use quick release placing a towel over the valve. Quickly add eggs to a bowl with cold water and ice until cool enough to hold. Peel right away.
Keywords: eggs, instant pot, meal prep


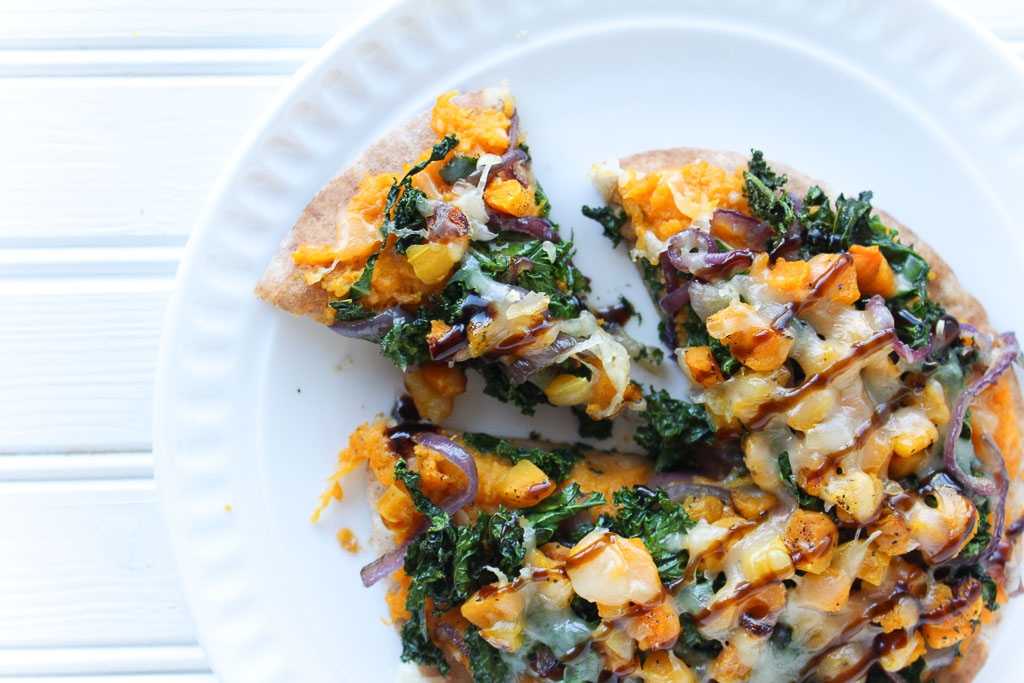 Butternut Squash and Kale Pita Pizza