This post may contain affiliate links. Read my privacy policy.
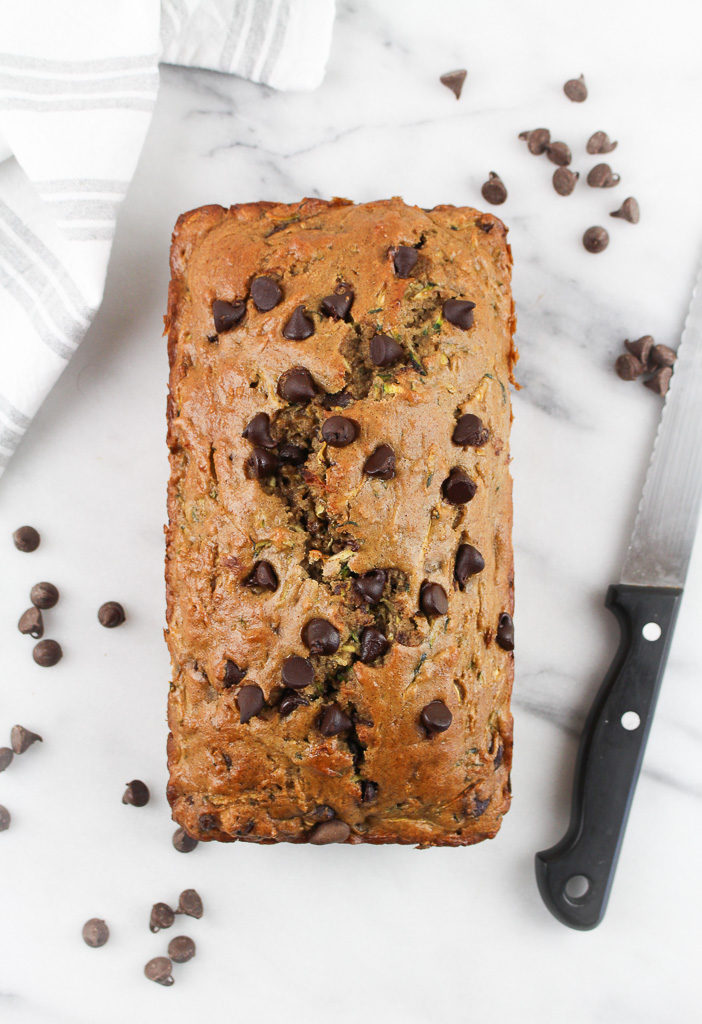
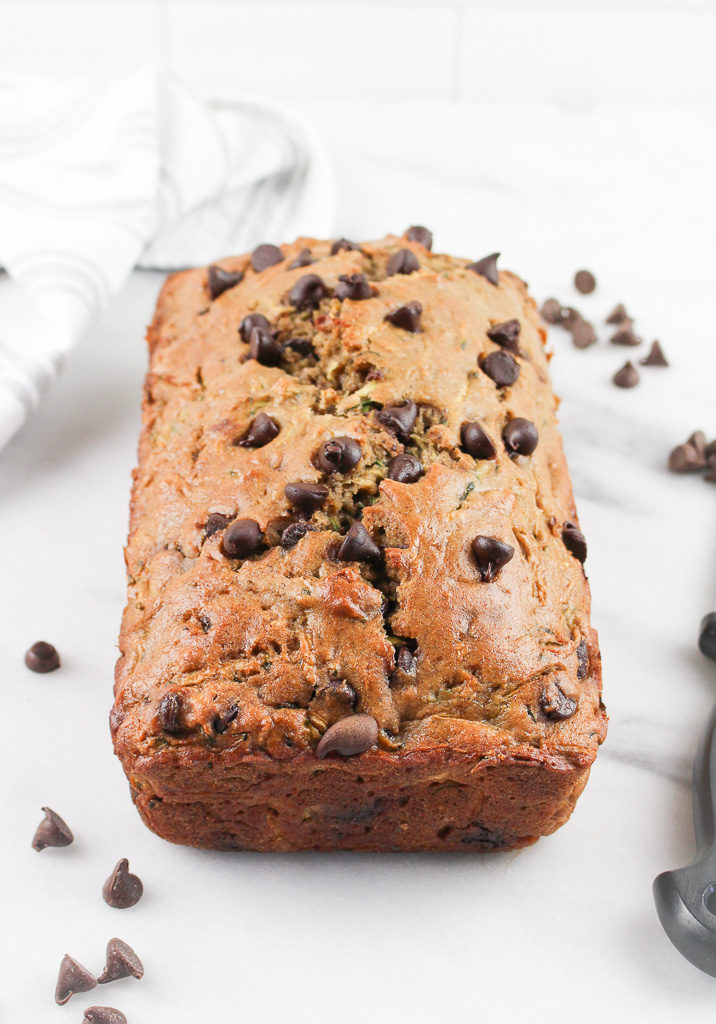
Do you have an overabundance of zucchini from your garden or the farmer’s market? Turn it into this delicious Chocolate Chip Zucchini Bread. With only a hint of sweetness, this can be enjoyed with any meal or snack.
I tend to enjoy cooking more as you can adjust the taste as you go and have more control throughout the process of a dish during the cooking process. For me, baking (especially when developing a new recipe), is much more intimidating. Why? Because you measure, mix, pour into a pan… and then hope for the best! Once that timer goes off you find out if it’s a win or a flop.
This quickbread is a little denser than regular quick bread, as I used half whole wheat flour. When I bake I try to squeeze in whole grains where I can. My favorite whole grain flours to bake with are whole wheat flour and oat flour. I’ve also been experimenting with almond flour and coconut flour too, which totally throw you for a curveball because they have very different baking properties.
Why We Love Zucchini
Just like most green vegetables, zucchini is a great source of vitamins and minerals including Vitamin C.
It can be cooked in so many ways, including baking. You can eat it raw or cooked.
If you have little ones, because of its mild taste you can sneak these veggies into baking recipes and they won’t even know it’s there but still get added nutrition!
When is Zucchini in Season and the Freshest?
Zucchini is primarily considered a summer veggie with its peak season being June through late August. However, most local markets and stores have zucchini available year-round, which is great because zucchini bread is popular around the fall, winter, and other holidays.
What You Need For Chocolate Chip Zucchini Bread
eggs
unsweetened applesauce
brown sugar
vanilla extract
whole wheat flour
all-purpose flour
salt
baking soda
baking powder
cinnamon
shredded zucchini
chocolate chips
How to Make Zucchini Bread with Chocolate Chips
Prep your loaf pan by spraying some non-stick spray. You can also use parchment paper if you choose.
Preheat the oven to 350 degrees.
Start by shredding the zucchini. Once you are finished try to get rid of as much moisture as possible by pressing firmly with paper towels.
Whisk together the eggs, sugar, applesauce, and vanilla in a large bowl until the mixture is smooth.
Grab another mixing bowl and sift together your flours, baking soda, baking powder, salt, and cinnamon.
Gently fold in the zucchini, being careful not to overmix. By folding the zucchini in you don’t have to worry about clumps, instead you will get a little bit in every bite.
Pour the dry ingredients into the bowl with the egg mixture slowly while constantly stirring. Add just a little at a time.
Toss in the chocolate chips and fold just until they are distributed evenly.
Pour the zucchini bread batter in the 9×5 loaf pan.
Bake for about 50 minutes. Check it with a toothpick to be sure that it is done. If it is, the toothpick will come out clean.
Take the bread from the oven and let it rest for at least 15 minutes before transferring it out of the loaf pan.
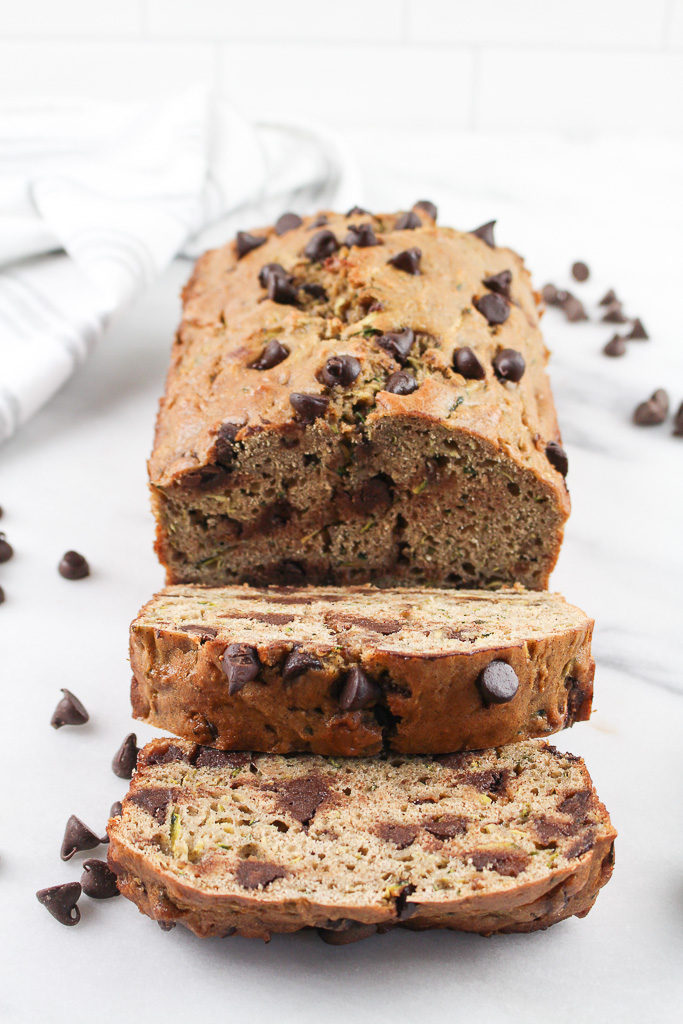
Cool completely before slicing so it doesn’t fall apart.
Variations of Zucchini Bread
- Want to make banana zucchini bread? Simply swap the applesauce for mashed bananas!
- Feel free to use any variety of chocolate (white, semi-sweet, dark, or milk).
- Add in some nuts for a nice crunch! Walnuts are my favorite to add to quick bread recipes.
Tips for Baking with Zucchini
- Do you have to peel zucchini before using it? Nope! Generally speaking, zucchini is not a veggie that needs peeling before eating.
- Zucchini contains a lot of moisture, so always follow the recipe when it comes to knowing whether or not to leave it or to remove as much as possible.
- To shred zucchini, you can use one of the sides of your cheese grater so no fancy equipment needed!
How to Store Zucchini Bread with Chocolate Chips
Wrap the zucchini loaf in plastic wrap and you can store it at room temperature for at least 4 days. You can also refrigerate it if you would rather do that.
To freeze, secure the cooled loaf in plastic wrap and place it in a freezer bag. Some also prefer to wrap it in another layer using aluminum foil. Freezing for later is a great idea when making multiple batches or if you want to make it ahead of time for special occasions.
Print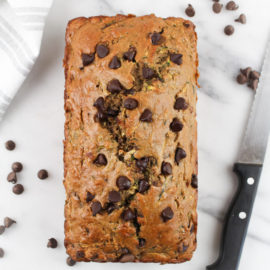
Chocolate Chip Zucchini Bread
- Prep Time: 15 minutes
- Cook Time: 55 minutes
- Total Time: 1 hour 10 minutes
- Yield: 12 1x
- Category: baked goods
- Method: oven
- Cuisine: American
Ingredients
3 eggs
1/2 cup unsweetened applesauce
1/2 cup brown sugar
1 teaspoon vanilla extract
1 1/2 cups whole wheat flour
1 1/2 cups all-purpose flour
1/2 teaspoon salt
1/2 teaspoon baking soda
1 teaspoon baking powder
1 tablespoon cinnamon
3 cups shredded zucchini (about 2 zucchinis)
1 cup chocolate chips
Instructions
- Preheat the oven to 350 degrees F. Grease a 9×5 inch loaf pan with cooking spray.
- Shred zucchini. Using paper towels press as much moisture you can from the zucchini.
- In a large bowl, whisk together the eggs, applesauce, brown sugar, and vanilla until smooth.
- In a separate bowl, sift together whole wheat flour, all-purpose flour, salt, baking soda, baking powder, and cinnamon. Fold zucchini into flour. This will help zucchini being dispersed throughout the bread vs. clumping together.
- Add the dry ingredients to the wet ingredients, a little at a time, mixing until well combined.
- Fold in the chocolate chips until they are evenly distributed throughout the batter.
- Pour the batter into the prepared loaf pan. Bake for 50-55 minutes, until a toothpick inserted in the middle and comes out clean.
- Remove the bread from the oven, and let it cool for 10-15 minutes before taking it out of the loaf pan. Cool completely before slicing.
Keywords: zucchini bread, zucchini, chocolate chips, baking, whole grain,

This recipe was originally posted in 2013. The recipes, images, and content have been updated.