This post may contain affiliate links. Read my privacy policy.
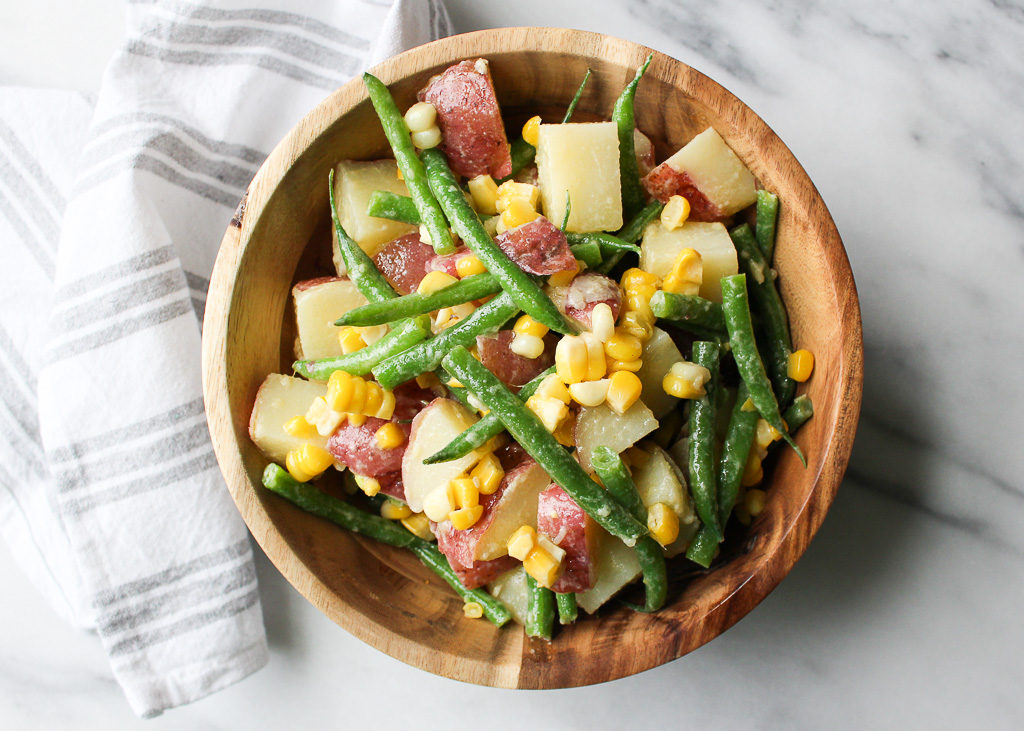
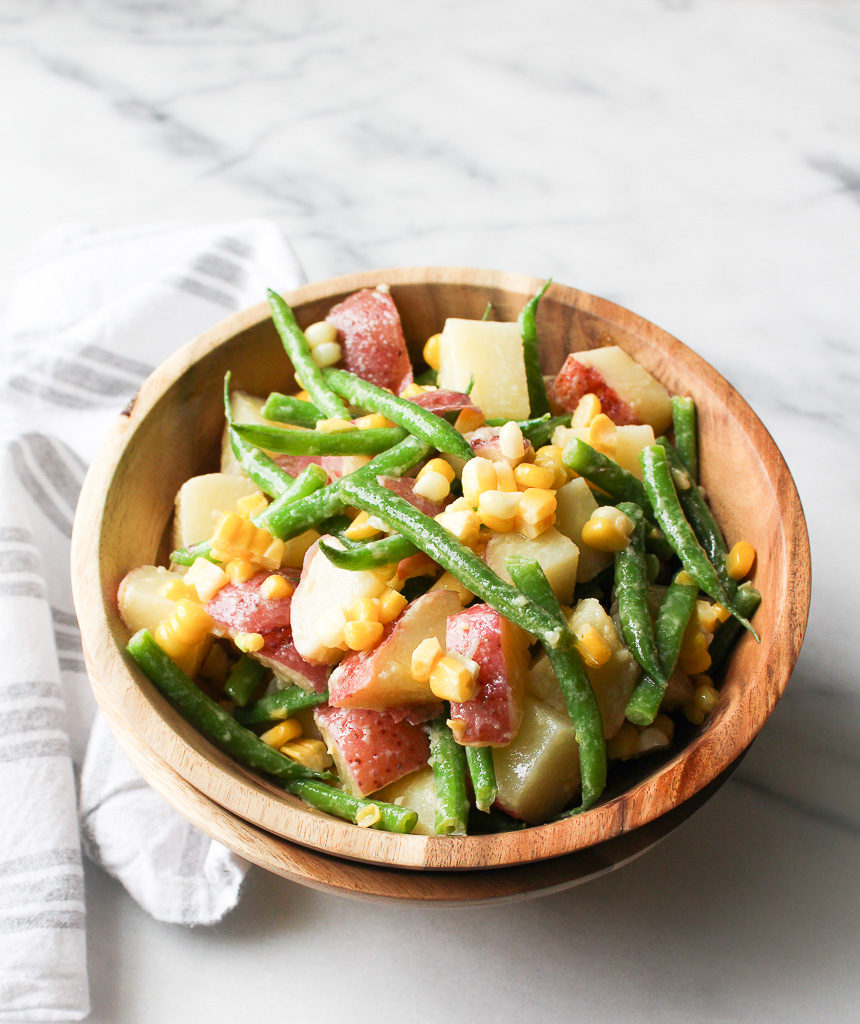
Gearing up for picnics and barbecues this summer? Add this Green Bean Potato Salad to the menu.
One of my jobs during summers at college, I was working at this outdoor catering company, where we prepared food on-site at graduation parties, barbecues, picnics, etc. When working in catering, you have to prepare recipes in large quantities to feed the masses. One of my least favorite things to prepare is the potato salad.
Traditional potato salad is dressed with mayonnaise. That is one condiment that I just never enjoyed. Now, just imagine preparing potato salad for 100+ people at one time. The amount of mayo I had to scoop daily was unreal.
Since I don’t personally enjoy mayonnaise, I wanted to create a non-mayo based dressing for potato salad with an added twist by adding green beans and corn. Don’t be afraid to switch up a classic and bring something new to the table, like this Green Bean Potato Salad.
Why use red bliss potatoes for this Green Bean Potato Salad
Red potatoes have smooth thin skin. Its skin is edible, so it’s not necessary to peel or remove it after cooking. Like many waxy varieties, red potatoes are low in starch and won’t produce a light, fluffy texture. They are best used for boiling and roasting and work well in dishes that would benefit from a potato that holds its shape, even when sliced and diced, like for this Green Bean Potato Salad.
Health benefits of potatoes
Poor potatoes have a bad reputation in some people’s eyes. “Oh, I can’t eat potatoes because they are too starchy” Yes, potatoes are starchy because they are carbohydrates and carbohydrates give us energy. Also, there are many nutritional benefits that potatoes provide our bodies. They are high in potassium, vitamin B6, and vitamin C. When enjoyed in moderation and prepared in a healthy way, potatoes can be a nutritious addition to your diet.
Culinary term: blanching & shocking
The word blanch refers to a cooking technique in which food is briefly immersed in steam or boiling water, usually followed by shocking, which is rapidly cooling the food in an ice bath or with cold air.
When you blanch food for the right amount of time it helps maintain flavor, color, texture, and nutritional value. No one wants limp and soggy green beans.
Print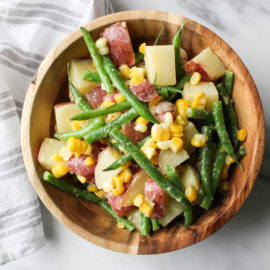
Green Bean Potato Salad
- Prep Time: 5
- Cook Time: 40
- Total Time: 45 minutes
- Yield: 10 1x
- Category: side dish
- Method: stove top
- Cuisine: American
Ingredients
1 pound red bliss potatoes
2 ears of corn, shucked
1 pound French green beans, cut in half
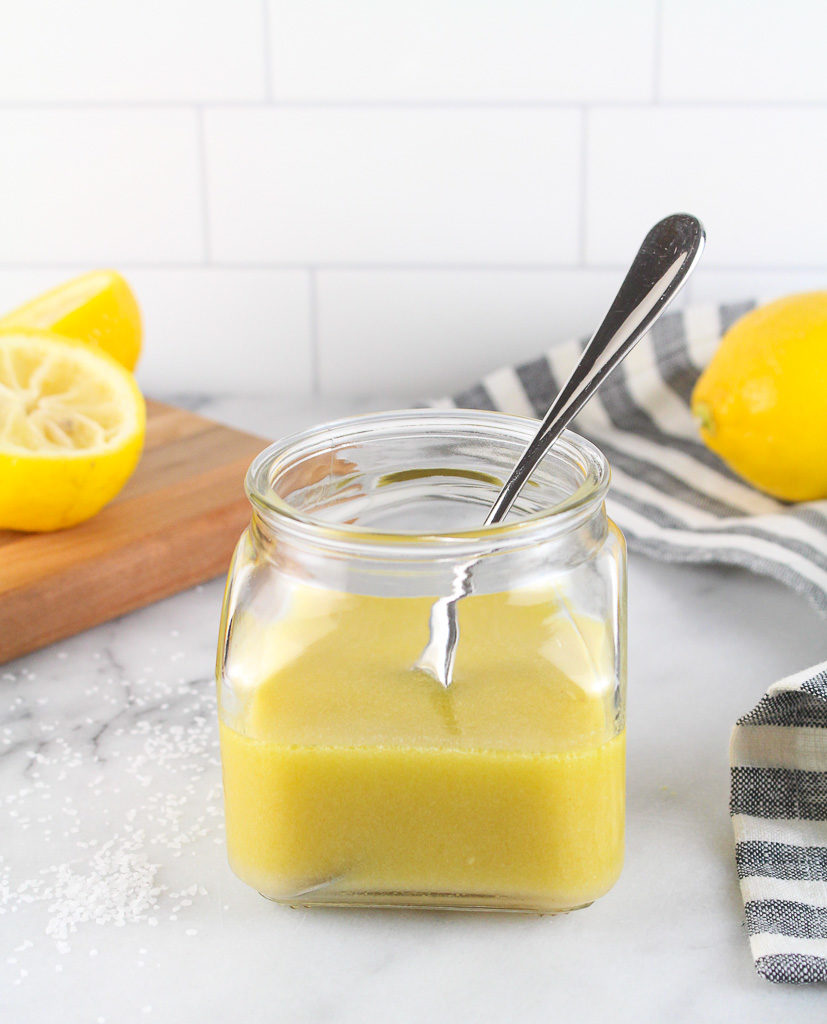
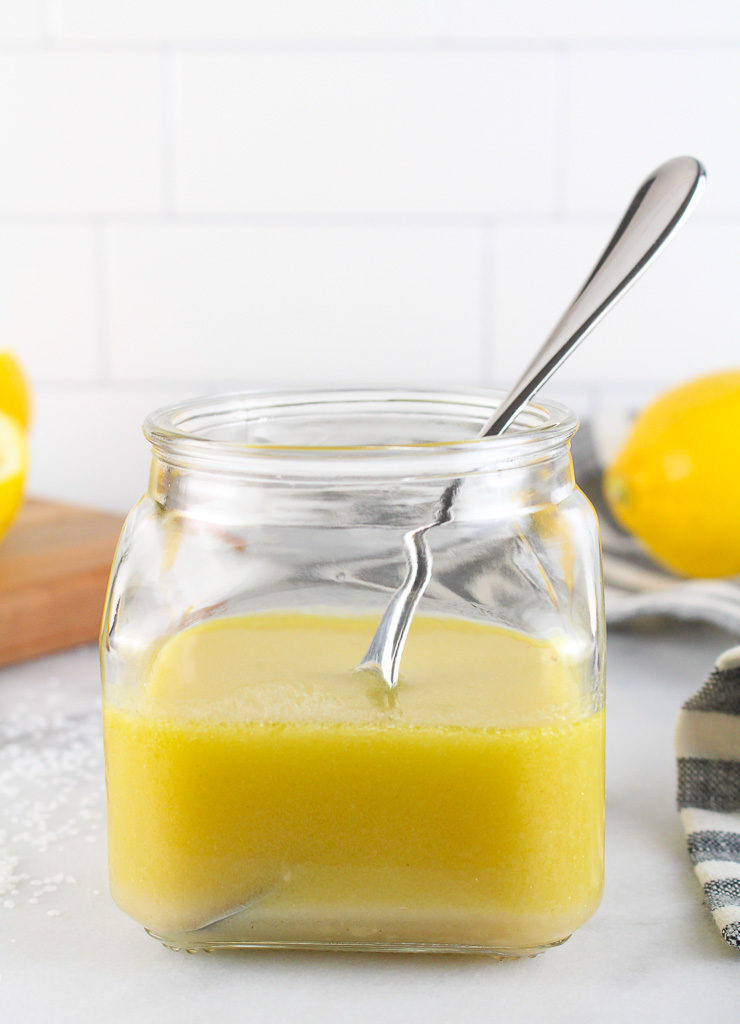
1 lemon, juiced (or 2 tablespoons lemon juice)
2 tablespoons Dijon mustard
1/4 cup olive oil
salt and pepper, to taste
Instructions
- In a large pot add potatoes. Fill with water and bring to a boil and season with salt. Cook potatoes until fork tender, about 20 minutes (depending on the size of your potatoes).
- Using tongs, carefully remove the potatoes and let cool. Add corn to the boiling water. Cook for 10 minutes, or until corn is tender.
- Using tongs, carefully remove the corn and let cool. Add the string beans to the boiling water. Cook for about 3-5 minutes, or until green beans are tender. Drain green beans and immediately put them in an ice bath to stop the cooking process. When cooled drain green beans and let dry.
- When potatoes are cooled, dice into cubes. Cut corn off the cob. (see notes below for a tip to do this easily)
- In a large bowl, whisk together lemon juice, Dijon mustard, and olive oil. Add potatoes, corn, and green beans. Toss to coat.
- Season with salt and pepper, to taste.
- Let the potato salad sit in the refrigerator for at least 30 minutes to let all the flavors marinate.
Notes
Tip to cut corn off the cob.
Substitution tip: Don’t have corn on the cob? Swap for sweet canned corn or frozen corn kernels.
Keywords: potato salad, green beans, corn, potatoes, side dish, recipe

This recipe was originally posted in July 2013. The photos and content of the post have been updated.