This post may contain affiliate links. Read my privacy policy.
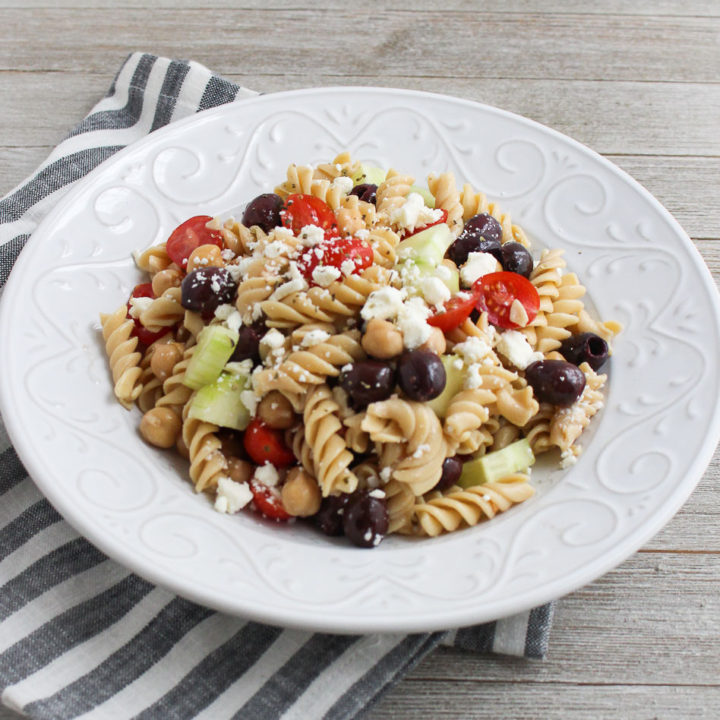
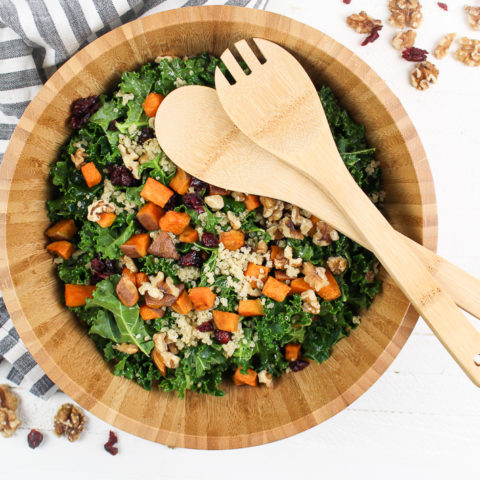
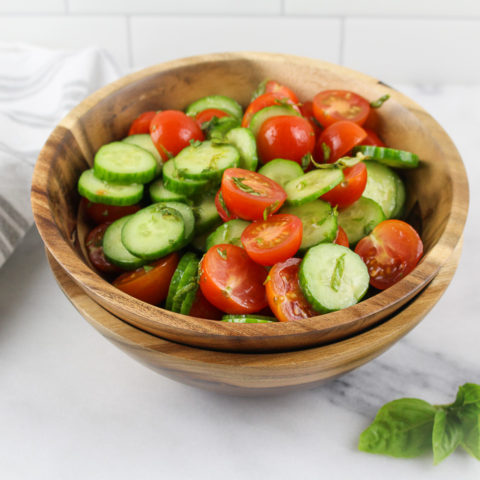
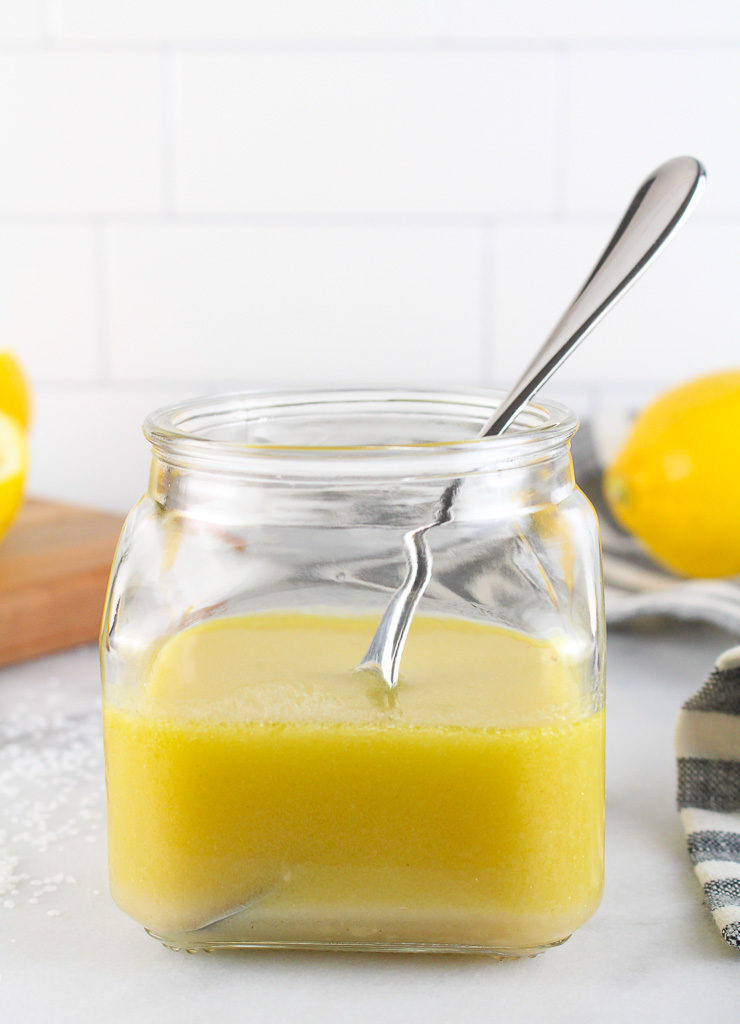
Brighten any salad, grain, or vegetable dish with this simple lemon vinaigrette. Made with ingredients you probably already have on hand, simply whip this up in a mason jar.
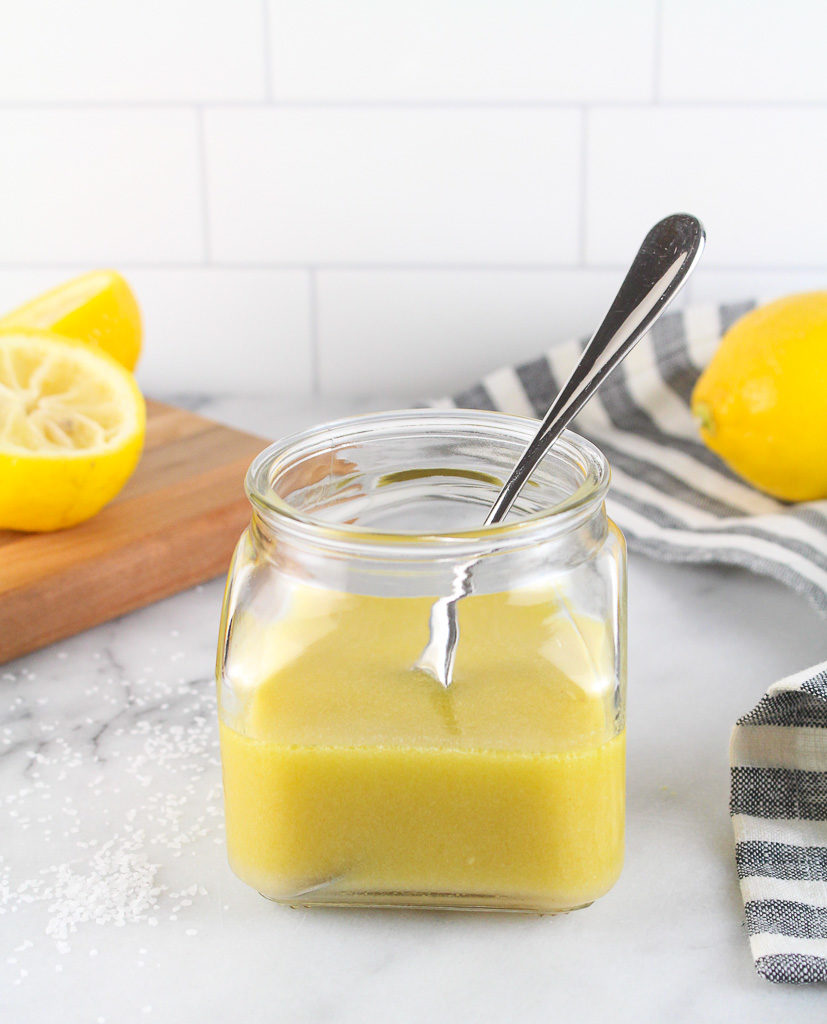
I don’t think people realize how EASY it is to make a homemade dressing. The most basic vinaigrette recipe is mixing an acid and a base. Then just add seasonings you enjoy. Simply pour ingredients into a mason jar and shake away. Your dressing is made! How easy was that? Plus, making it in a mason jar is ready to store any leftovers.

If you want to go beyond the basics, use this guide to build your own vinaigrette.
Create a homemade vinaigrette
Choose your acid:
This can be in the form of
Try acids like apple cider vinegar, balsamic vinegar, red wine vinegar, rice vinegar, lemon juice, lime juice, or other citrus juices.
Tip: Think about the components of your salad. If you have a salad with bright colors, avoid darker vinegar. Once the salad is dressed, those bright vibrant colors will look muddy. Remember – we eat with our eyes first!
Choose your base:
The base is oil. Use good quality oil. This can be a simple olive oil or fancy garlic and rosemary-infused walnut oil. Again think about the components of your salad. If there are avocados in your salad, why not try avocado oil?
Try oils like olive oil, avocado oil, walnut oil, pumpkin seed oil, hazelnut oil, or other flavor-infused oils.
Add seasonings:
If you are new to making dressings, simple olive oil and balsamic vinegar dressing with a pinch of salt and pepper will work just fine. Once you are comfortable making dressings, try amping it up with other seasonings.
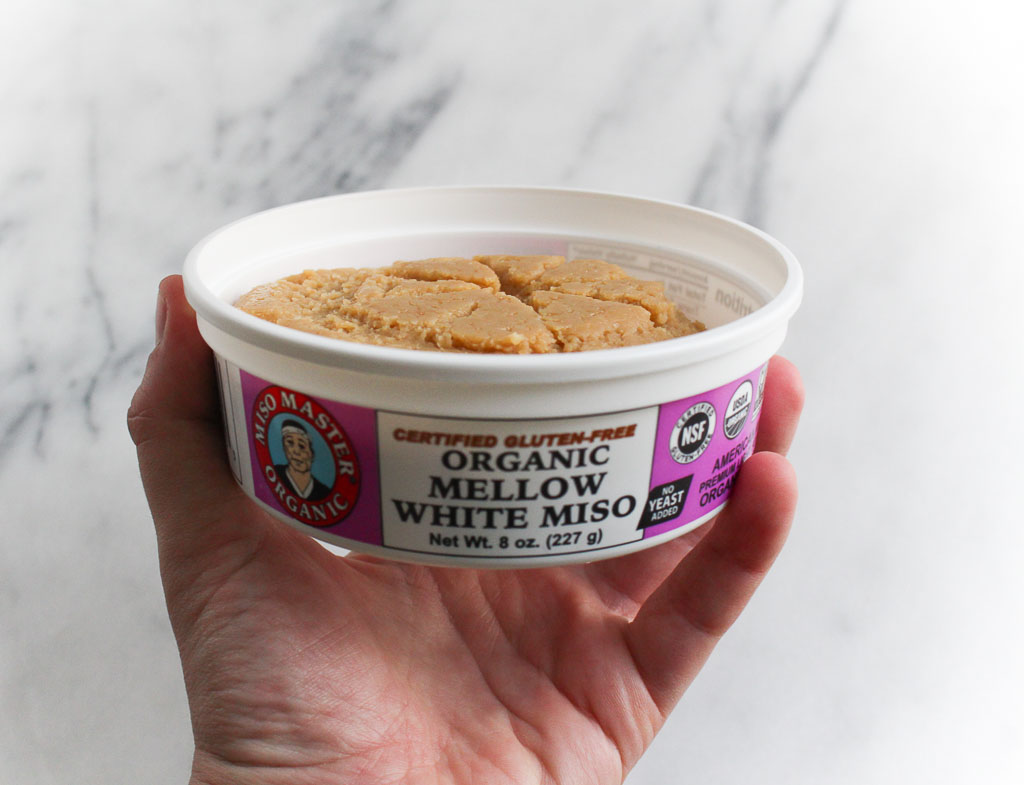
Add a teaspoon of Dijon mustard to add a little tanginess and also to help create a creamier vinaigrette. Add a teaspoon of miso for an umami flavor. Try using fresh herbs for a pop of flavor. For a sweet vinaigrette, add a little maple syrup or honey.
Once you start playing around with different combinations, you’ll start to know what flavor combinations you like best!
Print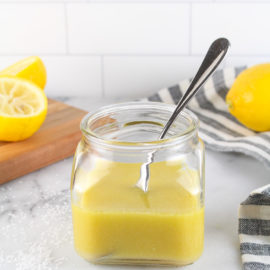
Lemon Vinaigrette
- Prep Time: 5
- Total Time: 5 minutes
- Yield: 3/4 cup 1x
- Category: dressing
- Method: no-cook
Description
This lemon vinaigrette is incredibly easy to make. Drizzle it on all your salad and veggie recipes!
Ingredients
- 1/3 cup olive oil
- 2 lemons, juiced (approx 1/3 cup juice)
- 1 teaspoon Dijon mustard
- 1 teaspoon maple syrup
- 2 garlic cloves, minced
- salt and pepper, to taste
Instructions
Simply measure ingredients and add to a mason jar. Secure lid and shake. Season with salt and pepper, to taste.
Keywords: dressing, vinaigrette, homemade, mason jar, salad dressing, healthy fats, lemon, citrus, cooking tips