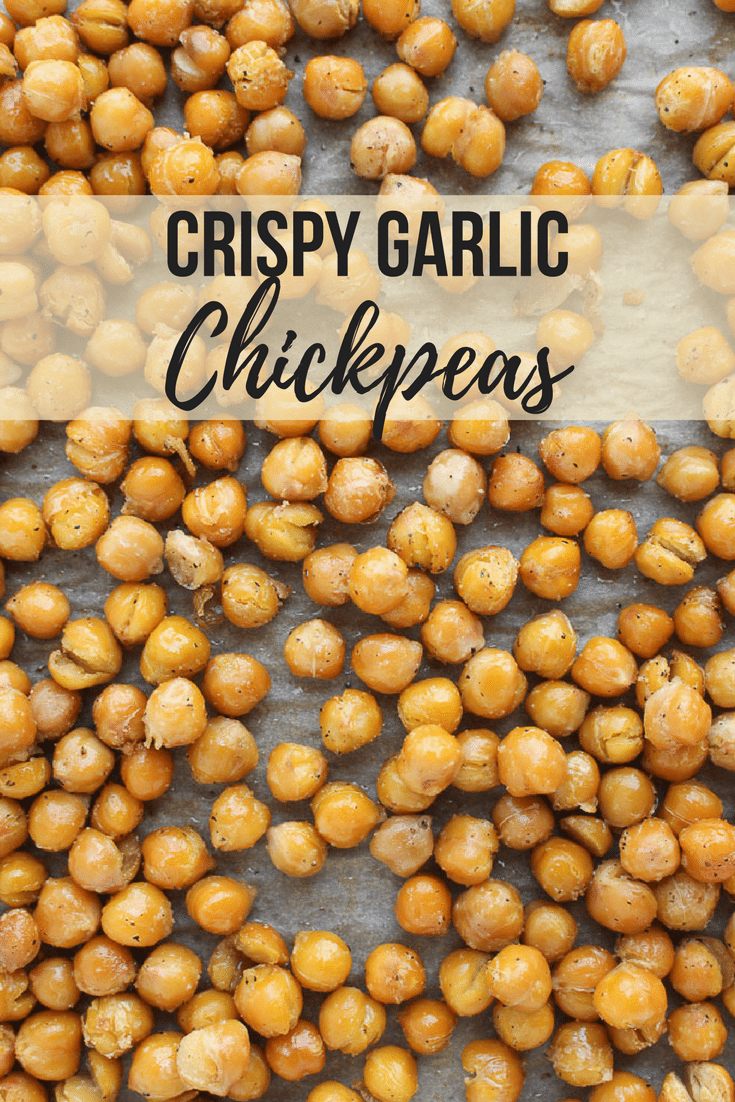
Chickpeas, also known as garbanzo beans, is a popular legume across many cuisines. These versatile legumes are also packed with high-quality plant protein, soluble and insoluble fiber, and beneficial polyunsaturated fatty acids.
Grab these for a protein-packed snack or top on a salad. I always tell clients to make these to top their salads when they are looking for a crunch factor in place of croutons.
The best part, you can customize these with any flavor you like! Craving sweet? Try roasting the chickpeas with a little cinnamon and sugar. Looking to add a little heat? Add a little chili powder to the mix.
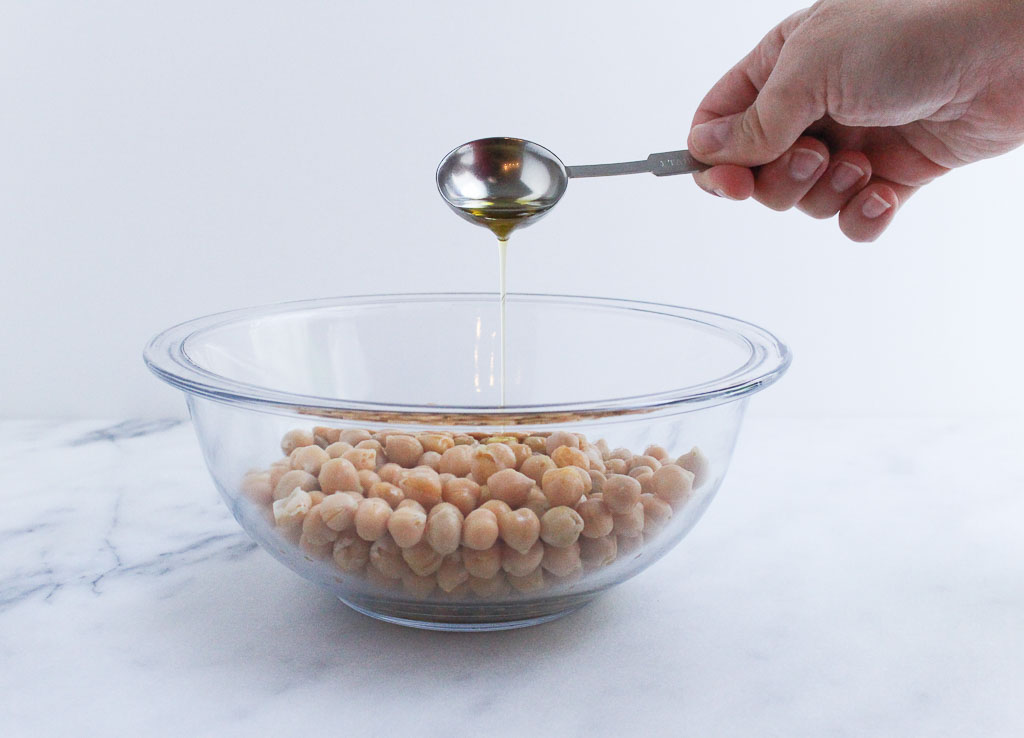
Dry chickpeas thoroughly. In a bowl, toss the chickpeas with olive oil and lemon to coat. Sprinkle with garlic powder and salt. Toss again.
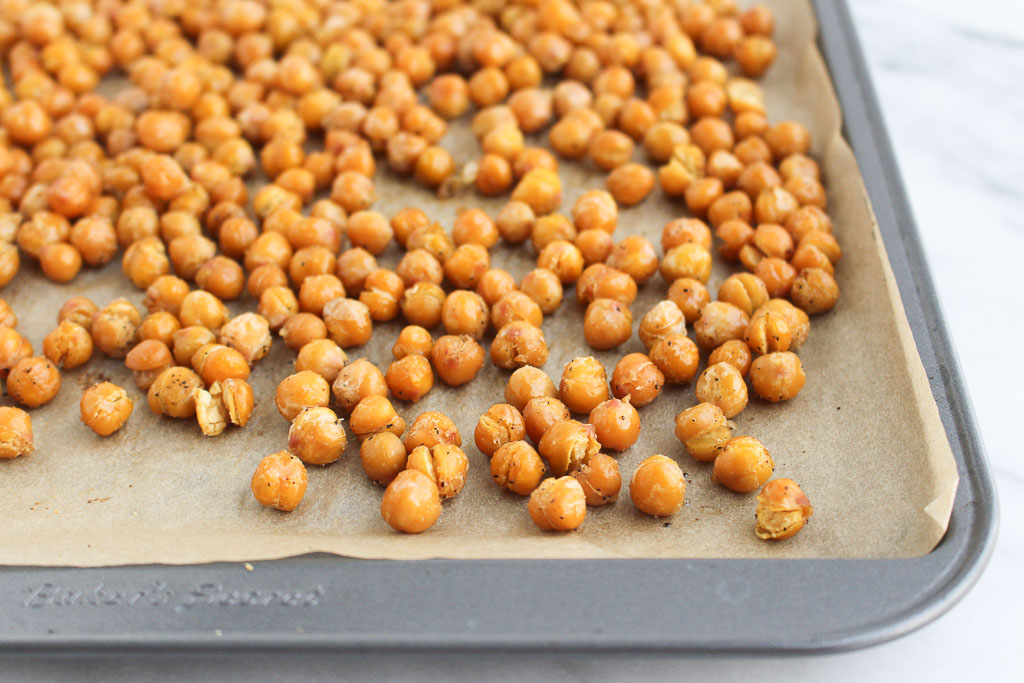
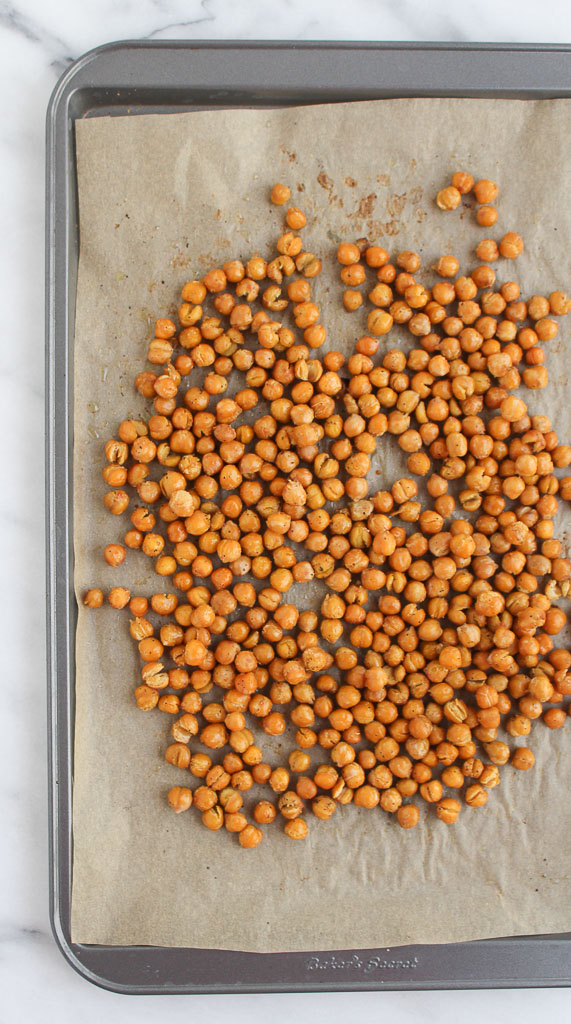
Transfer chickpeas in an even layer to the prepared baking sheet.
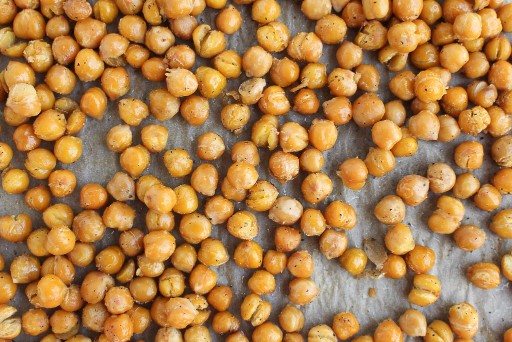
Bake for 50 minutes to 1 hour, stirring occasionally, until crispy. Let cool for at least 1 hour, which will make the chickpeas crunchier as they cool.
This post may contain affiliate links. Read my privacy policy.
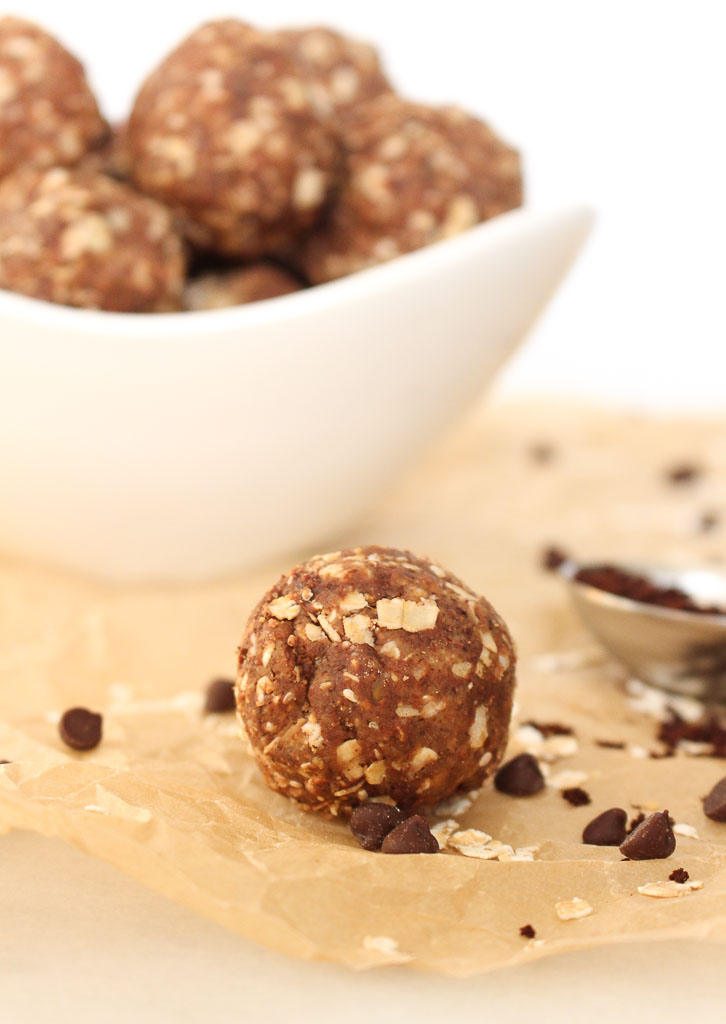
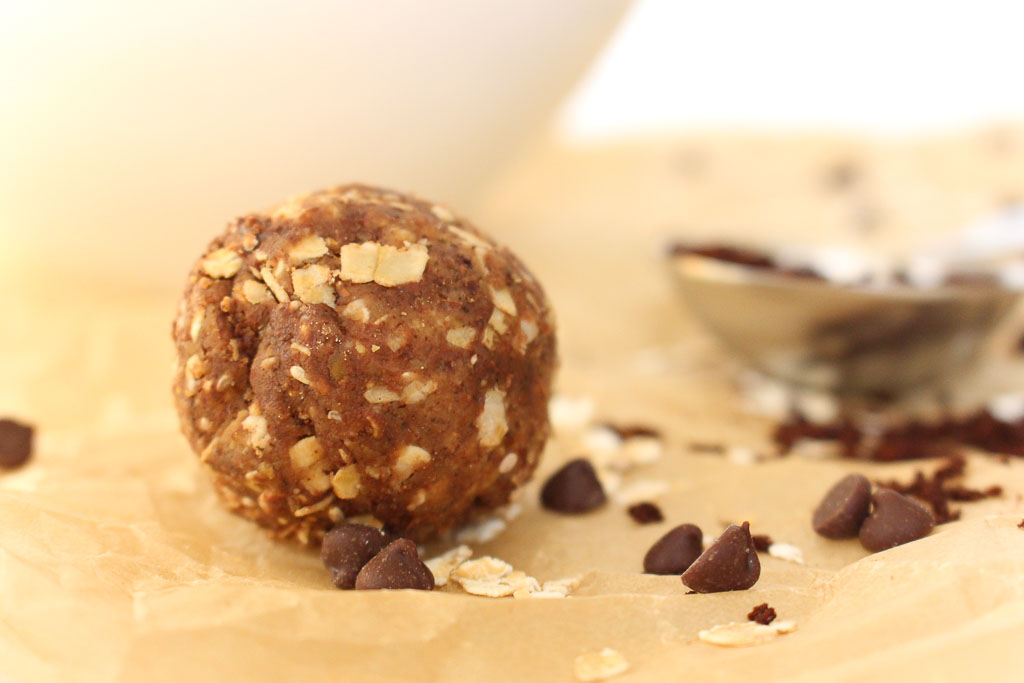
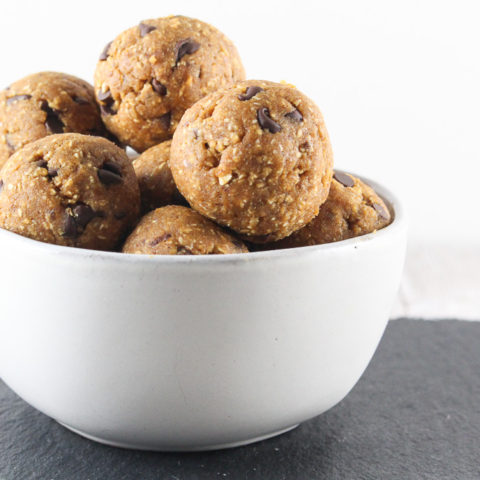
Need a little afternoon pick-me-up? These Vanilla Espresso Energy Bites are a perfect energy boosting snack. I originally posted this recipe back in 2014 on my travels to Blog Brulee in Vermont. Boy, a lot has changed since that conference. That conference hands down was the most amazing experience and I contribute a lot of my blogging success from that conference. It gave me the confidence to turn my hobby into my business.
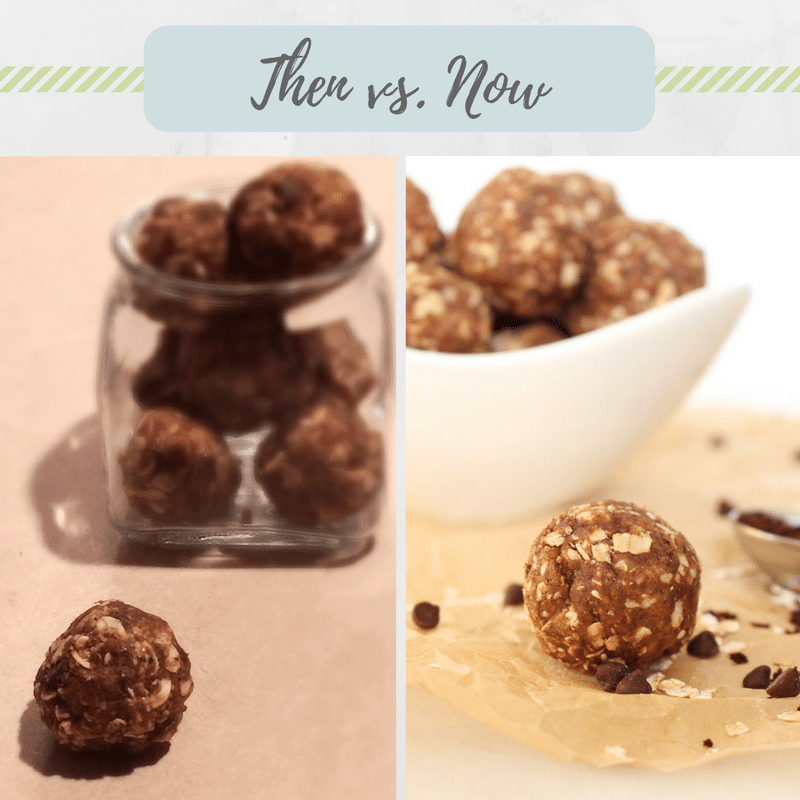
One of my biggest goals was to focus on my food photography. When you are sharing a recipe online, it has to look visually appealing. While some of my old recipes taste delicious, they are not very photogenic. I am working on updating old recipes this summer. This is one of my favorite energy bite recipes, but the photo definitely needed an upgrade. Every time I take food pictures, I am constantly learning and improving. It is a constant learning process.
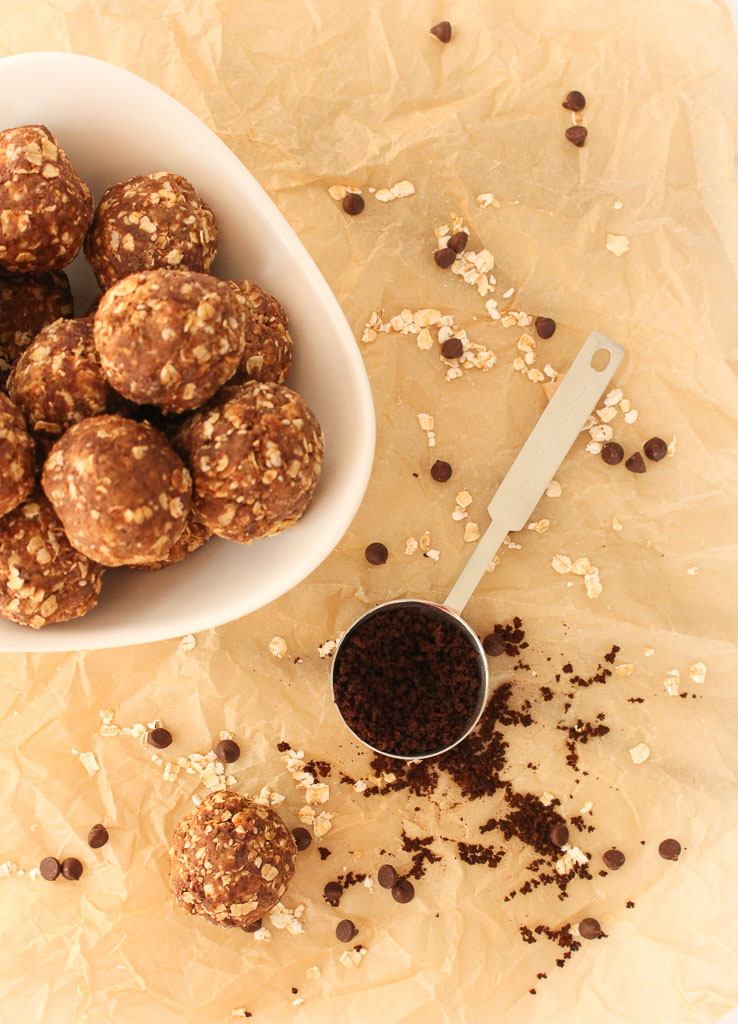
If you are a coffee lover, you’ll love the addition of the espresso powder. It will give you that little jolt to power you through the afternoon. Find espresso powder in the coffee aisle of the grocery store.
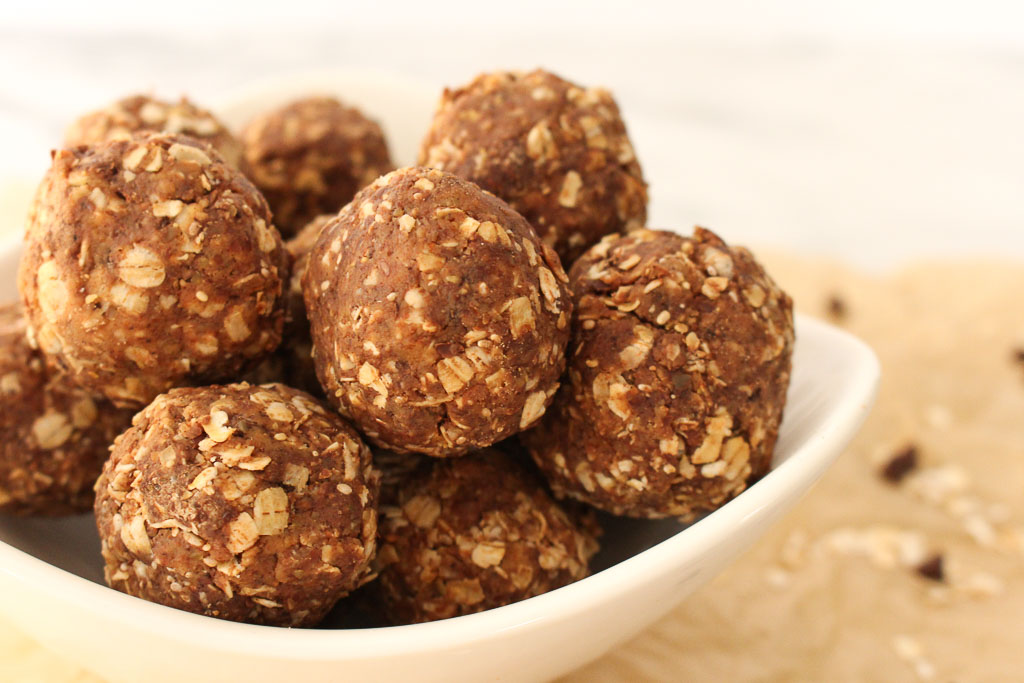
Make these ahead and enjoy all week (if they even last that long). Just remember to store in the refrigerator, or they dry out and get very crumbly.
Add oats, flax seed, and chocolate chips in a large bowl. Toss to combine.
Add almond butter, maple syrup, and espresso in a small bowl and microwave for 30 seconds or until softened.
Combine the almond butter mixture with the oat mixture until combined. The mixture will be thick. Shape into tablespoon-sized balls. Store in refrigerator.
Recipe Card powered by
Did you make this recipe? Tag @rdeliciouskitchen on Instagram or send me a pic, I’d love to see!
This post may contain affiliate links. Read my privacy policy.
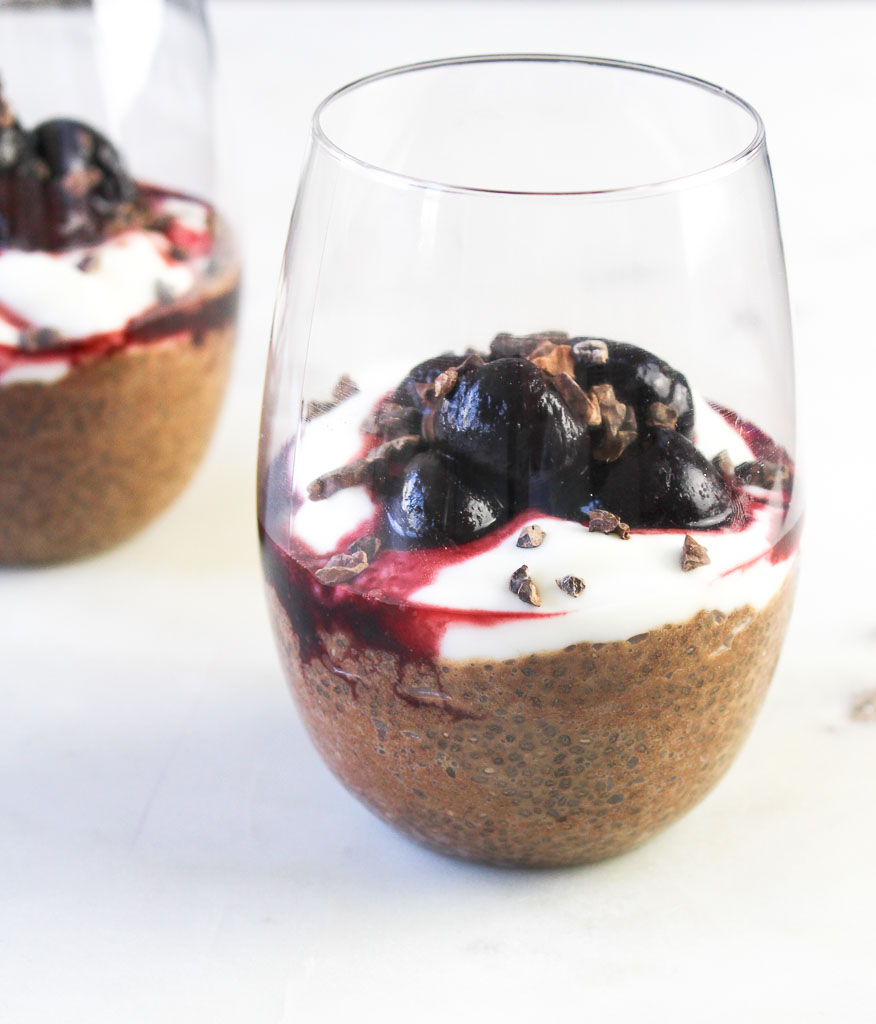
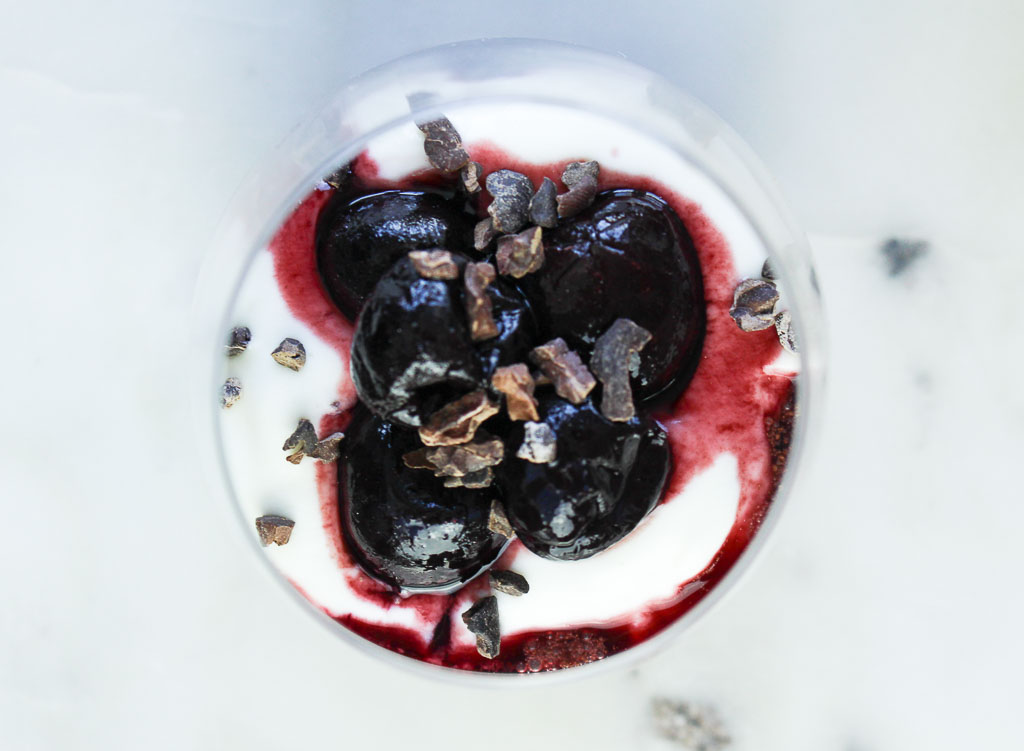
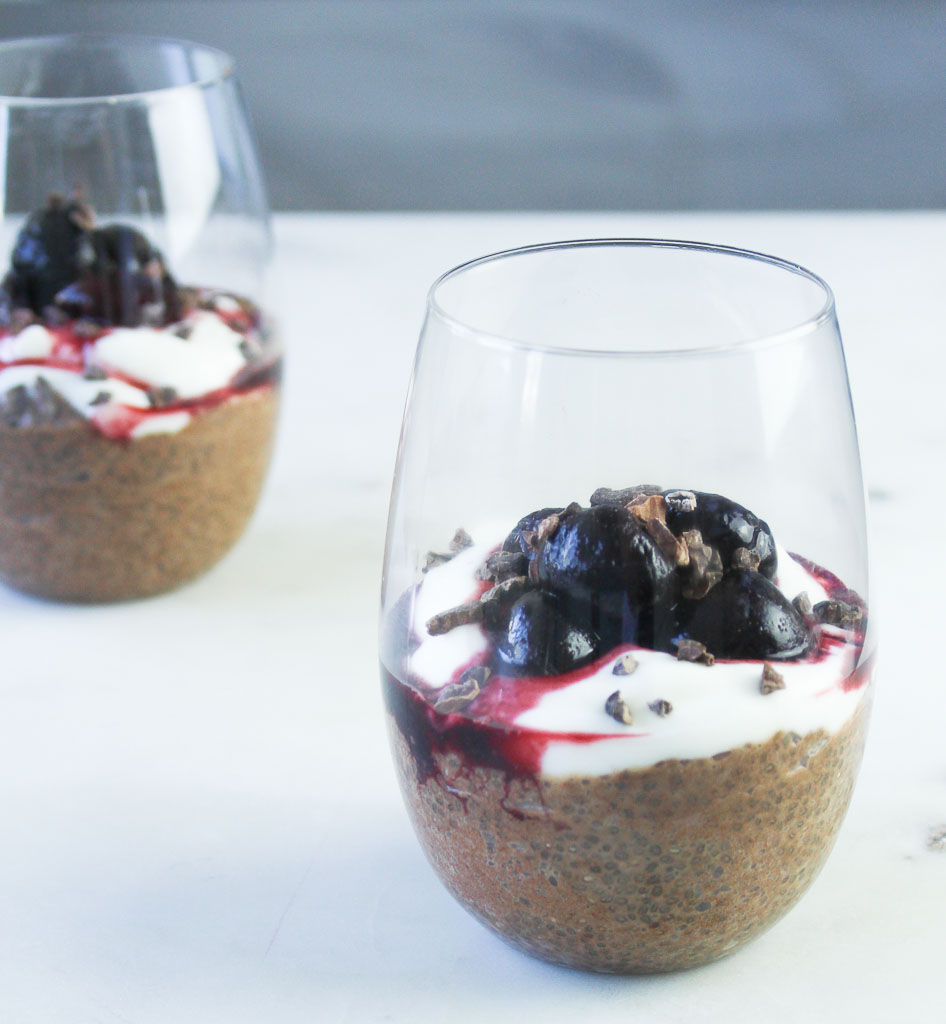
For breakfast, snack, or dessert, this Black Forest Chia Pudding will fill you up and satisfy your sweet tooth at the same time.When I first tried kombucha, I didn’t understand how anyone could drink it, but now I LOVE it. Same goes for chia pudding. The first time I tried it, I hated the texture, but now it is something I really enjoy.
It’s funny how your taste buds change and adapt over time. This is why I when I teach kids classes, I encourage them to try a new food at least 5 times in 5 different ways. According to Ellyn Satter Institute, unfamiliar foods may have to be presented 15 or 20+ times. This goes for picky eater adults too! Over time and trying chia pudding a few different ways the texture actually grew on me and now I really enjoy it. Plus, it’s been fun creating new versions to the same chia base. Tip: If you don’t enjoy the texture of chia pudding, whip it in a food processor or blender and it becomes a fluffy mousse consistency. What’s a better way to enjoy chia pudding, no other than a tasty black forest cake dessert! The delicious chocolate chia base, with a creamy layer, topped with sweet black cherries, and cocoa nibs, it doesn’t get much better than this!
With wholesome ingredients, this can be served as breakfast, snack, or dessert!
2 tablespoons raw cacao powder (or unsweetened cocoa powder)
1 1/4 cups unsweetened non-dairy milk
1 tablespoon maple syrup
1/2 cup frozen dark cherries, thawed
1/2 cup plain yogurt
1 tablespoon cocoa nibs
Instructions
In a small bowl, whisk together chia seeds, cacao powder, almond milk, and maple syrup. Divide into two containers. Store in the refrigerator overnight for the mixture to thicken.
Top chia pudding with 1/4 cup yogurt, 1/4 cup cherries, and half tablespoon cocoa nibs in each container.
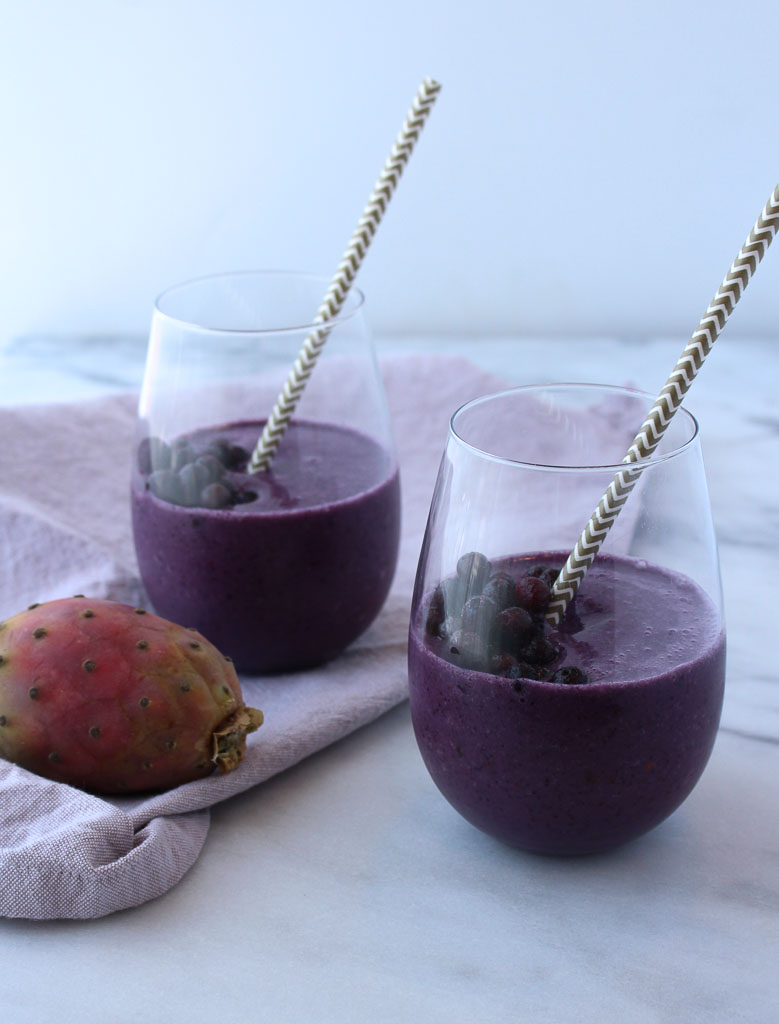
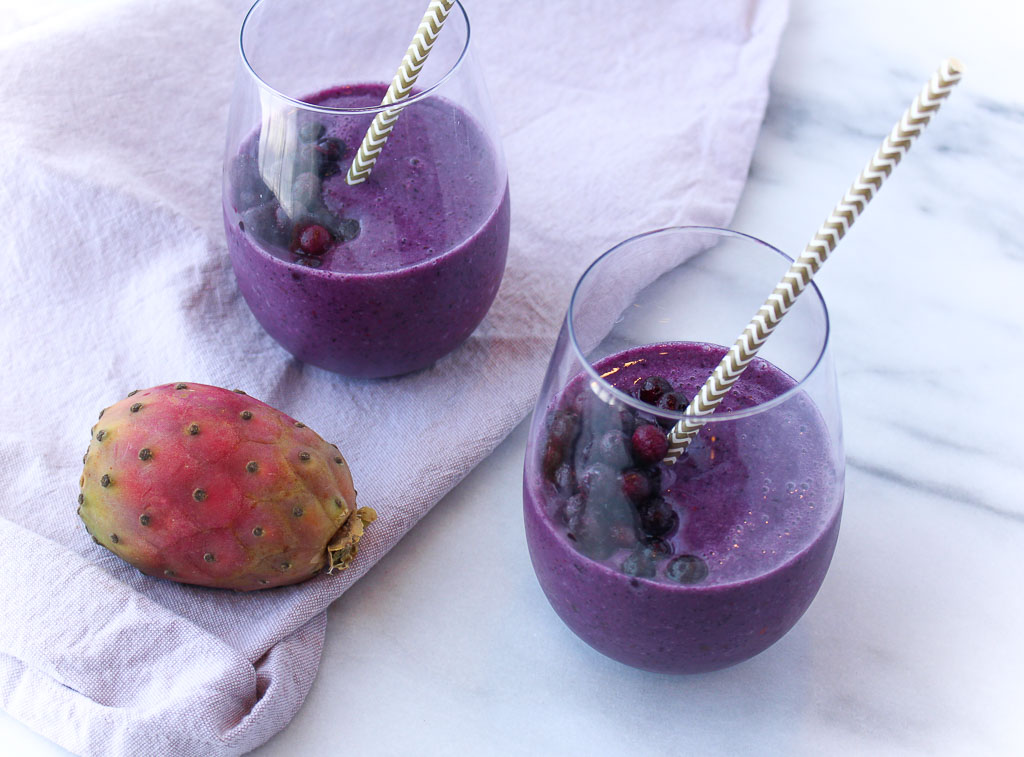
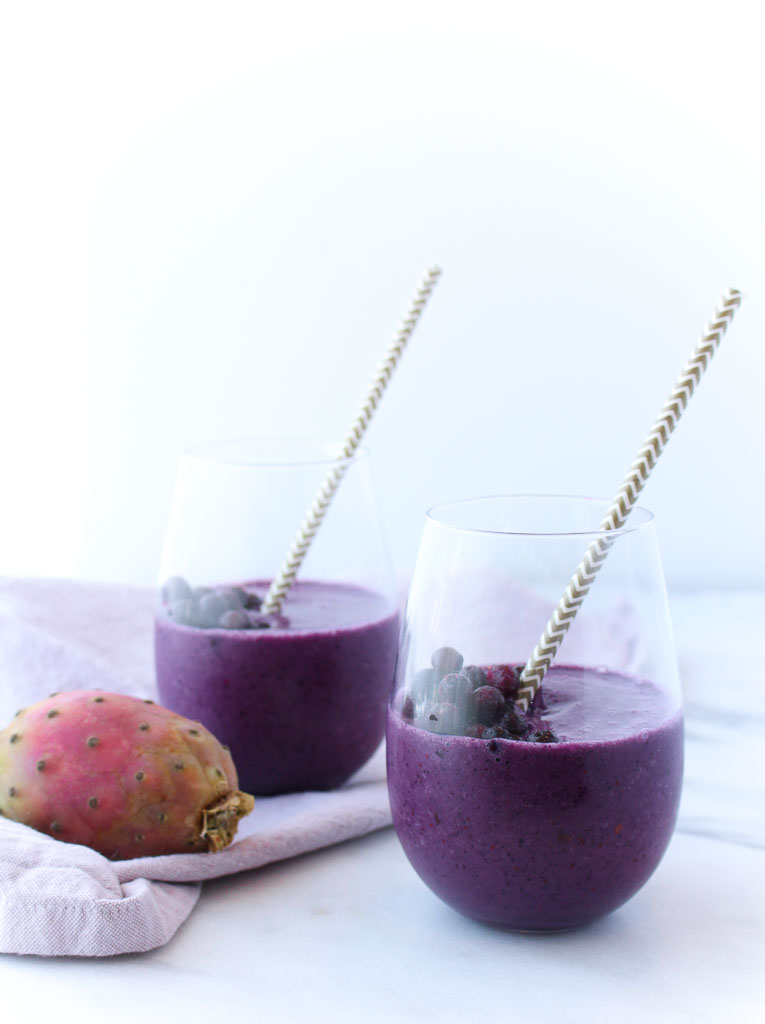
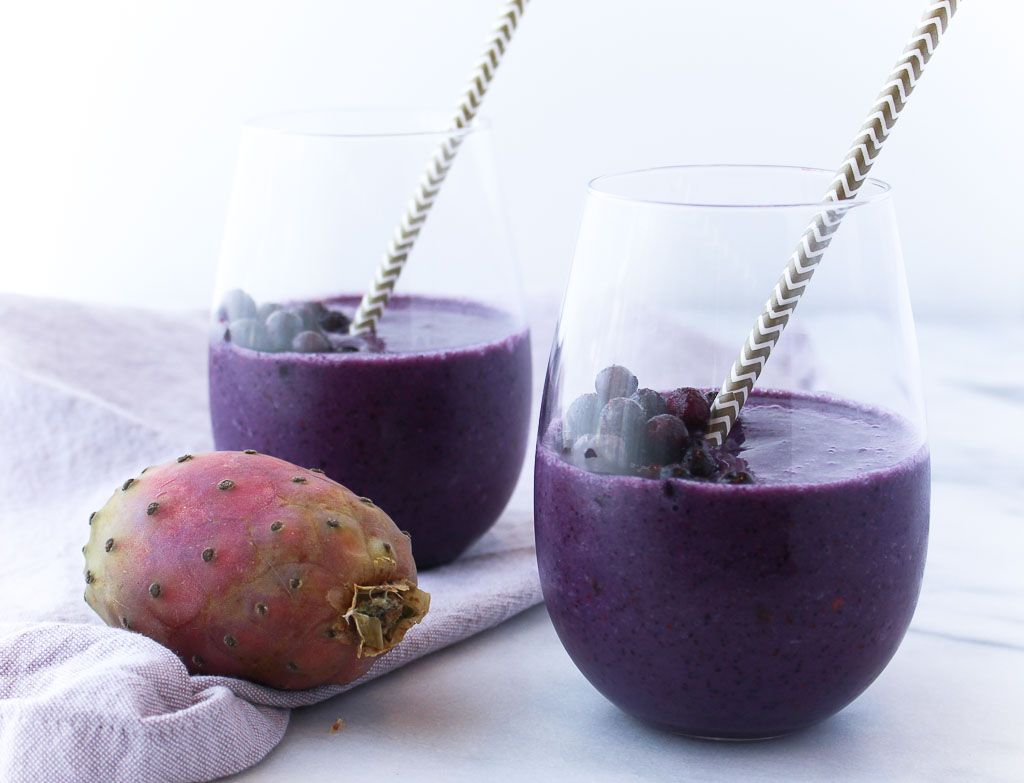
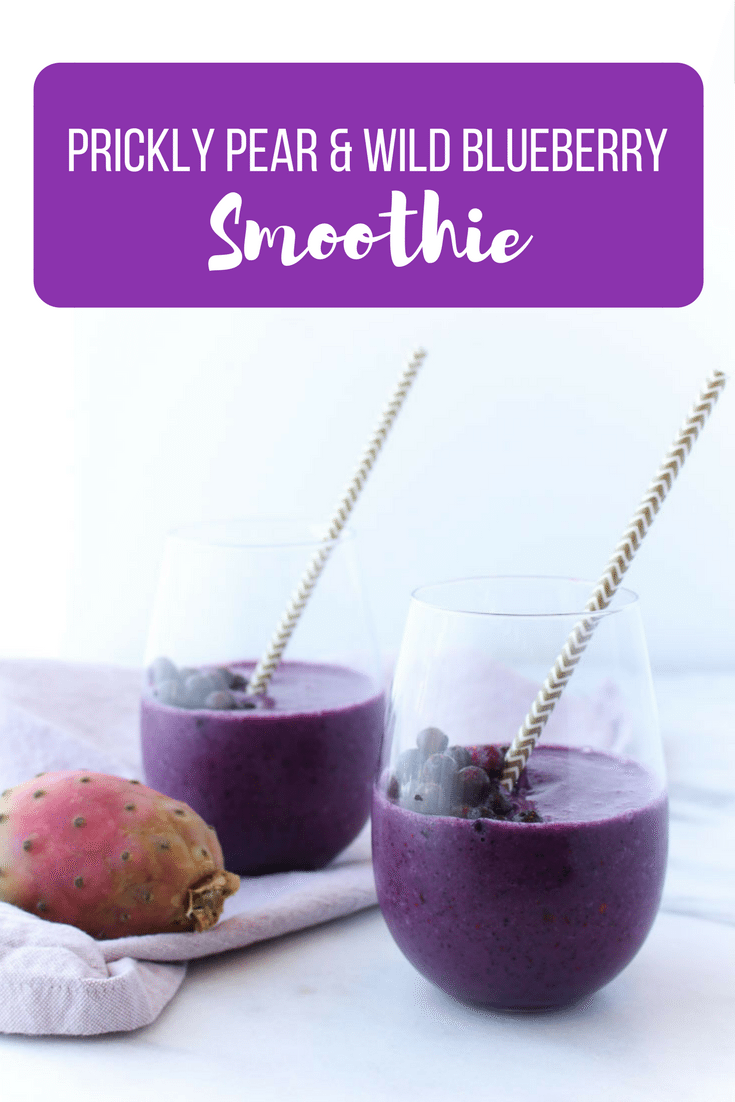
Start your morning with a simple smoothie with an exotic twist. The mix of prickly pear and wild blueberries adds a burst of flavor while packing in antioxidants to start your morning off right. Disclosure: By posting this recipe I am entering a recipe contest sponsored by the Wild Blueberry Association of North America and I am eligible to win prizes associated with the contest. I was not compensated for my time.
Did you know there are two different kinds of blueberries? The two different varieties are regular, cultivated blueberries and Wild Blueberries. While they may have a few similar qualities, they are quite different.
Wild Blueberries have a more intense flavor than regular blueberries. Wild Blueberry plants grow wild and are genetically diverse with thousands of interlocking plants spreading naturally across fields called barrens. It’s this diversity that gives Wild Blueberries their complex and delicious flavor — an extraordinary mix of tart and sweet. I wanted to highlight Wild Blueberries’ unique flavor profile with another unique fruit – prickly pear! I was recently asked what my strategies were to add plenty of produce into my daily eating habits. My response was, make it fun! Try adding unique and exotic new produce to your regular routine so it never gets boring.
An item like Wild Blueberries, you won’t find in the fresh produce section. You can find Wild Blueberries in the frozen fruit section of your local grocery store; just make sure the package says “Wild”. The Wild Blueberry crop (99% of it) is frozen. These potent little berries are individually quick-frozen (IQF) at harvest, locking in their nutrition and taste. Wild Blueberries have twice (2x) the antioxidant capacity of larger, cultivated blueberries. A growing body of research shows the potential health benefits of Wild Blueberries including gut health, diabetes, cancer and brain health.
It’s a no-brainer that I now always have Wild Blueberries stashed in my freezer.
This post may contain affiliate links. Read my privacy policy.
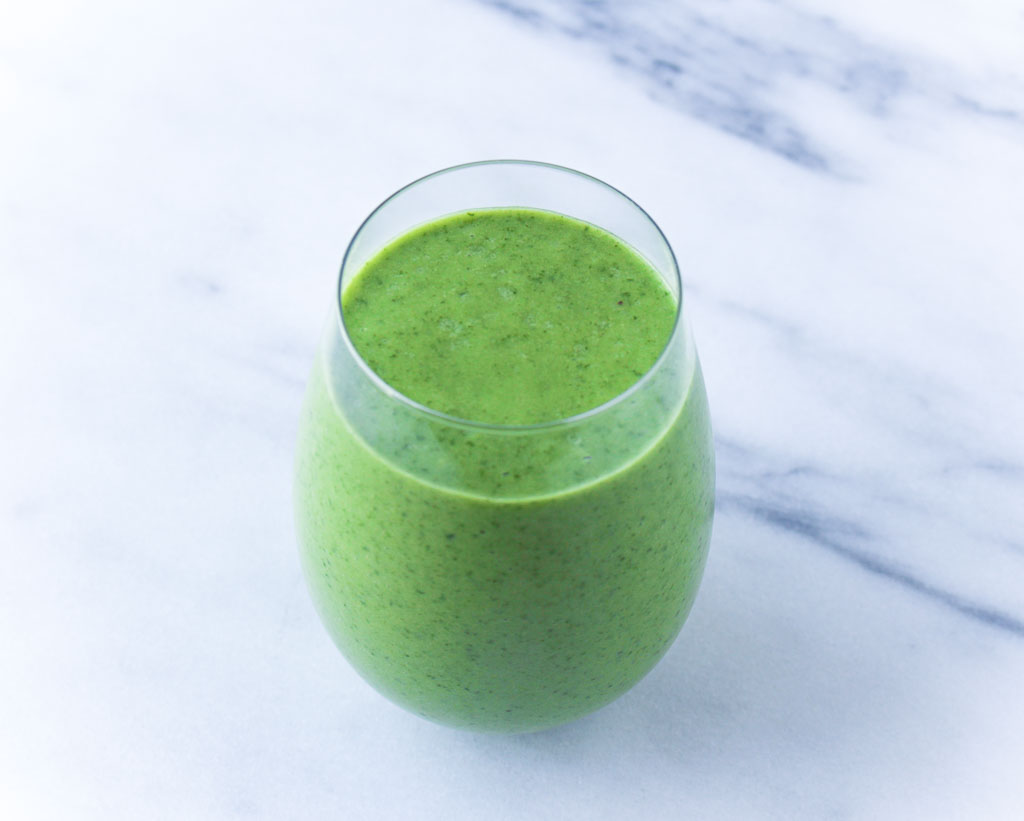
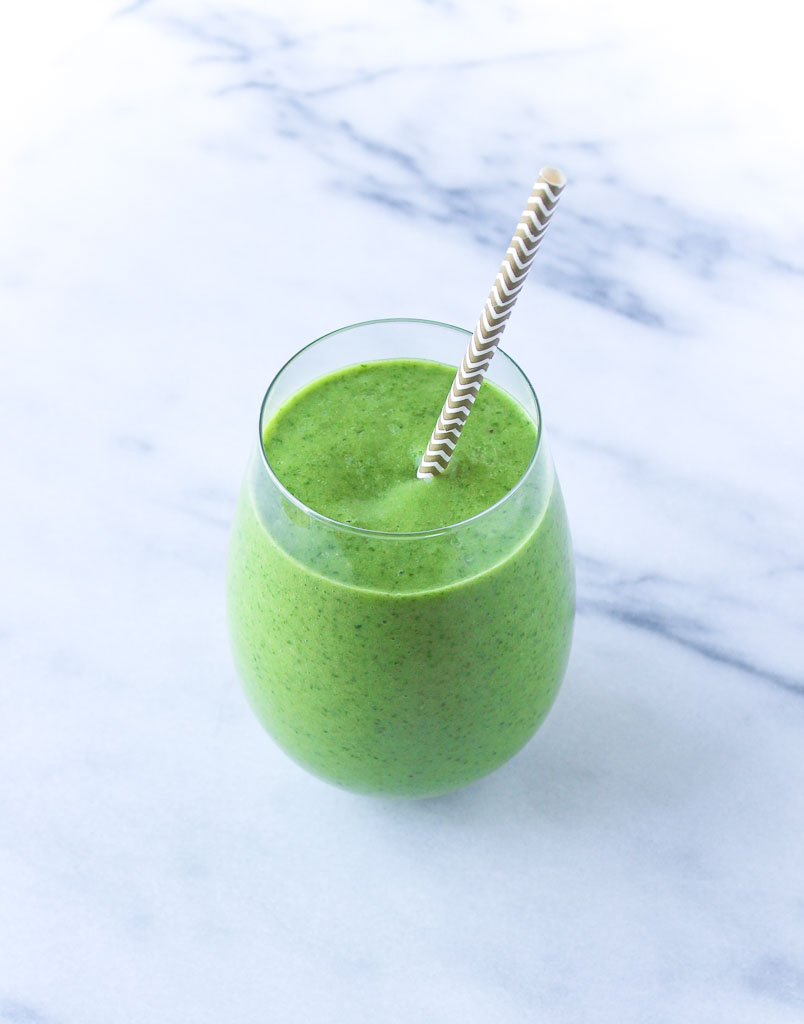
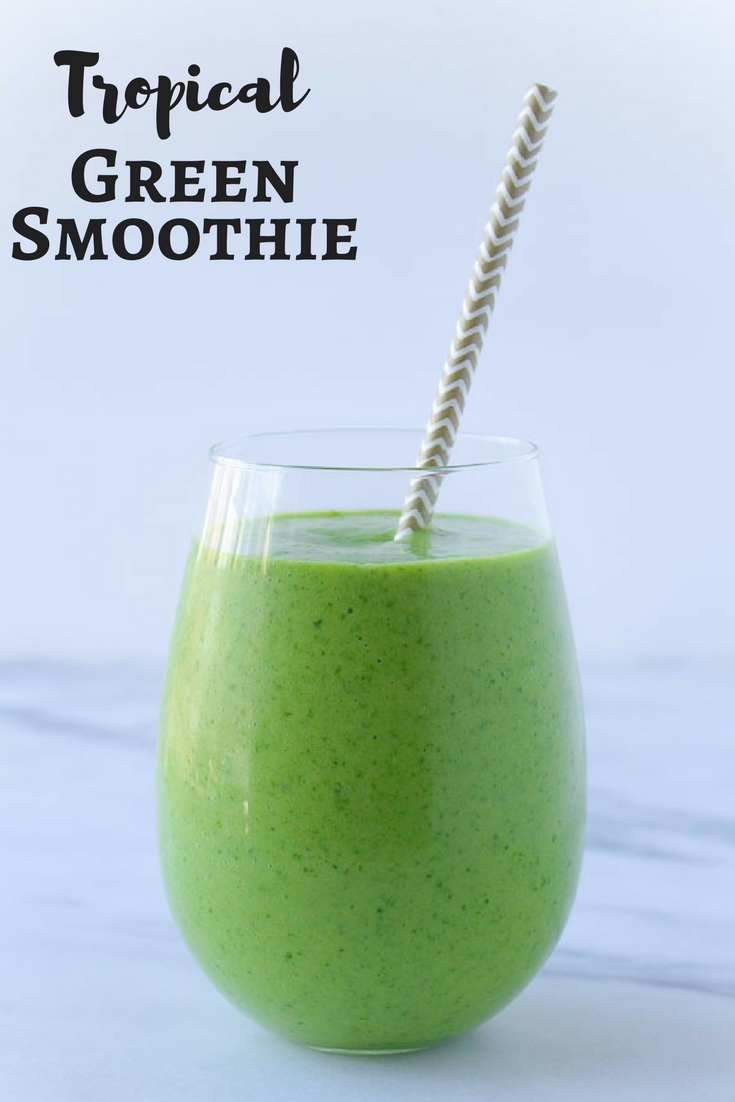
Trying to add more fruits and veggies to your daily eating habits? Add both first thing in the morning with this Tropical Green Smoothie. It’s February 1st – how is everyone doing on their New Year’s Resolutions so far? I saw a funny post on instagram that January was just a “practice round”. The problem setting big resolutions or goals, is you have to refine them in the beginning and make small habit forming changes to help you get to your end goal.
One goal that I have been discussing a lot lately this path month is simply including more fruit and vegetables within meals and snacks. Just simply go back to the basics. Are you really getting in the minimum recommendation of 5 fruits and vegetables a day? If the answer is no, this should be your starting point.
If eating healthier or maintaining a healthy weight is your goal for 2017, start here. Try to add a serving of fruit and/or vegetables at every meal and snack. If you are typically consuming 3 meals and 2 snacks per day (and now you are adding a fruit and/or vegetable to each) – BAM! You just reached the minimum daily recommendation for fruits and vegetables for the day. Smoothies are a fantastic way to add both fruit and vegetables in one meal! The secret to this smoothie is the frozen avocados. Now, of course, you can freeze them yourself, but now Welch’s prepackages them in the frozen aisle. Now, you won’t have to worry about the other portion of your avocado turning too quickly. The frozen avocado makes this smoothie so creamy, almost like a consistency of a milkshake.
This post may contain affiliate links. Read my privacy policy.
This past September I traveled to California for the first time. I was so fortunate that California Almond Board invited me on an amazing trip to the almond orchards in Lodi, California with a group of amazing Registered Dietitians and food bloggers. We learned a wealth of information of all things almonds, including sustainability, growing methods, almond life cycles and nutrition research. Disclosure: I was provided with free travel and accommodations to the California Almond Orchard experience. I was not additionally compensated for my time or to write this post.
Ever wonder where those almonds that are in your trail mix, granola bars, and cereals are from? The almond lifecycle has many stages before they end up in your kitchen cabinets.
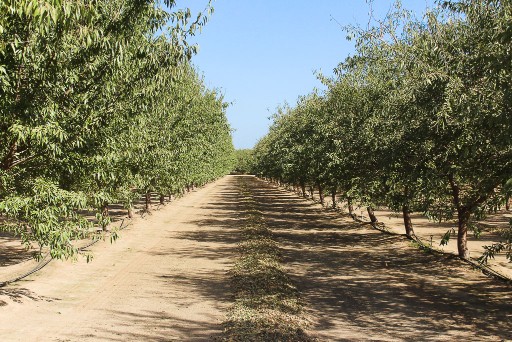
Did you know, there are more than 30 different varieties of almonds? 10 of them comprise the majority of almonds produced in California. 80% of the world’s almonds are produced in California, and from raw almonds and almond butter to almond flour, almond milk, and almond oil. The Central Valley of California is the perfect spot for almonds to grow due to their mild, wet winters and hot, dry summers. The Almond Lifecycle: November – February: Almond trees go through a period of dormancy when the cold weather lets them sit back, relax and store up almond nutrients for next year’s crop. Late February – early March: Almond tree buds burst into light pink and white blooms in preparation for pollination. Nonpareils are among the first to bloom, while other varieties, such as Carmel and Mission, bloom later.
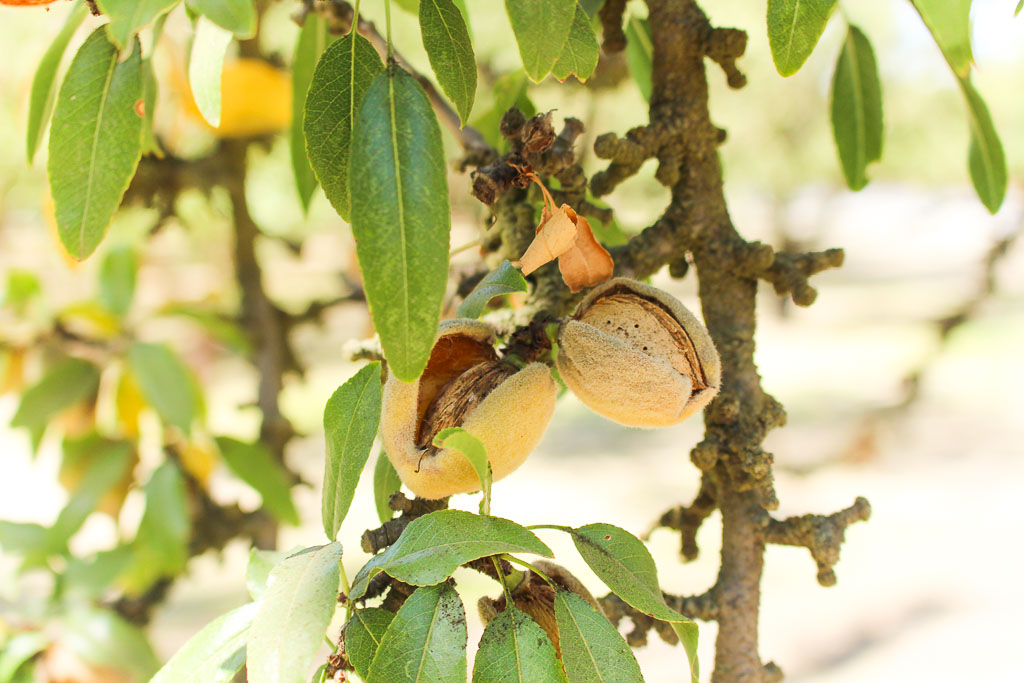
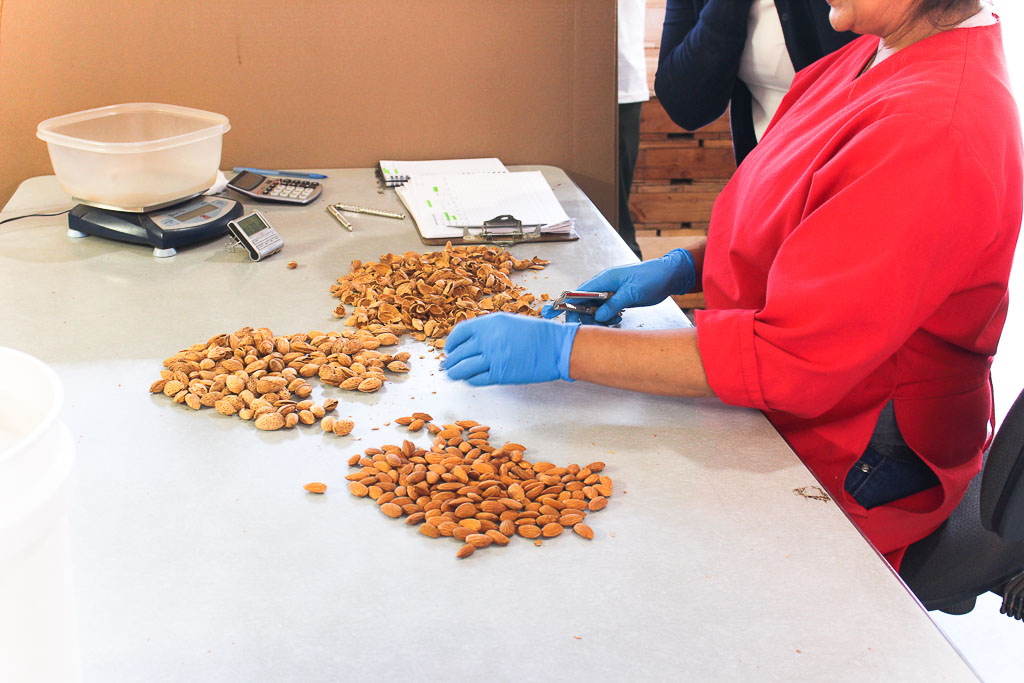
Many almond trees are not self-pollinating, so bees provide the missing piece of the puzzle. Populations of bees are brought to the orchard to carry pollen and initiate crop development. March – June: Almonds continue to mature, with the shell hardening and kernel forming. Also at this time, green almonds are harvested for various culinary uses.July – early August: Almond hulls begin to split open exposing the almond shell and allowing it to dry. Shortly before harvest, the hulls open completely. Mid-August through October: Mechanical tree “shakers” harvest the almonds by vigorously shaking them to the ground. The almonds then dry naturally for 8–10 days in the orchard before they are swept into rows and picked up by machine.After harvest, almonds go to a huller/sheller where the kernels pass through a roller to remove the hull, shell, and any remaining debris. Next stop: the handler for sizing, where the almond kernels drop into separate bins according to size.
After sizing, almonds are kept in controlled storage conditions to maintain quality until they’re either shipped or further processed into any variety of different almond forms for diverse culinary uses. (source: California Almonds)
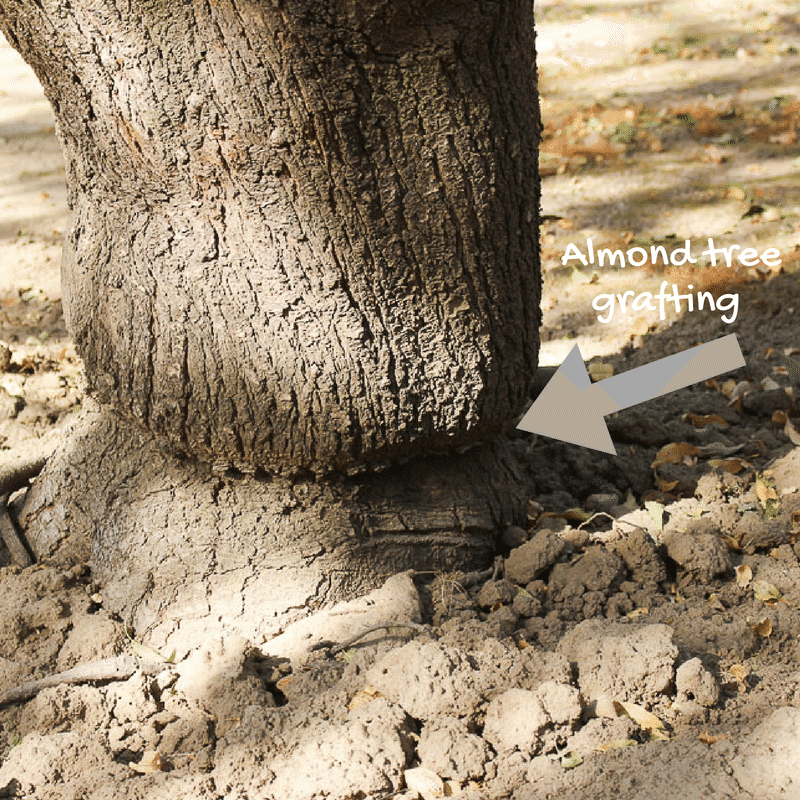
Did you know – Almond trees are grafted on the roots of peach or plum trees for a stronger root base. The almond trees are grown in a nursery, then grafted onto the root of a peach or plum tree to grow to maturity. Through the orchard you are able to see the point where they were grafted since they overlap each other. Did you know there are three parts to an almond? The hull, shell, and kernel make up this mighty little nut and all parts are used. The hull is the dry and fuzzy outer later. Hulls are sold as livestock feed, which reduces the amount of water used to grow other feed crops. The shells go to various alternative farming uses such as livestock bedding. The kernel, which most think of when thinking about almonds, is the nutrient-rich almond we eat. Each serving (28 g) contains 6 grams of energy-packed protein, 4 grams of hunger-fighting fiber, 13 grams of “good” unsaturated fat and only 1 gram of saturated fat.
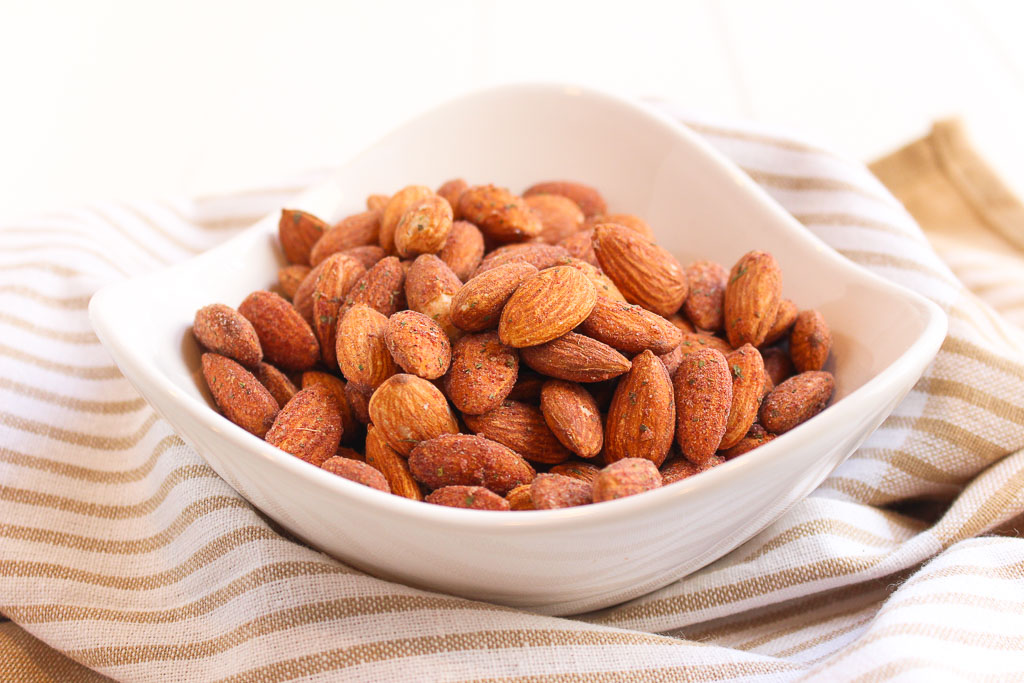
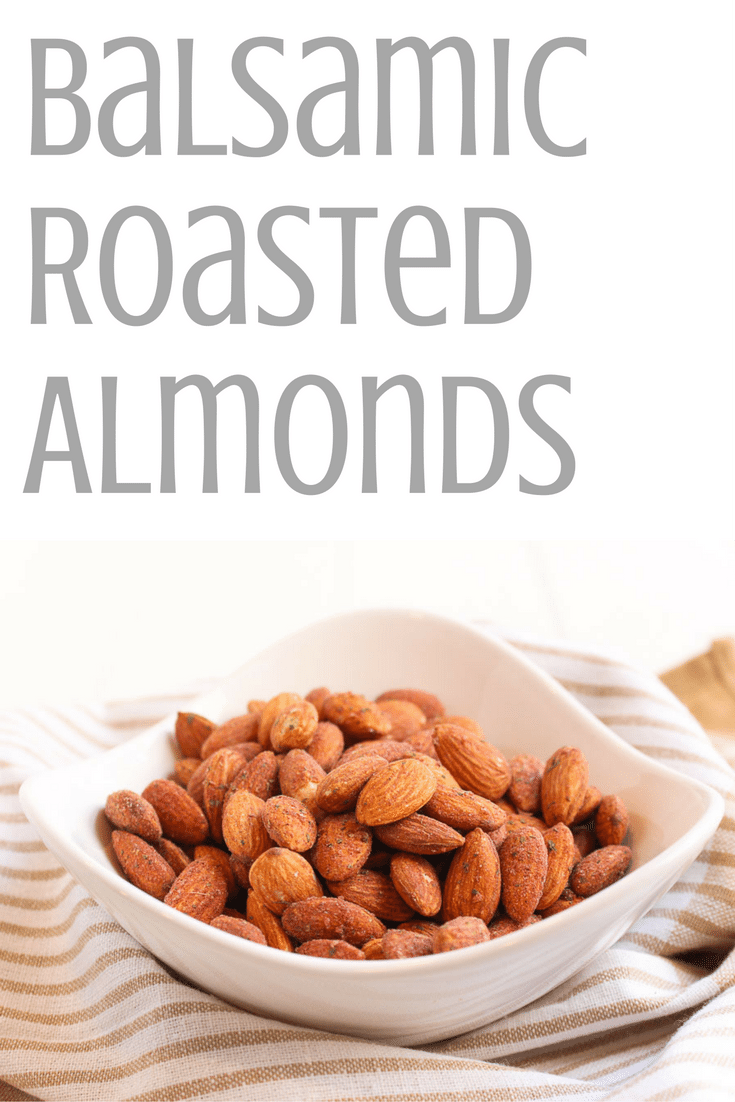
Now that I have you craving almonds, here is a delicious recipe to jazz up your almond snacks. Try these Balsamic Roasted Almonds. Just a few simple ingredients and snack time is jazzed up a little.
Warning: these almonds are addicting. The whole batch was gone in less than a week. Add them to salads, pair with a piece of fruit, the possibilities are endless. Be on the look out for another recipe soon using these almonds!
Place almonds in a small bowl. Pour the balsamic vinegar into the bowl, stir to coat the almonds. Let sit for one hour.
Pre-heat the oven to 350˚. Drain the vinegar from the almonds and pat almonds dry. Add sea salt and rosemary to the bowl and stir well to coat the almonds evenly. Spread almonds evenly onto a cookie sheet and bake for 8 minutes (stir the almonds halfway through cooking).
Remove from oven and let cool for 30 minutes. Store almonds in an airtight container.
Recipe Card powered by
Thank you California Almonds for this amazing experience! To learn more about California Almonds check out their website. They have great resources for health professionals!
This post may contain affiliate links. Read my privacy policy.
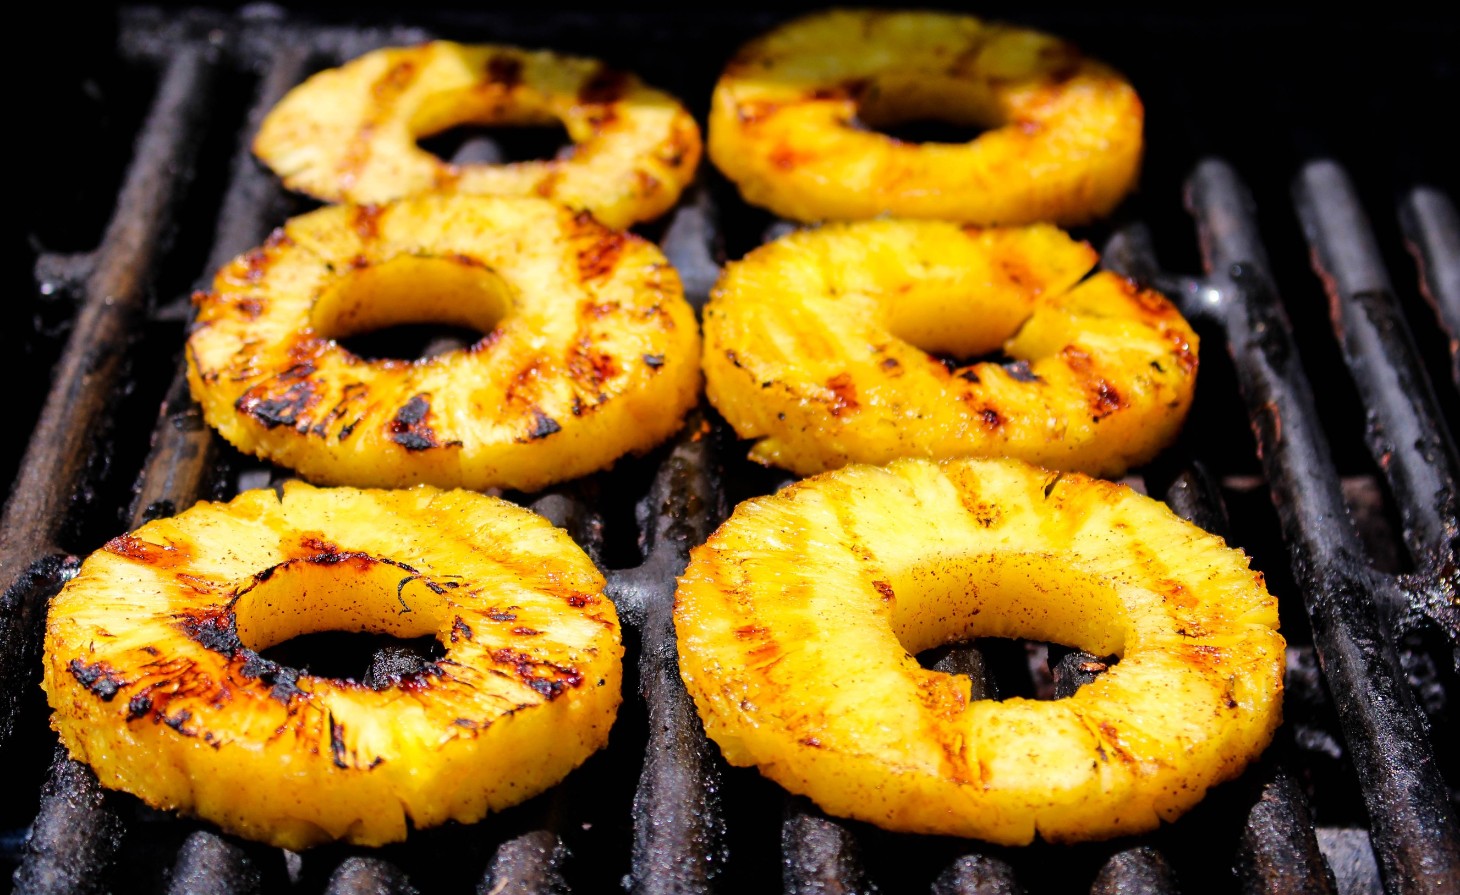
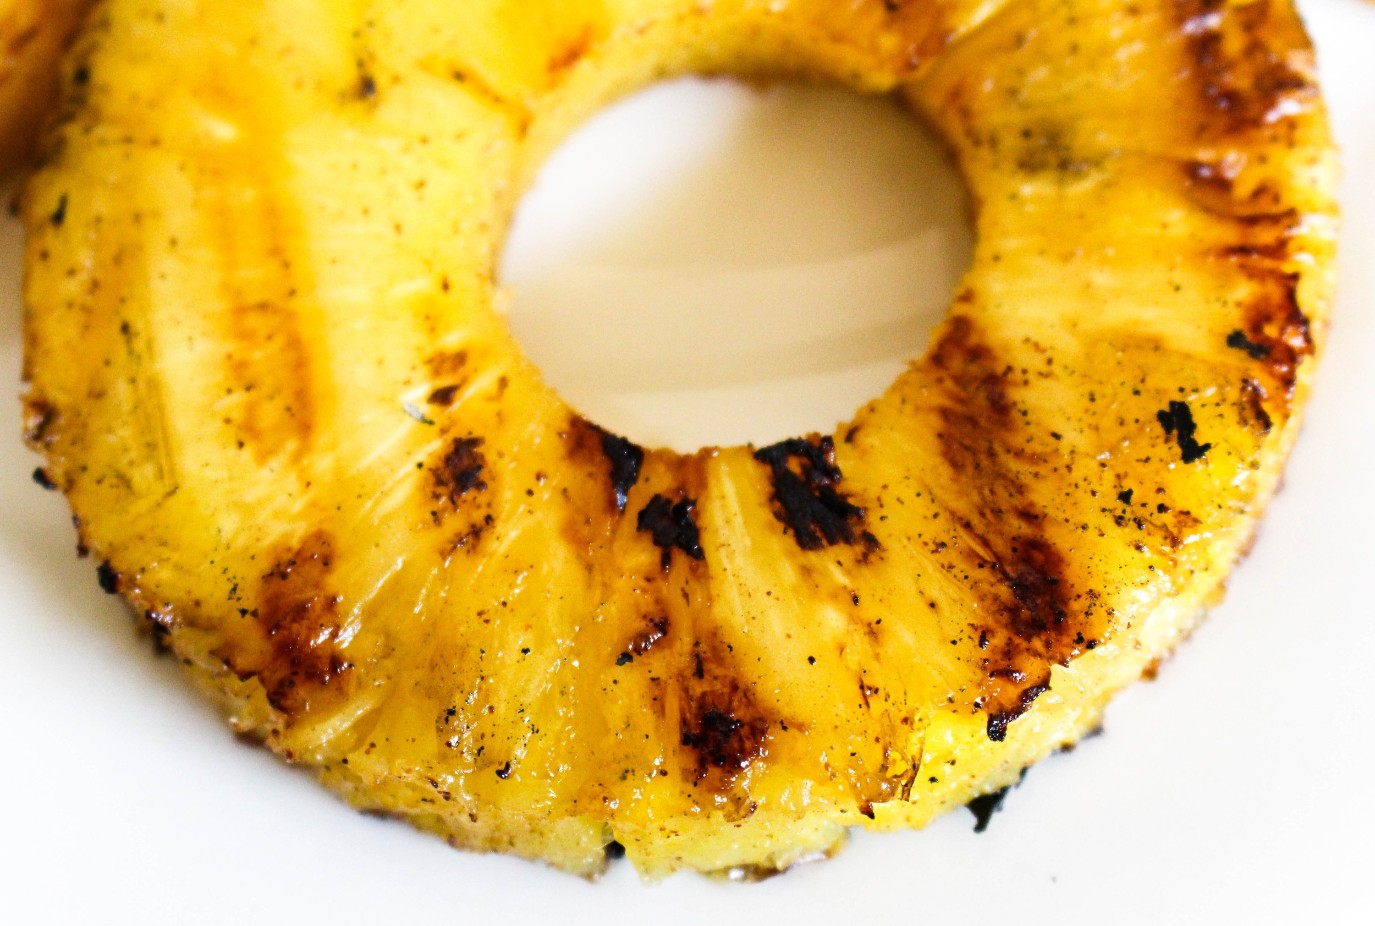
Fruit is a great healthy dessert option during the summer. Leave the grill fired up after dinner and kick up the flavor of your fruit by grilling it! Get your fruits and veggies in shape this summer! With produce galore, now’s a great time to enjoy lots of fruits and vegetables. This is a perfect theme for the Recipe ReDux members to share how we are all serving bounties of gardens and orchards in shapes like ribbons, noodles, cut-outs, or other creative cuts. Buying a whole pineapple at the grocery store is typically way more affordable than the peeled and cored or already diced packages. Cutting a pineapple can be a little tedious and messy in the kitchen, but one kitchen gadget that can help is an all-in-one corer slicer. I have a ton of kitchen gadgets and some may be used only once in a blue moon, but this one is super useful!
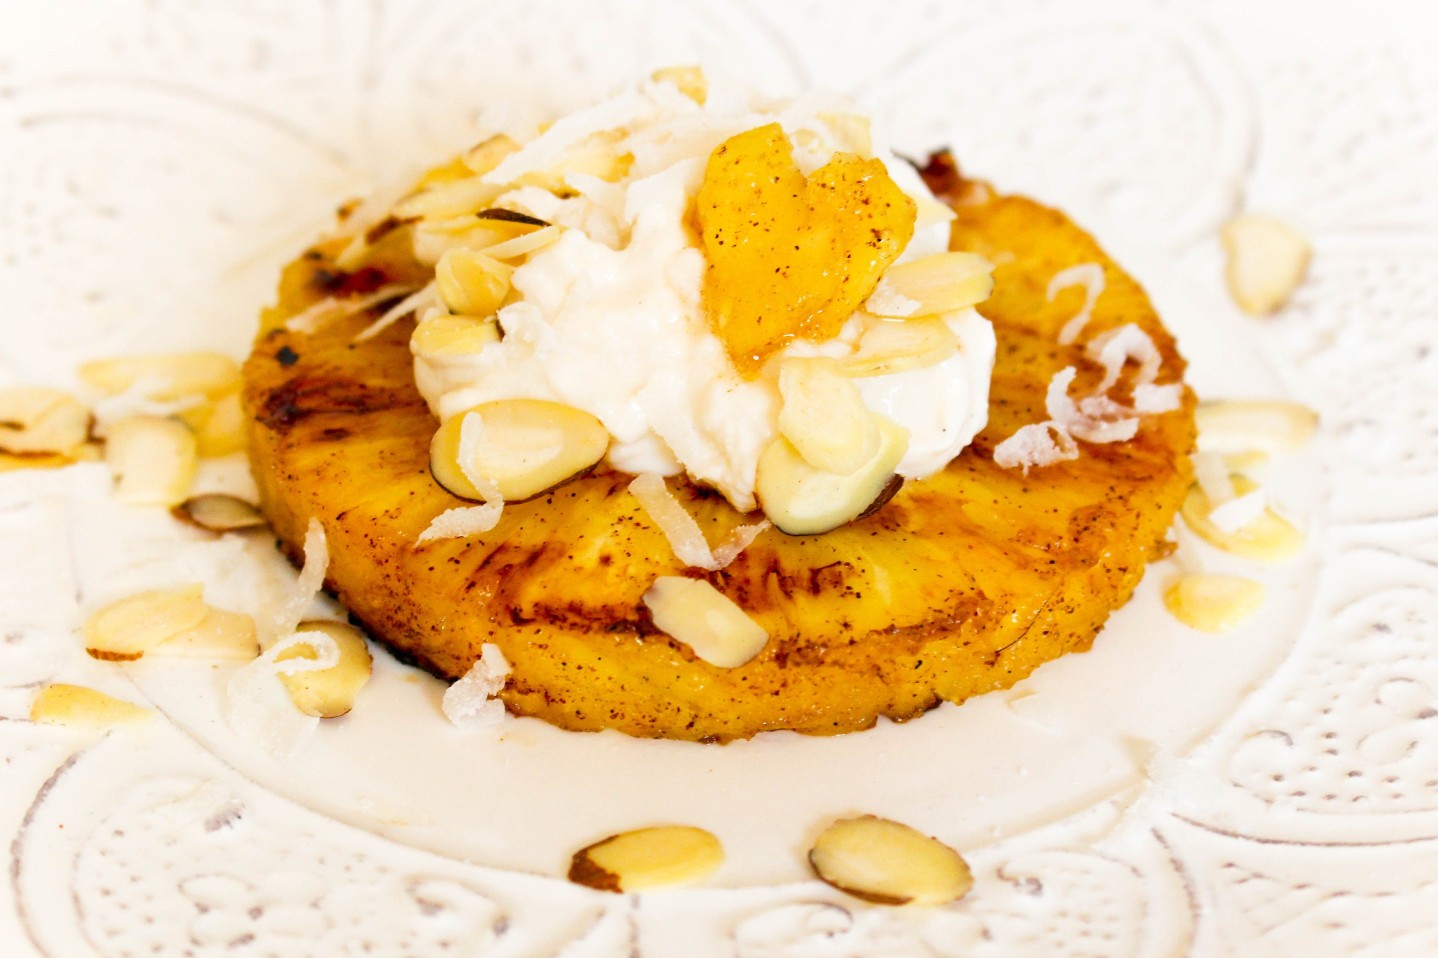
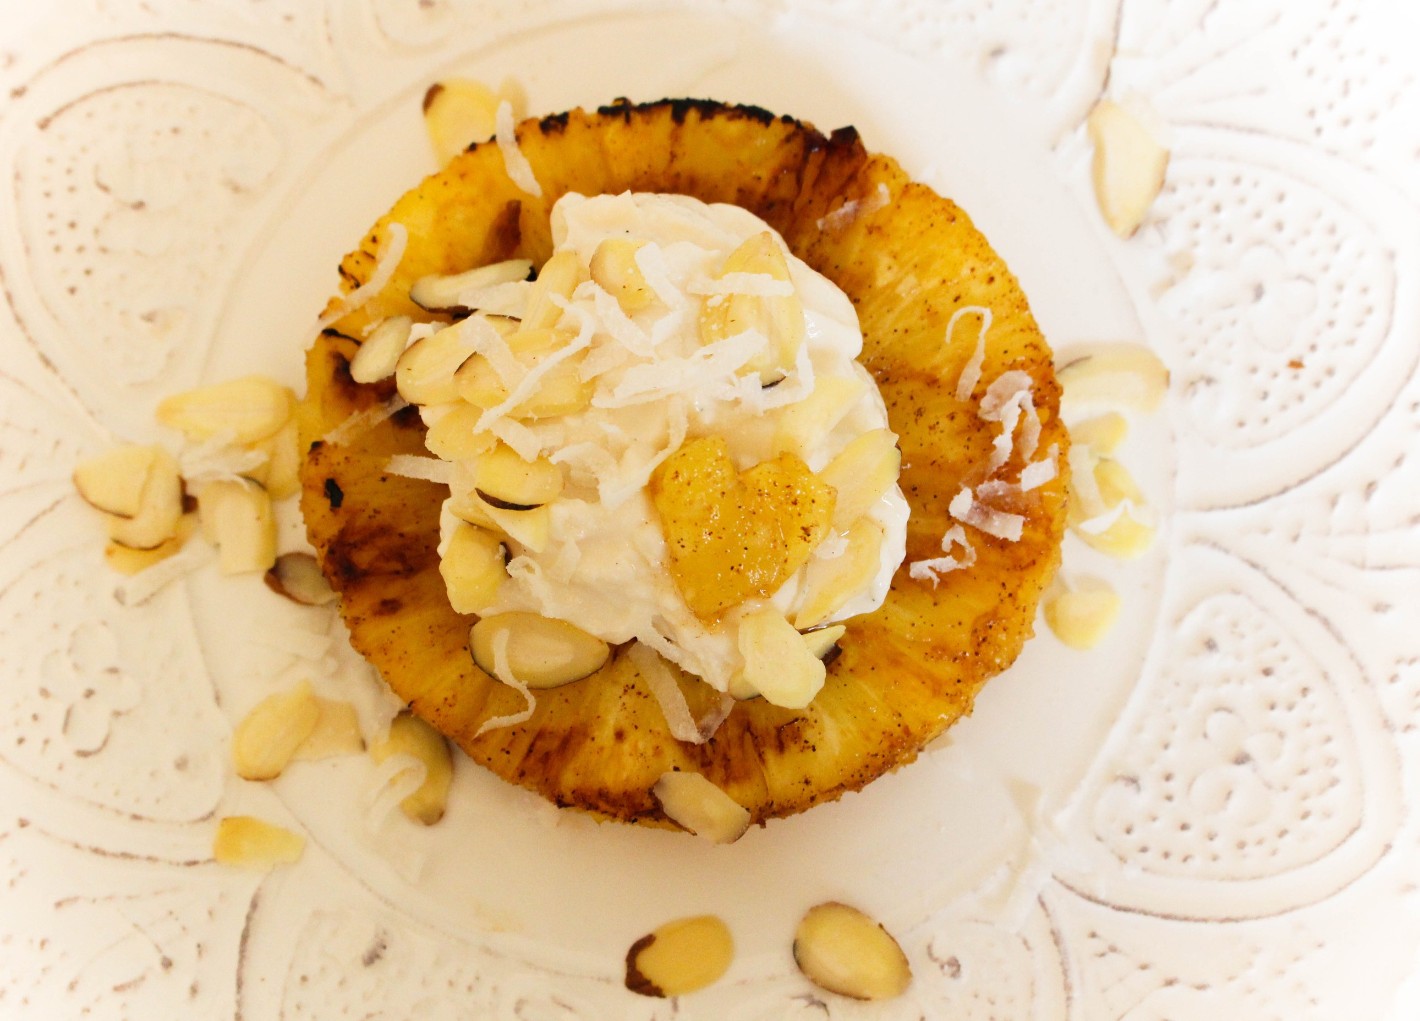
Now my shape might not be as exciting as ribbons or noodles, but I cut these perfect rounds in under a minute! No mess, success! Just one cup of pineapple provides 132% of the recommended intake for vitamin C (an antioxidant vitamin that is required for healthy skin and immune function) and 76% for manganese (plays a role in fat and carbohydrate metabolism, calcium absorption, and blood sugar regulation). Add fun toppings to make it into more of an indulgent dessert. I added vanilla Greek yogurt, sliced almonds and shredded coconut.
This post may contain affiliate links. Read my privacy policy.
Switch up your snack routine with Savory “Cheesy” Popcorn!
Have you recently bought a new ingredient that is sitting in your pantry just because you really don’t know really how to use it? I bought nutritional yeast for one recipe and it’s been sitting in my pantry ever since.
Did you know… National Popcorn Day is January 19th? I wanted to celebrate with a delicious new popcorn recipe! Popcorn is one of my favorite snacks. Many people don’t realize, but popcorn is a whole grain. The white part that puffs up is the endosperm, the flakey part is the bran, and the part that usually gets stuck in your teeth is the germ.
Popping popcorn at home is very simple. Bonus – there is the flexibility to play around with different toppings.
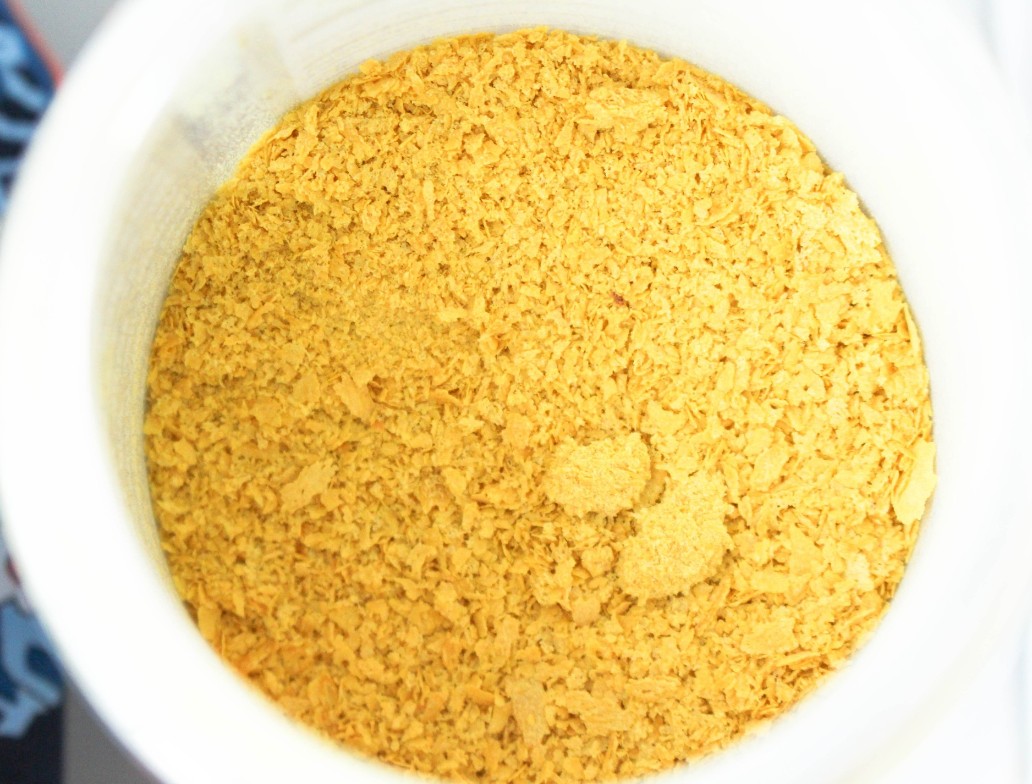
What is nutritional yeast?
Nutritional yeast is made from a single-celled organism, Saccharomyces Cerevisiae, which is grown on molasses and then harvested, washed, and dried with heat to kill or “deactivate” it. Because it’s inactive, it doesn’t grow like baking yeast does so it has no leavening ability. Yeasts are members of the fungi family, like mushrooms. (source)
The golden flakes of nutritional yeast have a nutty aroma and well known cheesy flavor, making it a go-to vegan substitute for Parmesan cheese. (Hence the quotes in the recipe title “cheesy”) If you like this recipe and don’t have or want to use nutritional yeast, simply swap with Parmesan cheese.
Using nutritional yeast is a great alternative for those with lactose intolerance or who are vegan. Plus, nutritional yeast is rich in Thiamin, Riboflavin, Niacin, Vitamin B6, Folate and Vitamin B12.
Flavor combinations
Sprinkle nutritional yeast on popcorn and call it a day, or add a few extra spices to kick it up a notch. I added salt, garlic powder, cayenne pepper, and smoked paprika for an overall savory flavor profile.
Heat oil in a large pot over medium heat. Add a few pieces of popcorn – if the corn slowly spins in the oil then the oil is hot enough.
Add remaining popcorn and cover with a lid. Once the popcorn starts popping, shake the pot gently to have the oil evenly coat the kernels.
Remove from heat when the popping stops (when you can count to 3 between pops) and transfer to a large bowl.
Combine the nutritional yeast, salt, garlic powder, cayenne pepper and smoked paprika in a small bowl and mix to combine.
Get a large serving bowl and place half of the popcorn in it. Spray generously with olive oil then sprinkle over half of the spice mix. Add the remaining popcorn and repeat once more. Toss to coat and serve.
This post may contain affiliate links. Read my privacy policy.
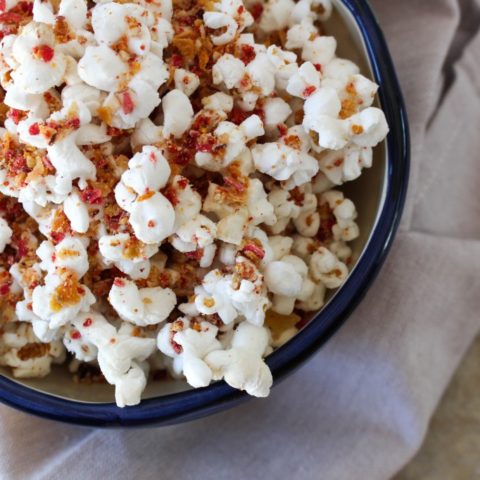
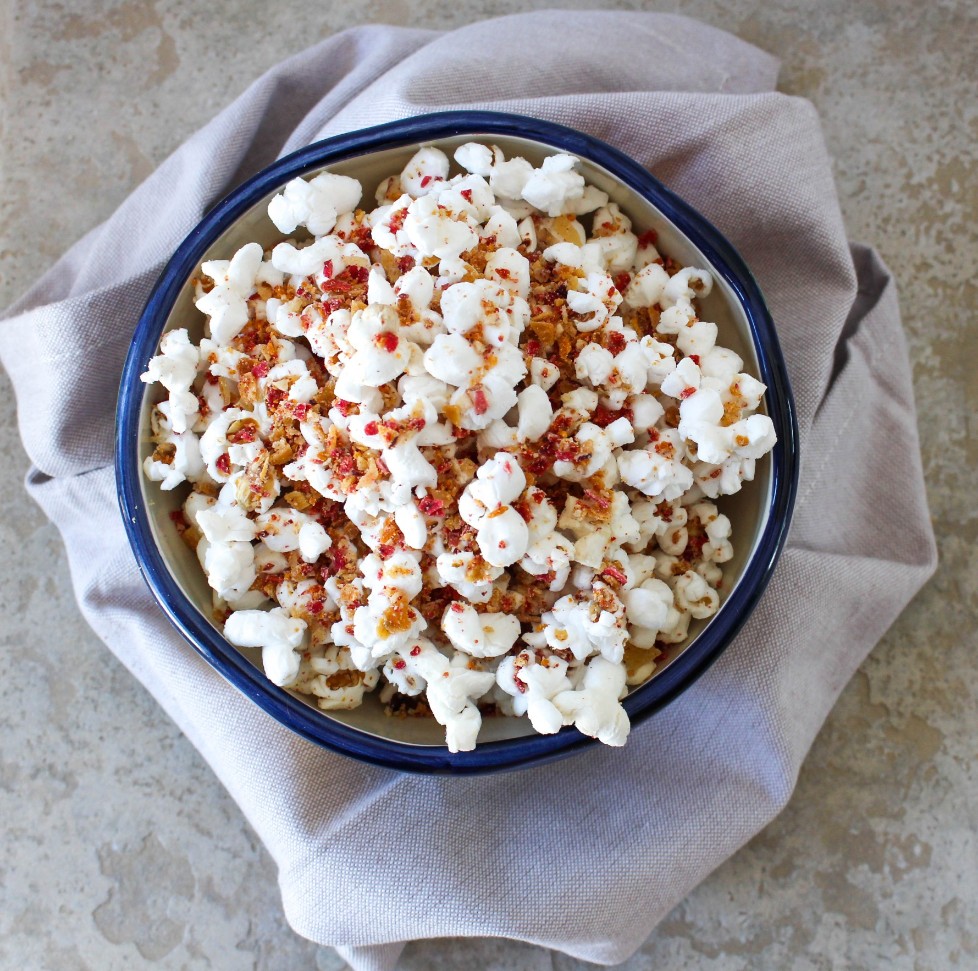
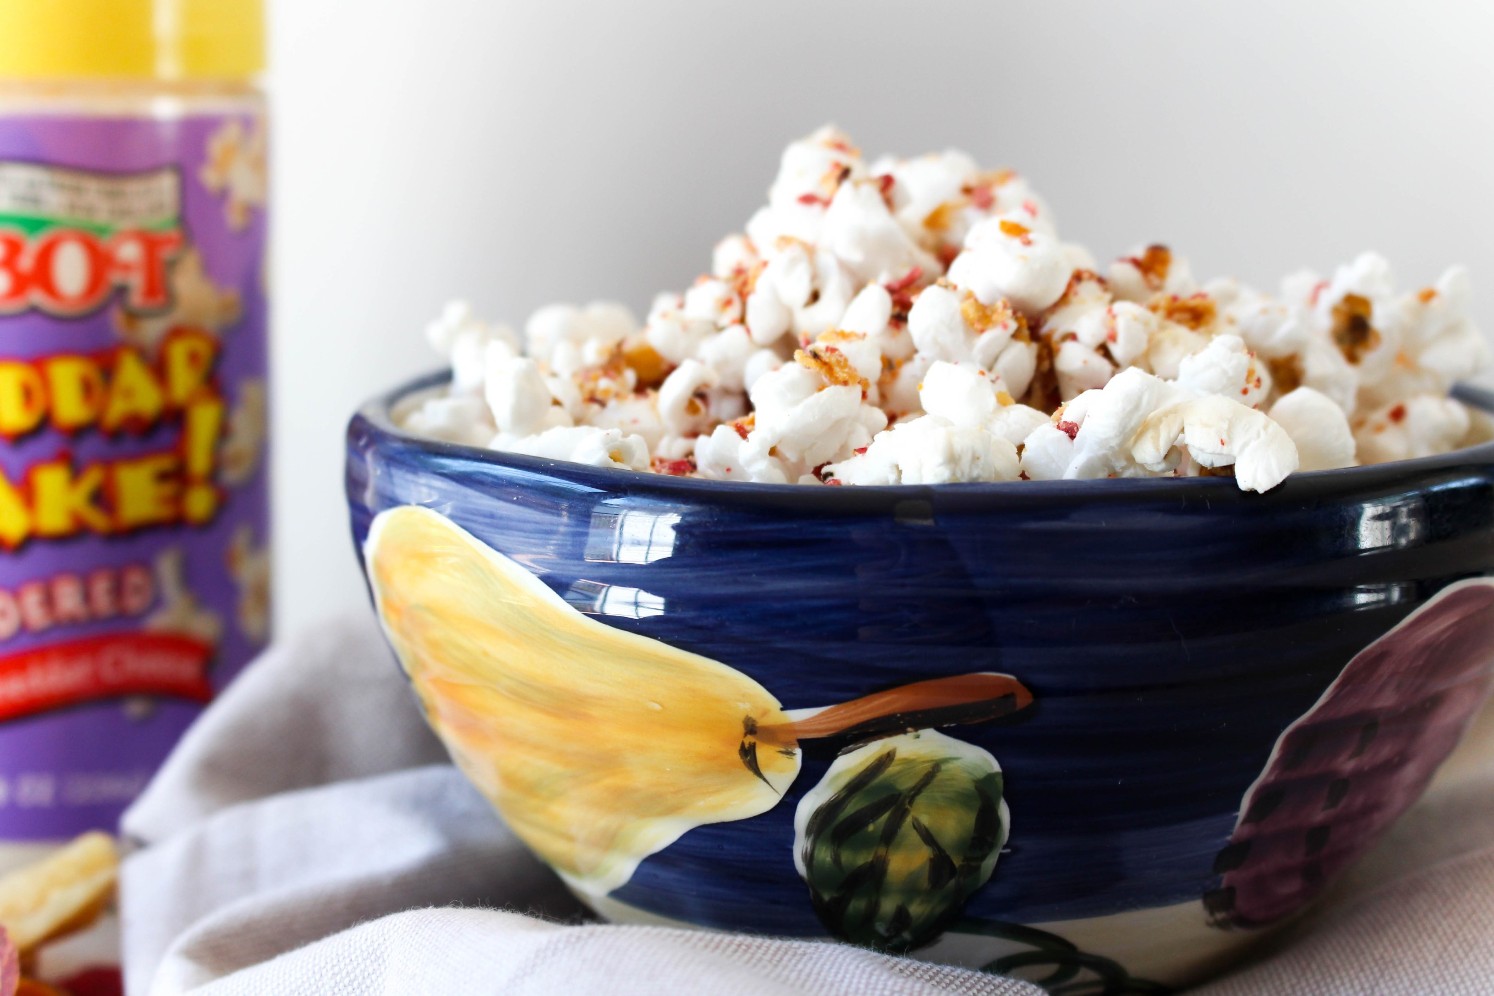
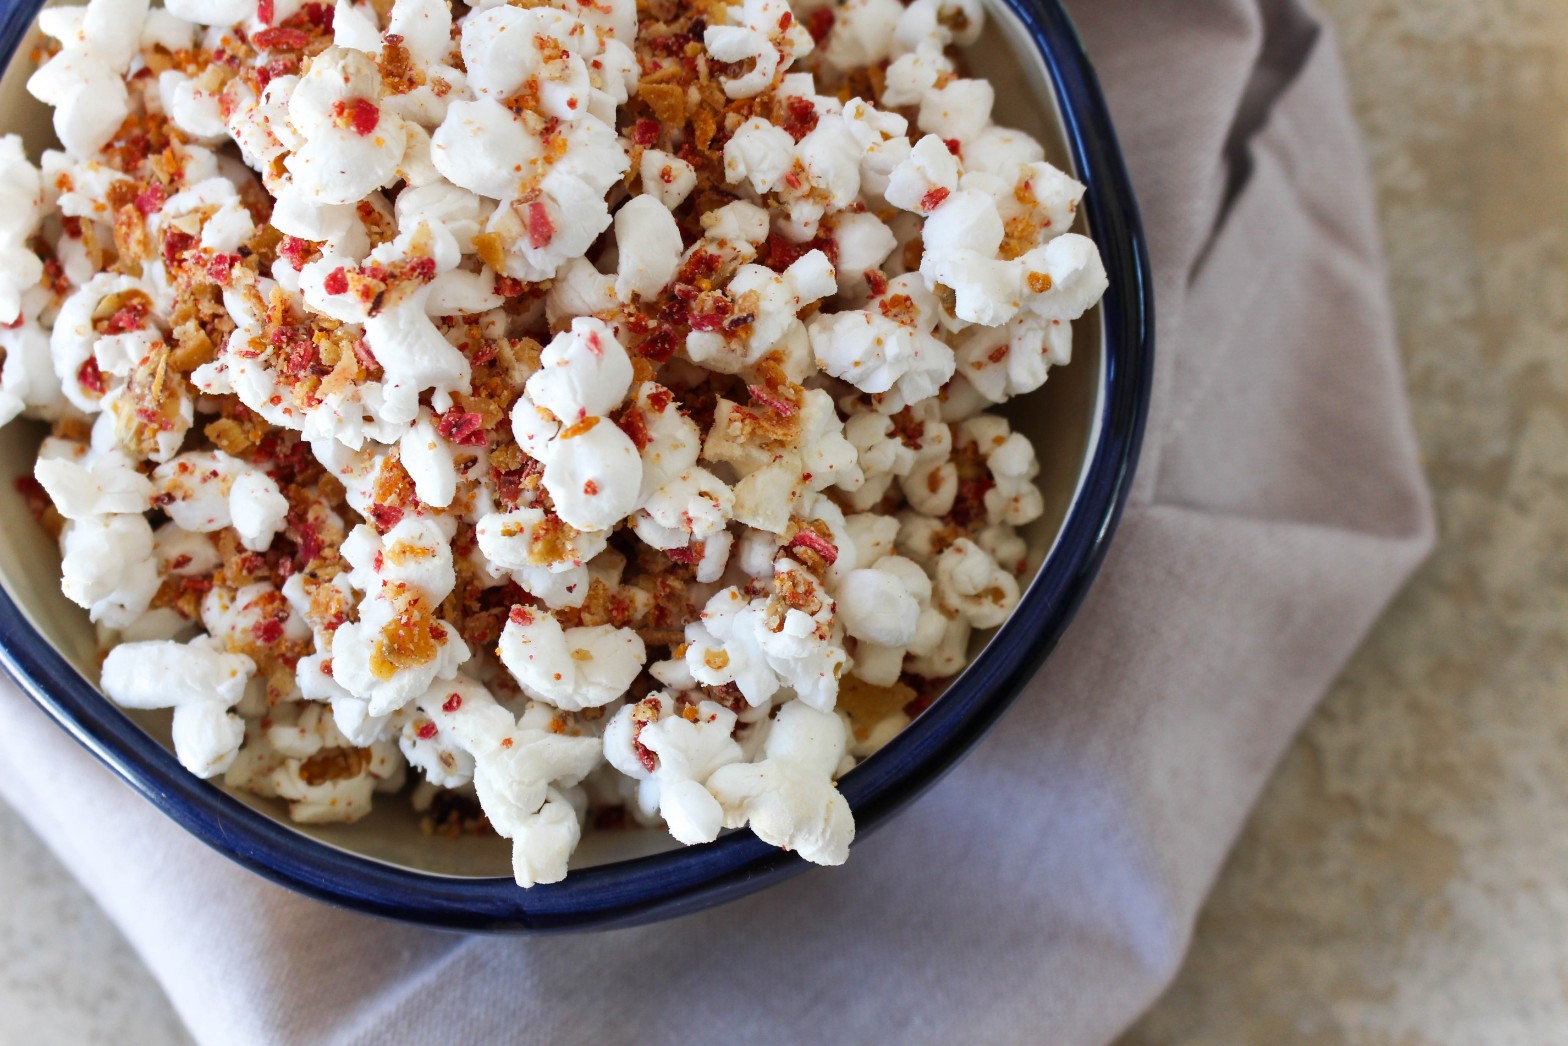
It’s movie night! When you are craving a crunchy snack, but can’t decide between popcorn or chips, combine them into this healthy new twist!
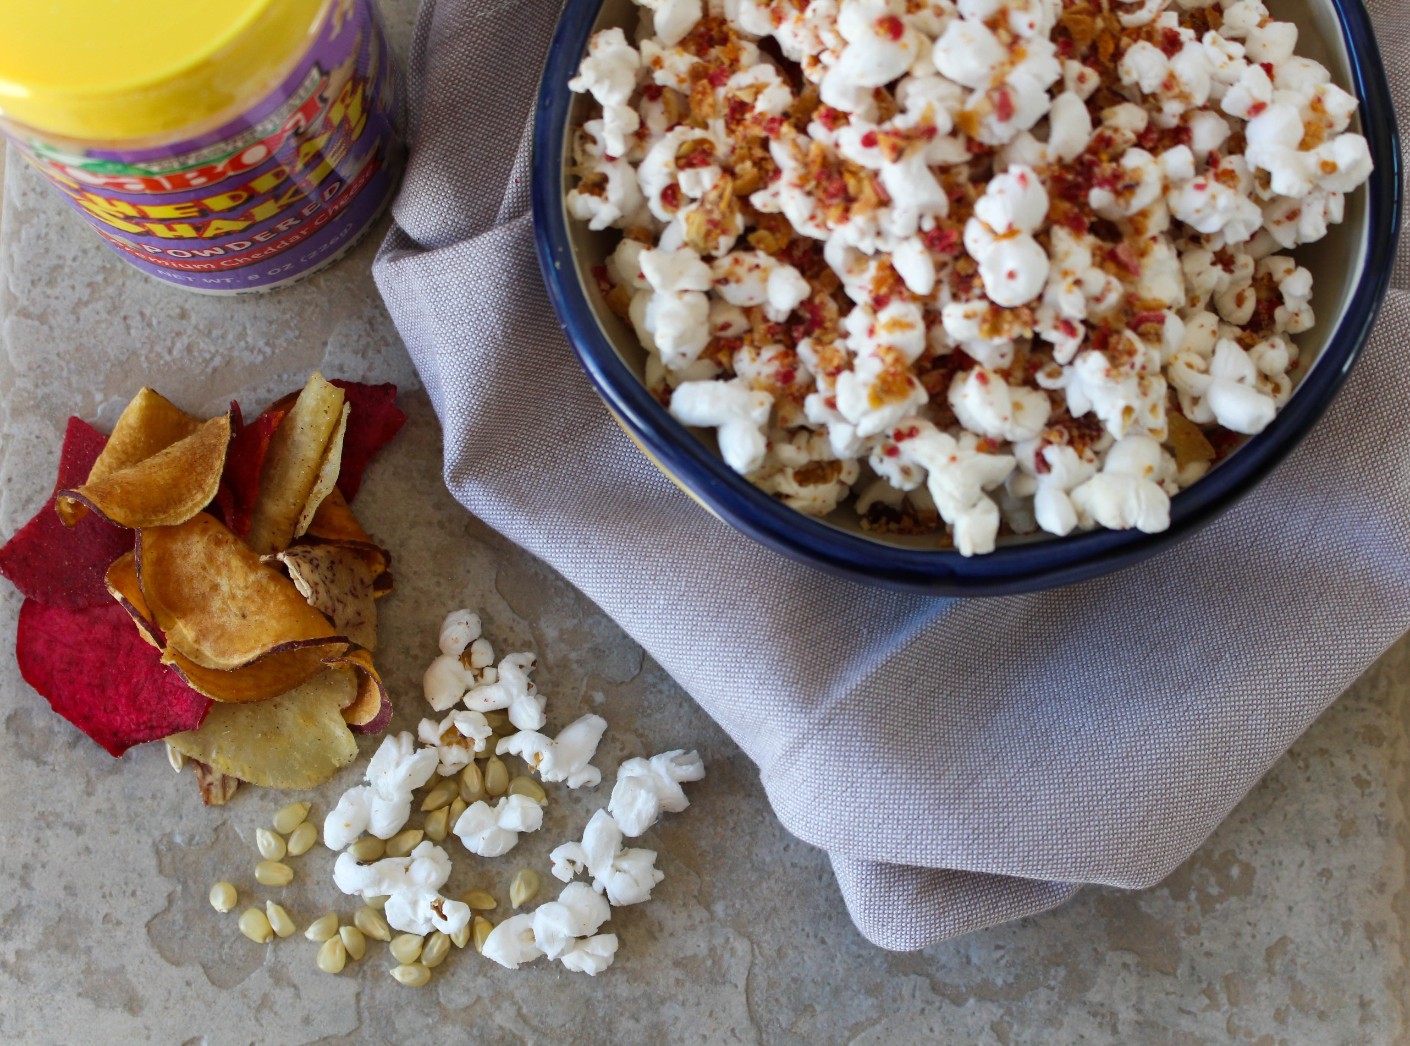
When it’s movie night, my snack of choice is always popcorn. Popcorn is a whole grain, which is a great snack choice and about 3 cups are in a serving, so you can feel good about filling up on this healthy snack fare. But it’s often what we put on popcorn that makes it go from a GO food to a SLOW or even WHOA food. (I use the go, slow, and whoa method when I teach children). So instead of lathering your popcorn with butter and salt, try a a healthy new twist. When you are craving the “crunch-factor” kind of snack, double up with double crunch. I had some crumbs at the bottoms of a terra veggie chip bag sitting in my pantry and a light bulb went off when I was making this popcorn to put them together. Then, adding Cabot’s Cheddar Shake! Powdered Premium Cheddar Cheese made this EVEN BETTER! Cheddar makes everything better, right? I’ve added parmesan cheese to popcorn before, but cheddar was a fun new twist. Recently my girlfriends and I got together for a movie night. My friend Kate is a total movie buff and brought along, an adventure/sci-fi movie, Divergent. Those type of movies are not my first choice, but Kate never disappoints me with her movie suggestions. Plus, there is some eye candy, that definitely was a plus. When the movie ended, we were all hooked. The sequel, Insurgent, recently came out and of course we had to get together for movie night, round 2. This time with Cheesy Veggie Chip Popcorn. The key is, once it’s freshly popped, toss on the veggie chips and cheese powder right away so it sticks right on to the popcorn.
1 cup your favorite veggie chips, crushed (I used terra chips)
Instructions
Heat the oil in a 3-quart saucepan on medium high heat.
Put 3 or 4 popcorn kernels into the oil and cover the pan.
When the kernels pop, add the rest of the 1/3 cup of popcorn kernels in an even layer. Cover, remove from heat and count 30 seconds. (This method first heats the oil to the right temperature, then waiting 30 seconds brings all of the other kernels to a near-popping temperature so that when they are put back on the heat, they all pop at about the same time.)
Return the pan to the heat. The popcorn should begin popping soon, and all at once. Once the popping starts in earnest, gently shake the pan by moving it back and forth over the burner.
Try to keep the lid slightly ajar to let the steam from the popcorn release (the popcorn will be drier and crisper).
Once the popping slows to several seconds between pops, remove the pan from the heat, remove the lid, and dump the popcorn immediately into a wide bowl.
Quickly toss the Cabot cheddar shake and crushed veggies chips when popcorn is still warm and will adhere to the popcorn.
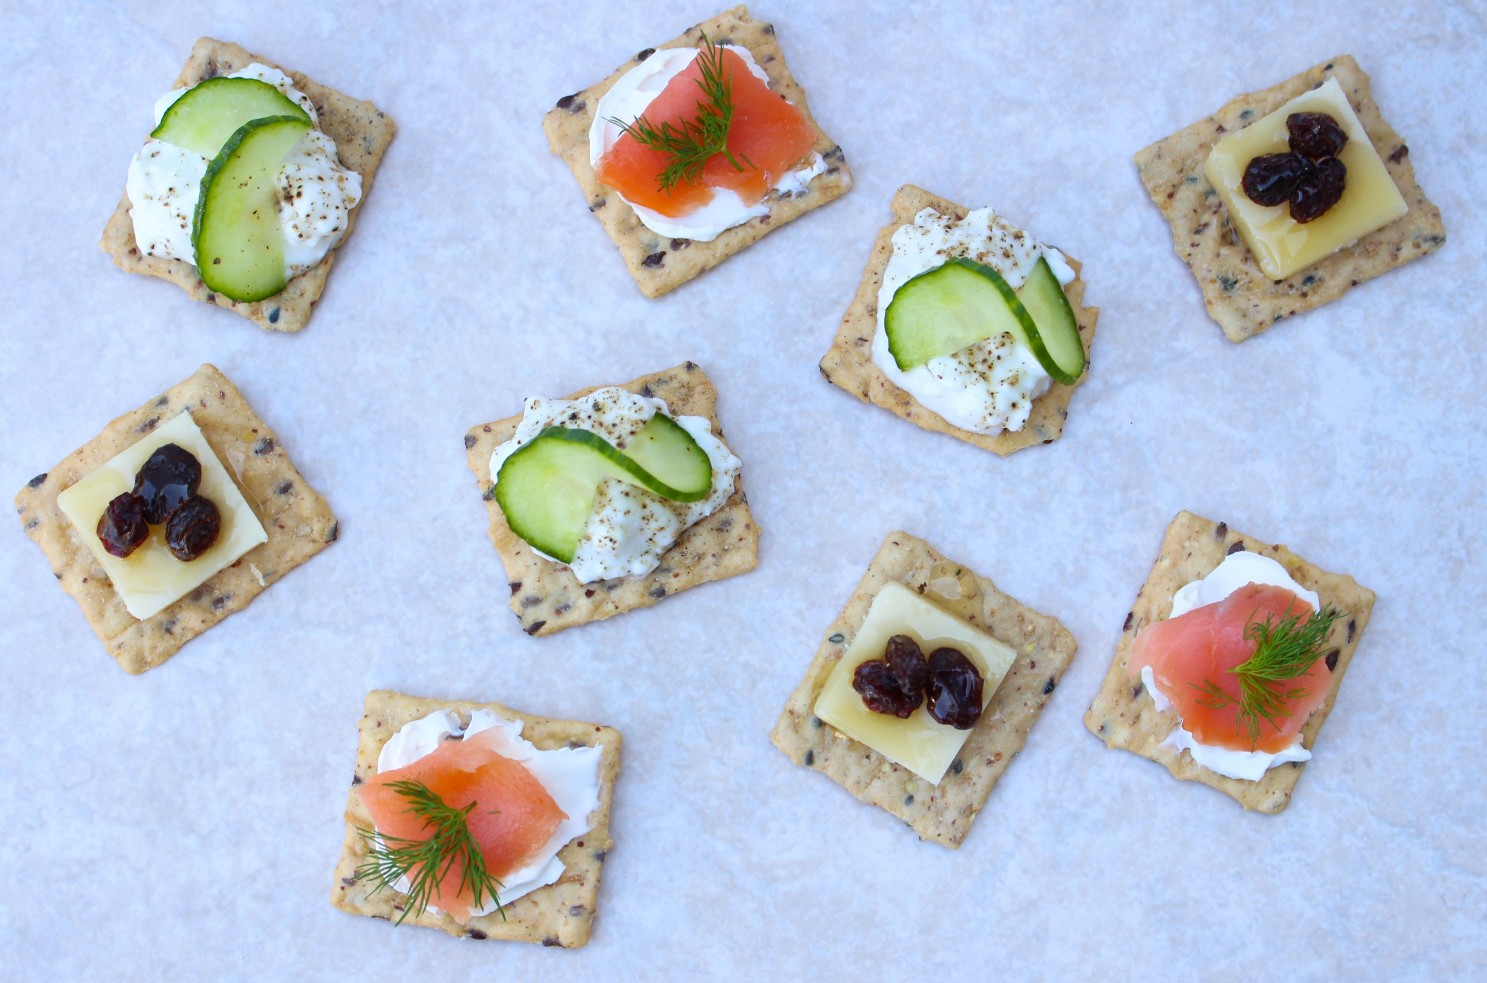
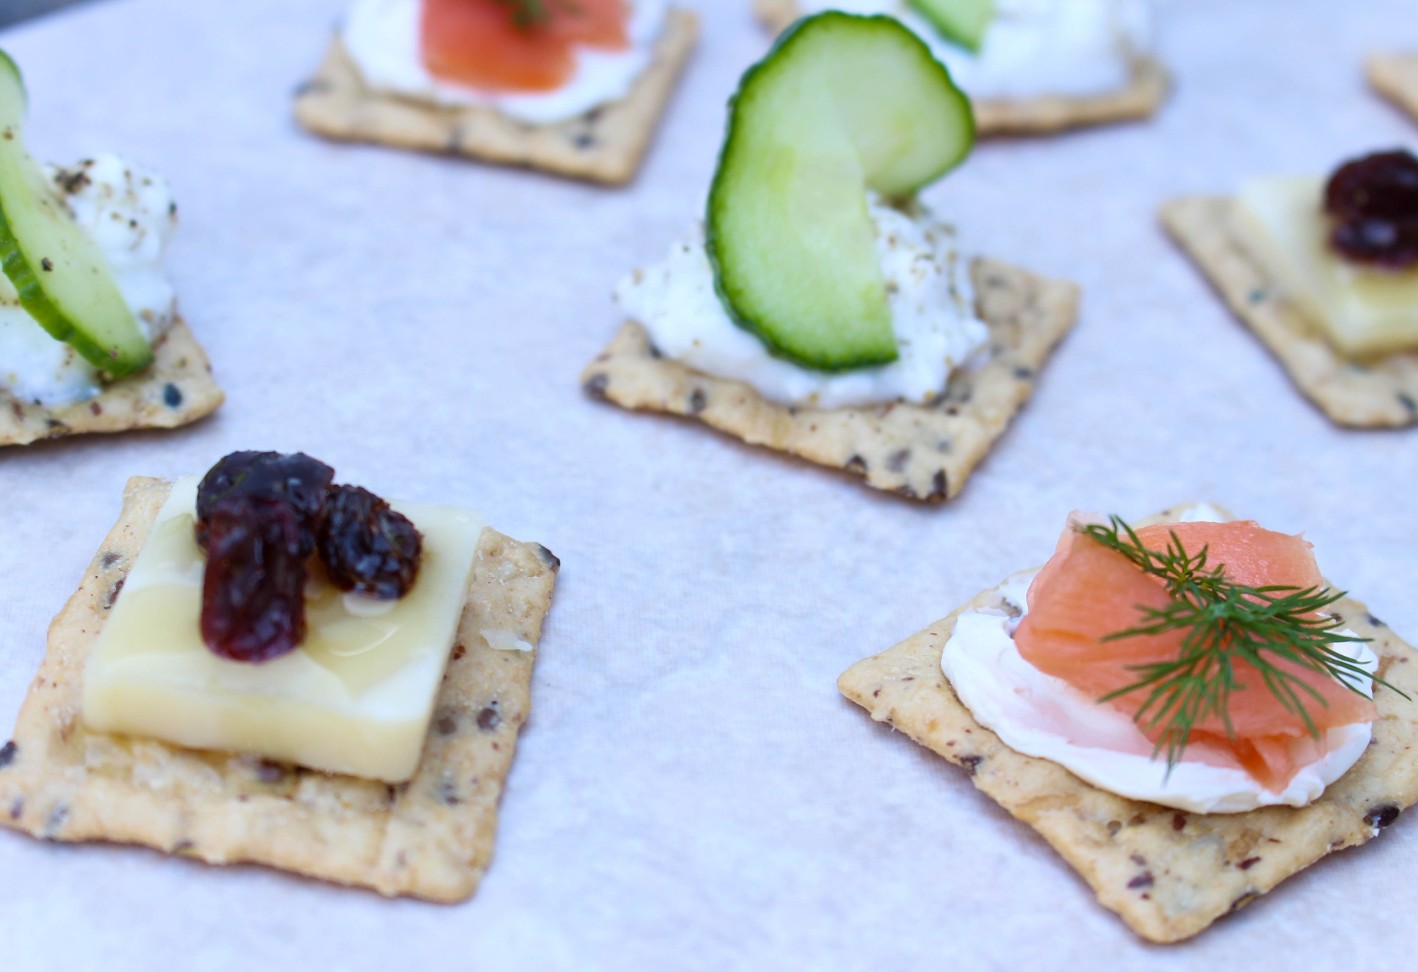
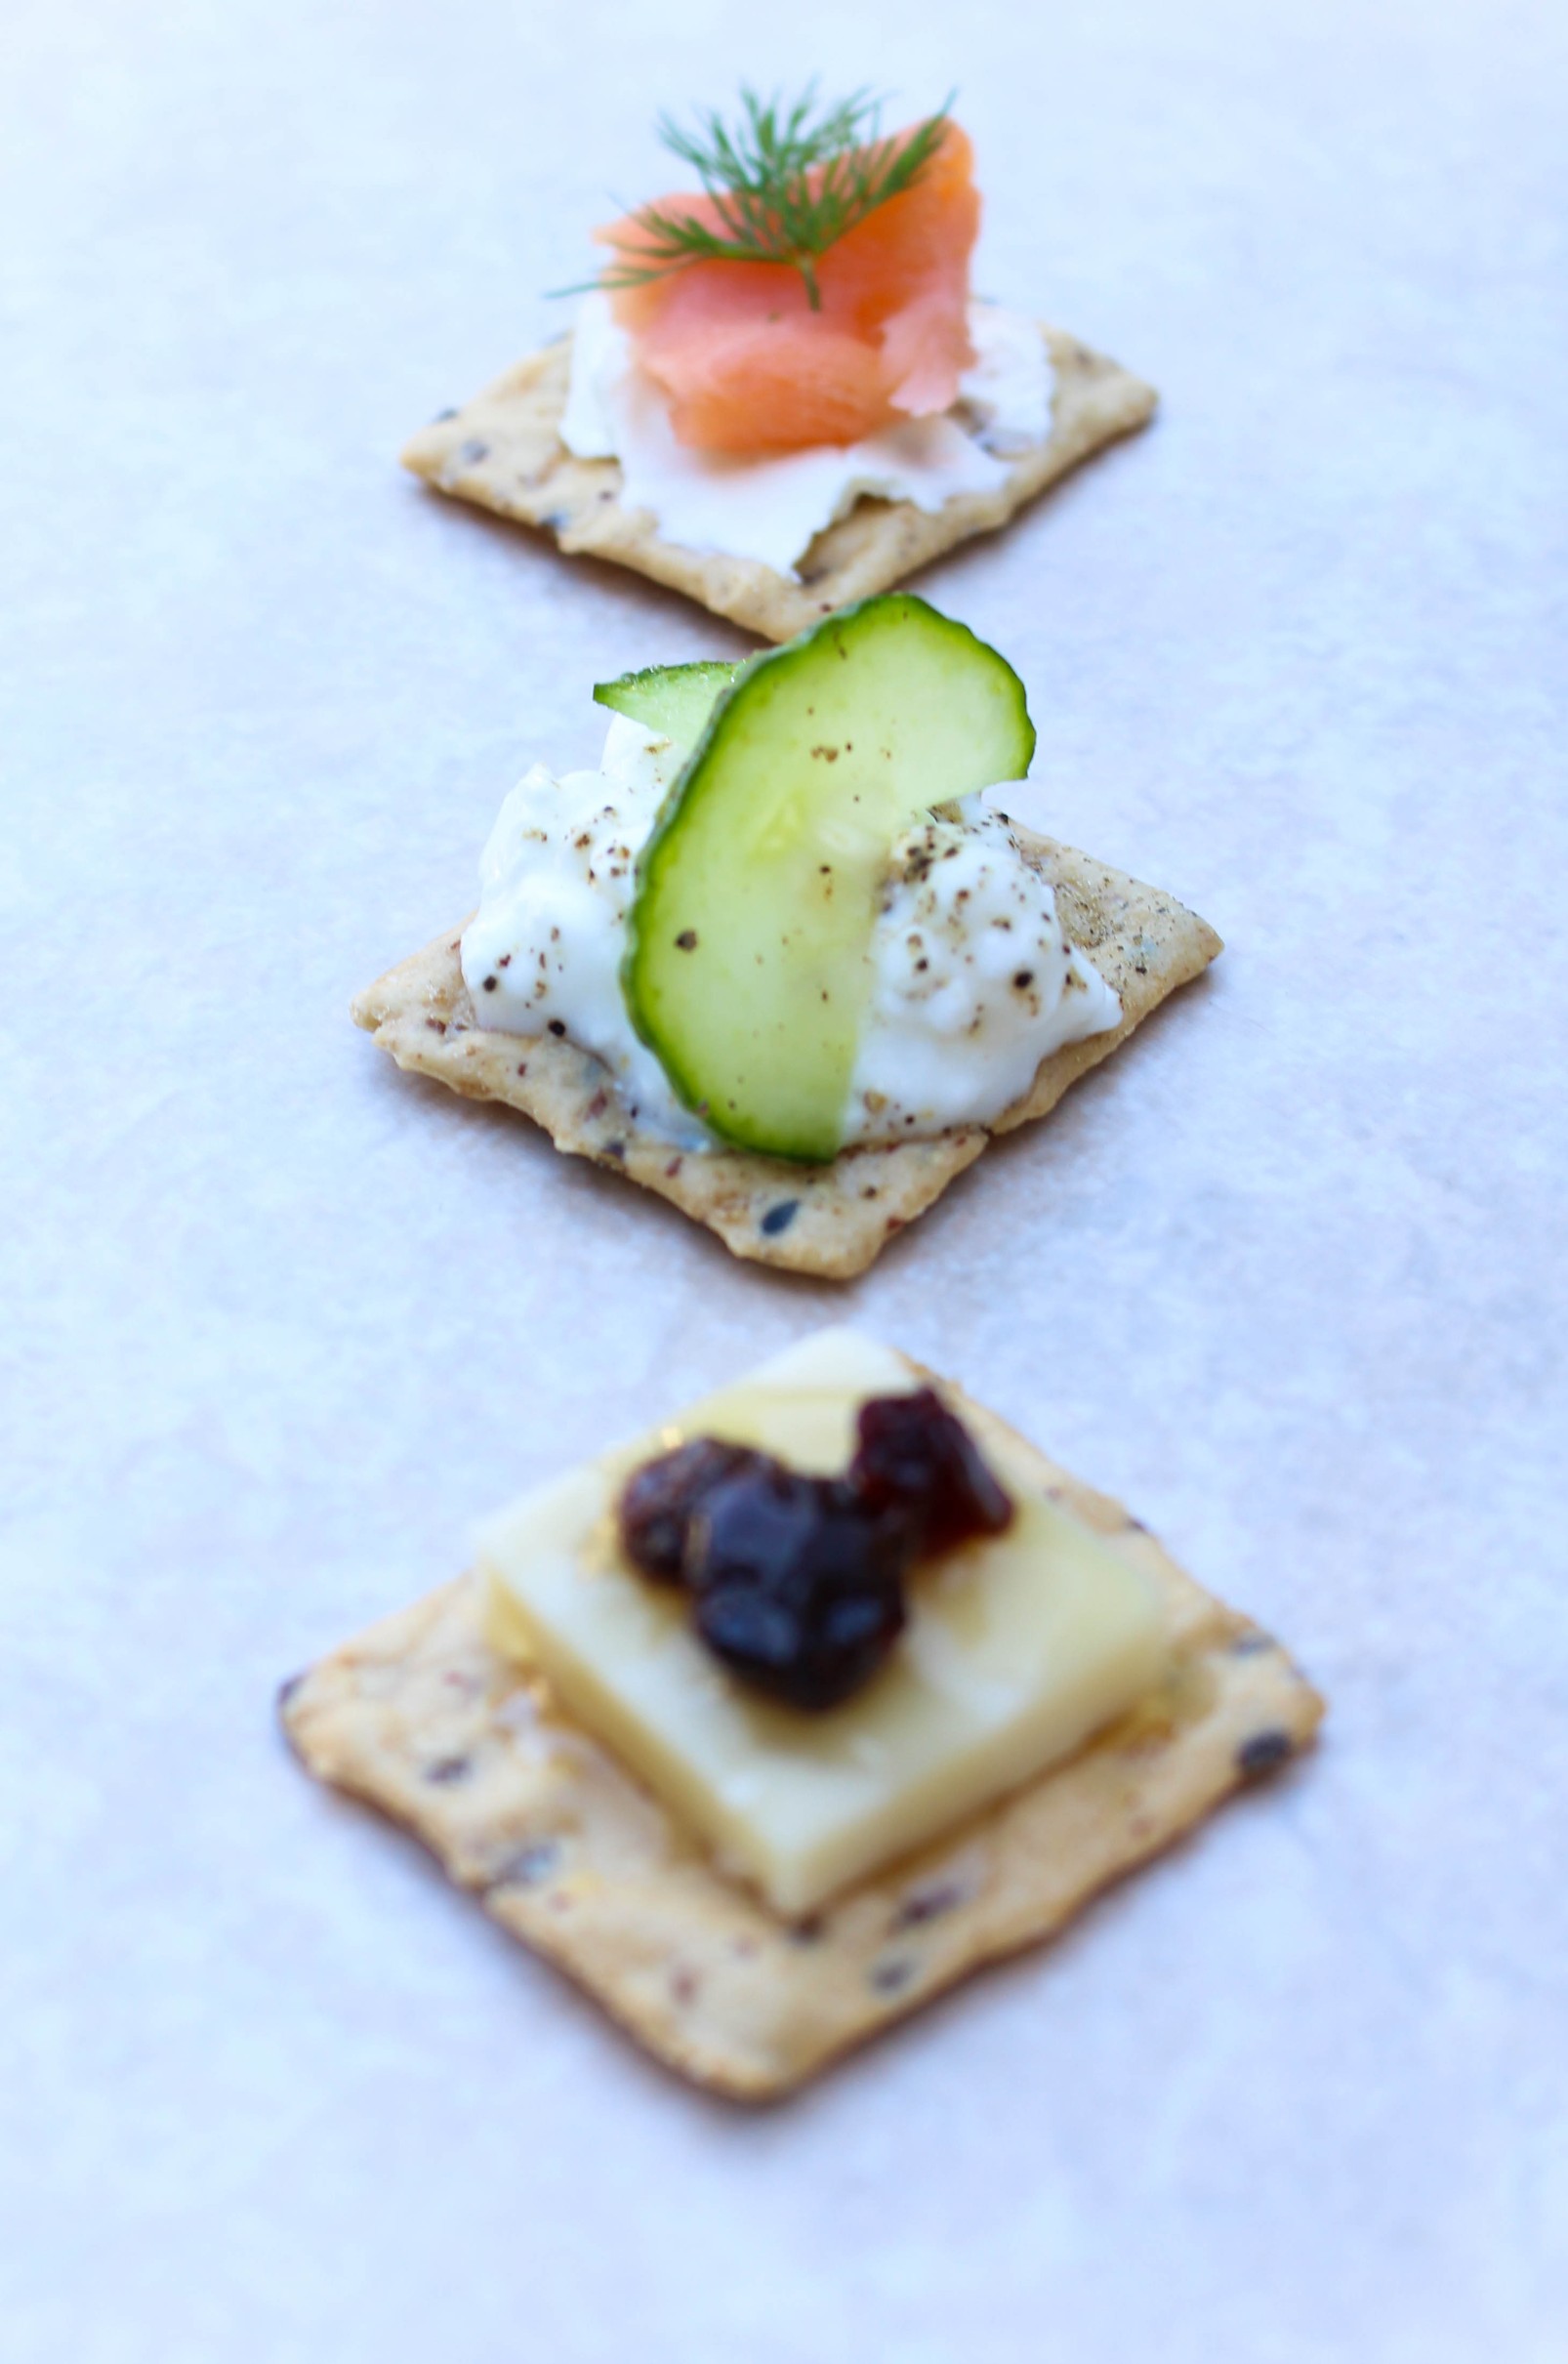
Spruce up your cheese and cracker platter the next time you are entertaining guests. Try these fun combos with only 3 topping ingredients each!
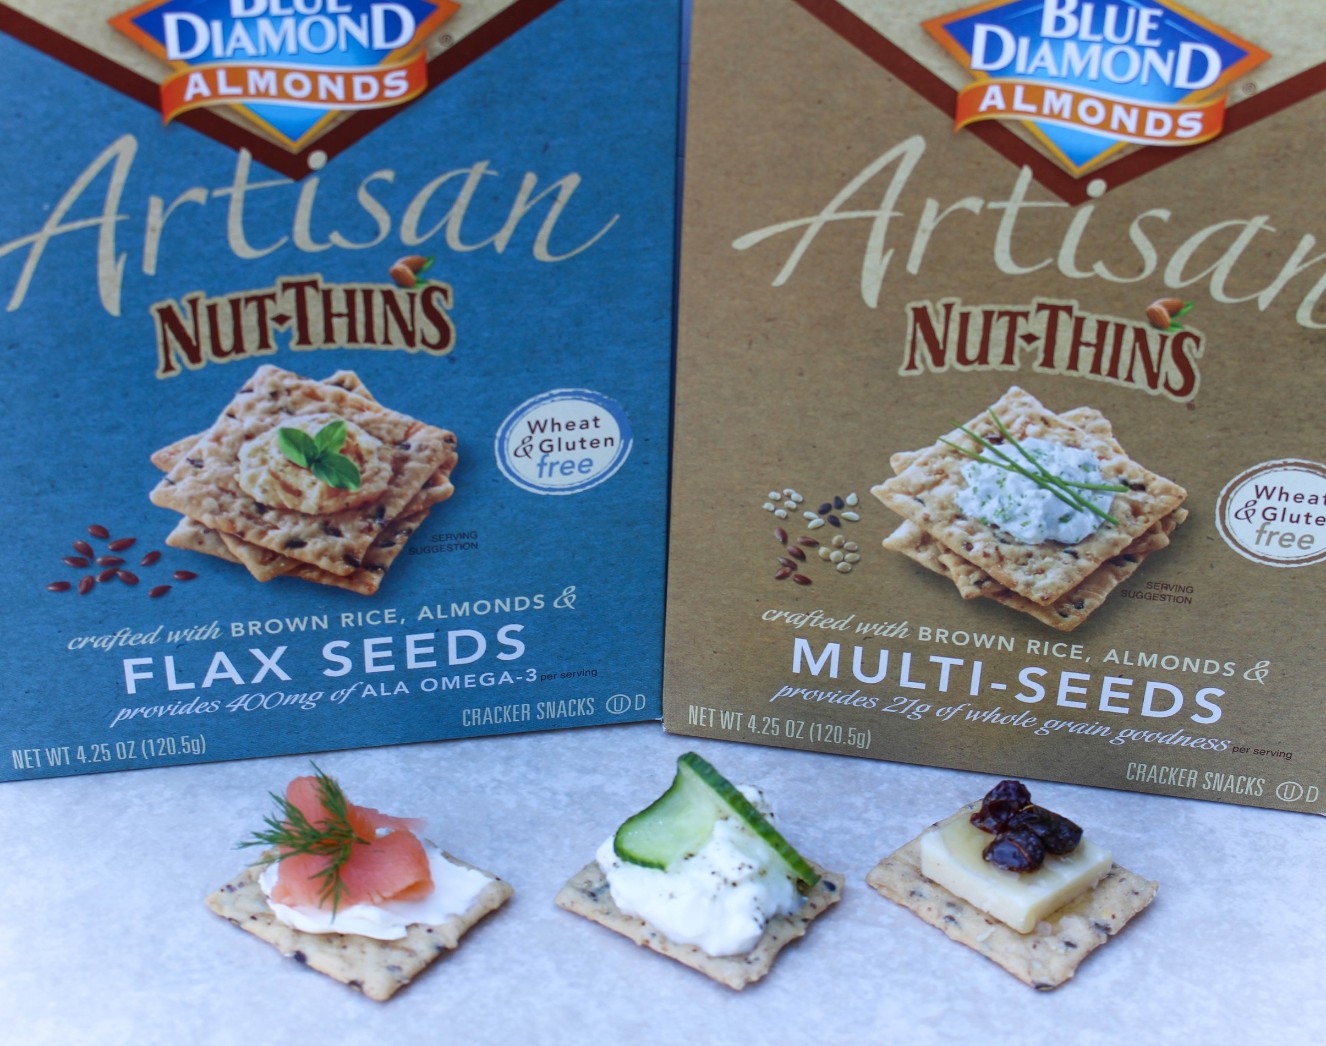
Disclosure: This post is sponsored by Blue Diamond Nut Thins.
At any type of party there is usually a cheese and cracker platter on the appetizer table.
I love a good cheese and cracker combo, but one of my pet peeves is when the cracker crumbles apart when you take a bite and all the delicious toppings fall off. Artisan Nut Thins are a sturdy crunchy cracker that is the perfect vessel to make your cheese and cracker platter a success.
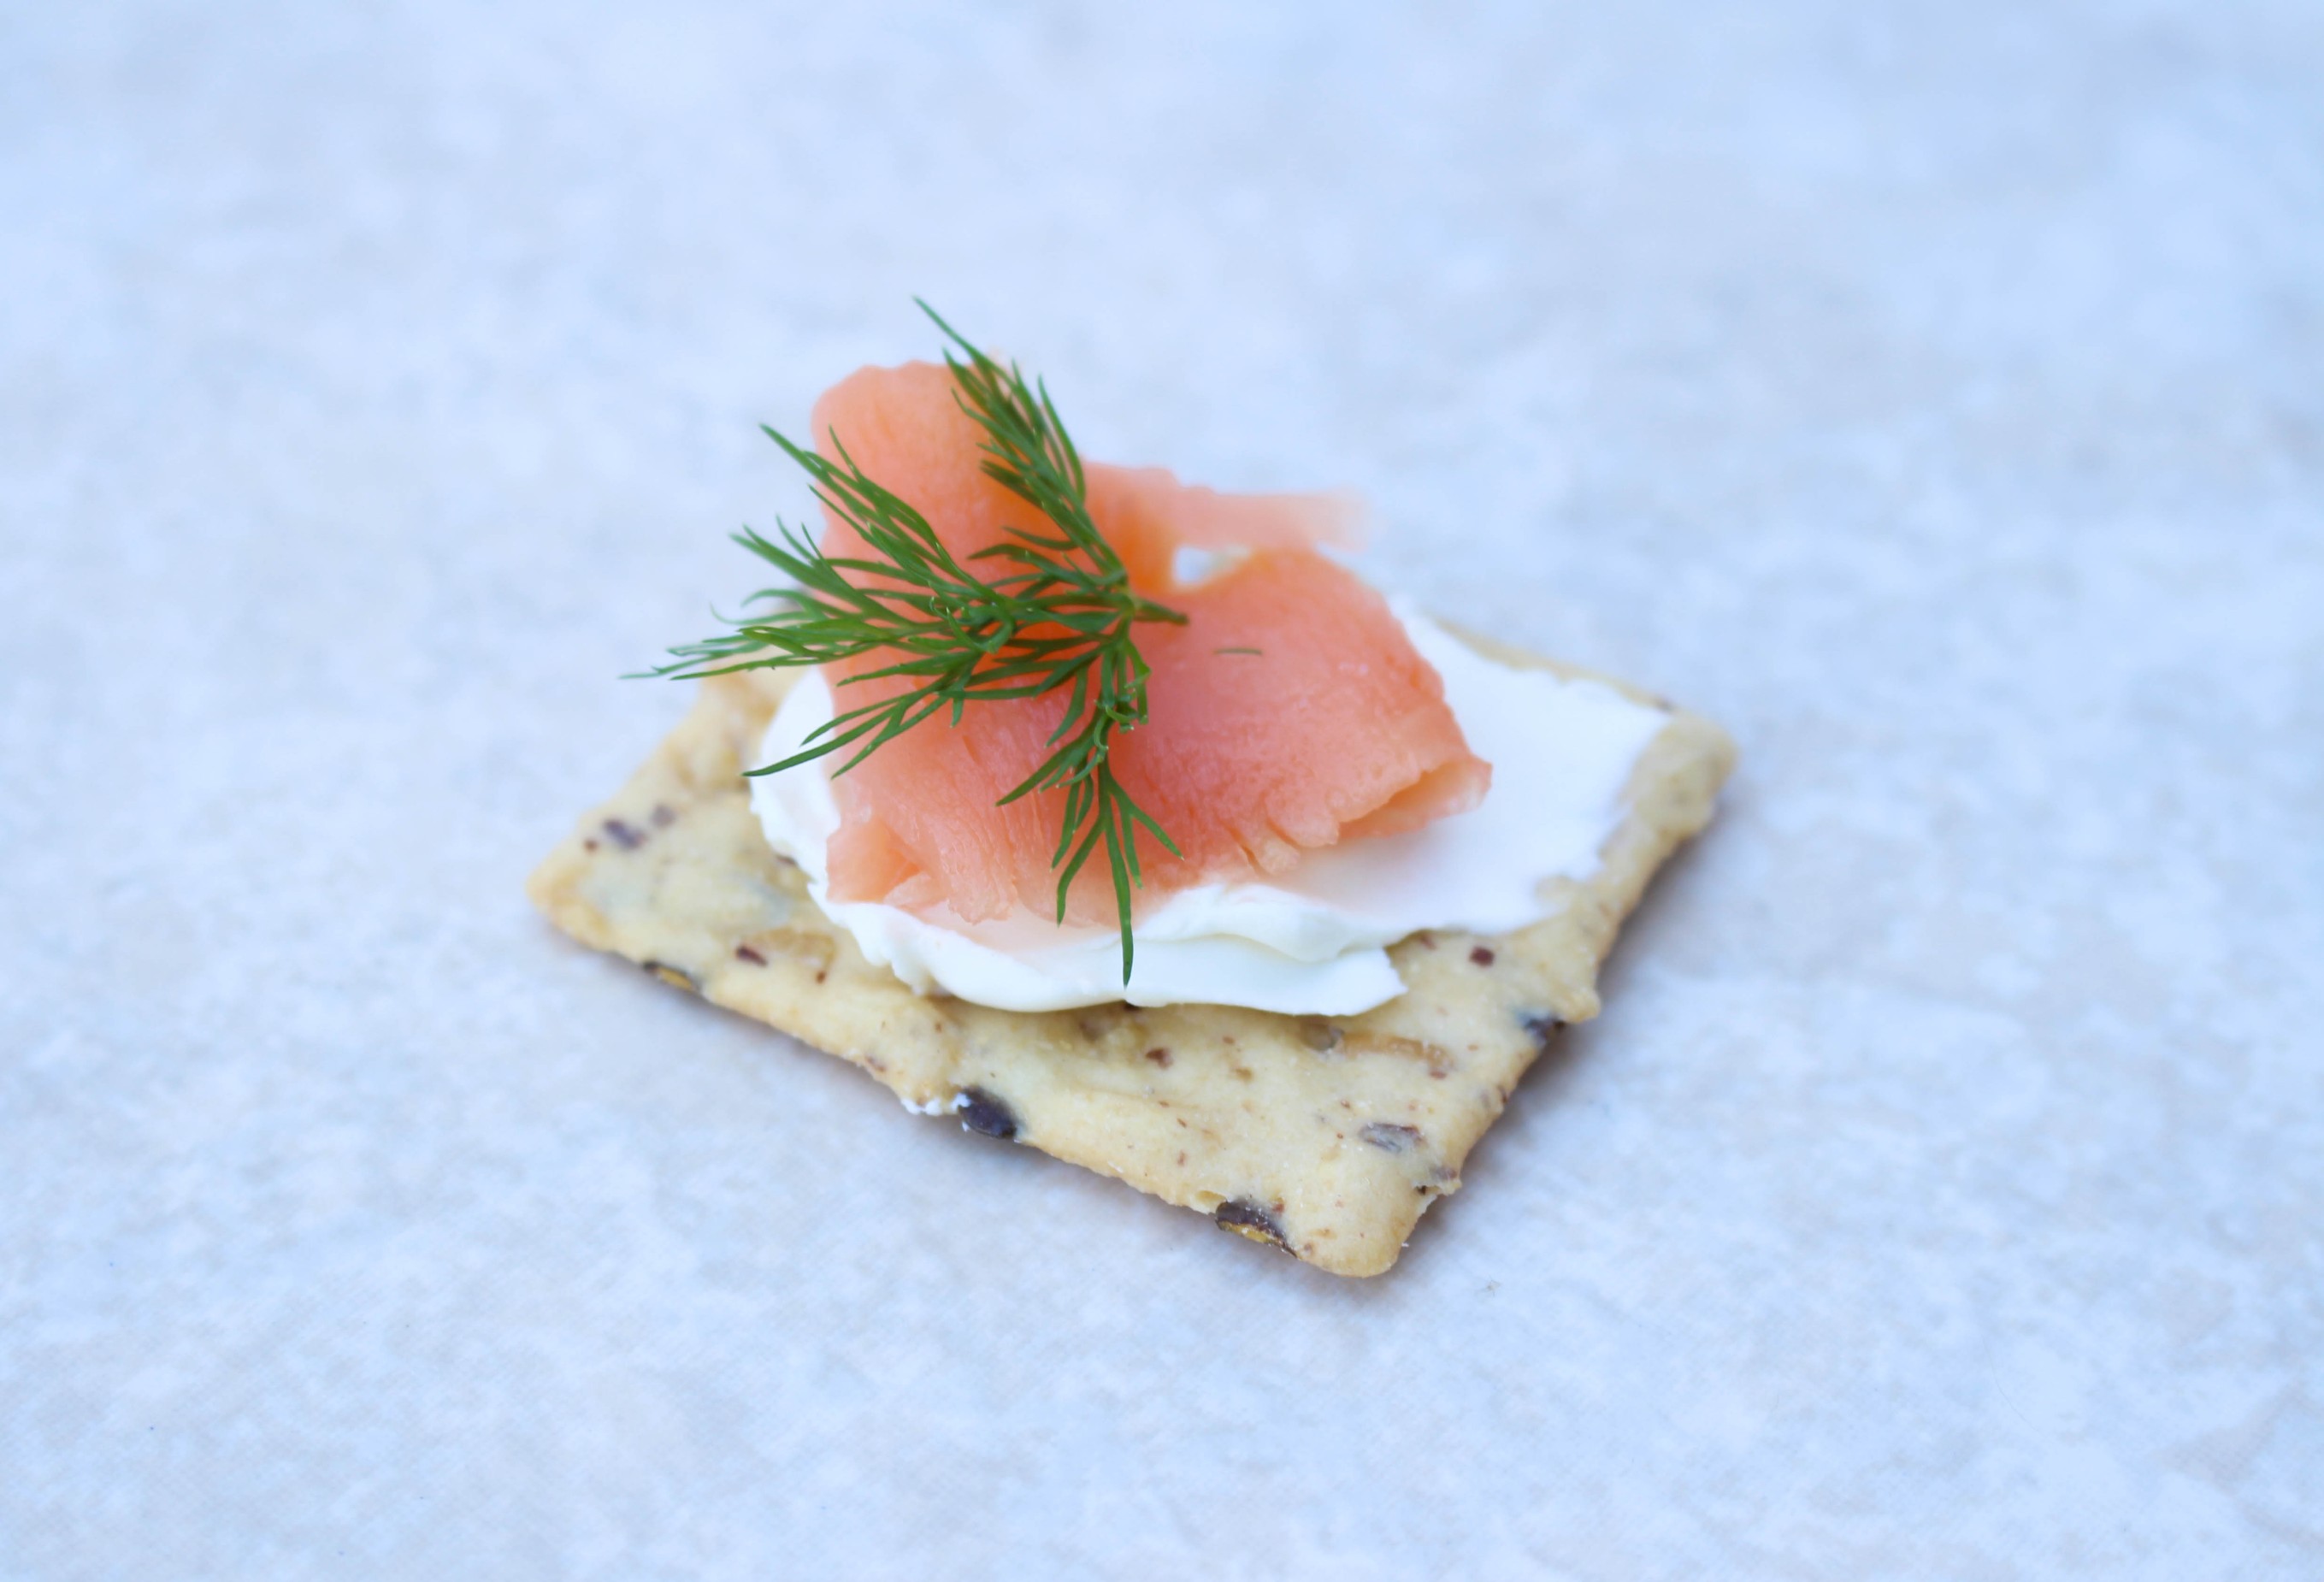
Plus, the nutrition facts stack up so your guests can enjoy a nutritious appetizer. Per serving Artisan Nut Thins have 3 grams of protein per serving with whole grains and wheat & gluten free that can help cater to all guests dietary needs. When I serve cheese and crackers, I prefer to assemble a large platter of these little bites, so my guests don’t have to put any effort into topping their own crackers. With three simple topping ingredients, you now have to tools to create a delicious and nutritious cheese and cracker platter. I fell in love with the smoked salmon and cream cheese combo when I was on a cruise awhile ago. Cruises have endless buffets and is the perfect time to try new foods! During that cruise, I had it every morning for breakfast on a bagel. Bagels are not an everyday type of food for me, so a cracker topper is the perfect solution for my craving. Plus, salmon is packed with omega-3 heart healthy fats.
Put a small smear of cream cheese on an Artisan Nut Thin cracker.
Top with a small piece of smoked salmon and a sprig of fresh dill
Recipe Card powered by
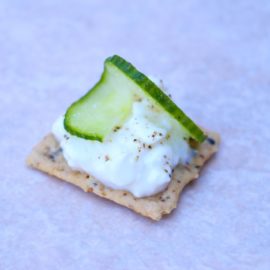
Did you ever think to put cottage cheese on a cracker? Try it! The little hint of salt from the cottage cheese combined with the cracked pepper and refreshing cucumber is a great cracker topping combo. Plus, cottage cheese is packed with protein, making it a great appetizer choice versus the typical appetizer fare.
Flax Seed Artisan Nut Thins or Multi-Seed Artisan Nut Thins
Low-fat cottage cheese
Cracked black peppercorn
English cucumber, thinly sliced
Instructions
Place a small dollop of cottage cheese on an Artisan Nut Thin cracker.
Sprinkle with a pinch of cracked black peppercorn.
Make a slice half way into the center of the cucumber. Fan and place on top of cottage cheese.
Recipe Card powered by
Who doesn’t love a sweet and salty combo? I always like to think outside the box with my combinations, and this cracker combo hits all the notes. Crunch and touch of salt from the cracker, creamy and salty from the cheddar cheese, chewy and sweet from the raisins, and sweet from honey.
Flax Seed Artisan Nut Thins or Multi-Seed Artisan Nut Thins
Cheddar cheese
Raisins
Honey
Instructions
Place a slice of cheddar cheese on an Artisan Nut Thin cracker.
Add a few raisins on top and drizzle with honey.
Recipe Card powered by
Think outside the box with the typical cheese and cracker fare. No one wants a boring cheese platter anymore. Now you have 3 combos to start with and with only 3 toppings each, making it much less stressful to whip up right before a party. Don’t even wait until your next party, make these for a nutritious afternoon snack.
This website uses cookies to improve your experience. We'll assume you're ok with this, but you can opt-out if you wish.AcceptRejectRead More
Privacy & Cookies Policy
Privacy Overview
This website uses cookies to improve your experience while you navigate through the website. Out of these, the cookies that are categorized as necessary are stored on your browser as they are essential for the working of basic functionalities of the website. We also use third-party cookies that help us analyze and understand how you use this website. These cookies will be stored in your browser only with your consent. You also have the option to opt-out of these cookies. But opting out of some of these cookies may affect your browsing experience.
Necessary cookies are absolutely essential for the website to function properly. This category only includes cookies that ensures basic functionalities and security features of the website. These cookies do not store any personal information.
Any cookies that may not be particularly necessary for the website to function and is used specifically to collect user personal data via analytics, ads, other embedded contents are termed as non-necessary cookies. It is mandatory to procure user consent prior to running these cookies on your website.