This post may contain affiliate links. Read my privacy policy.
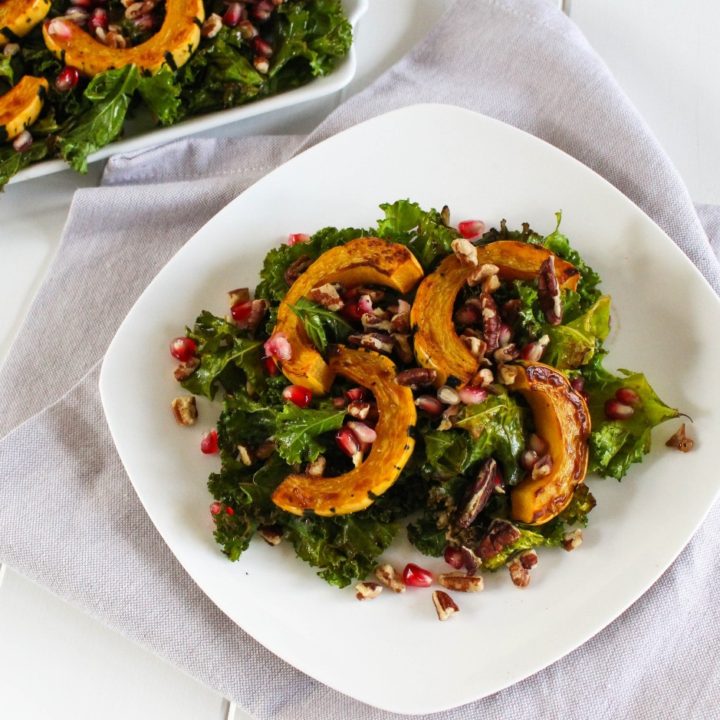
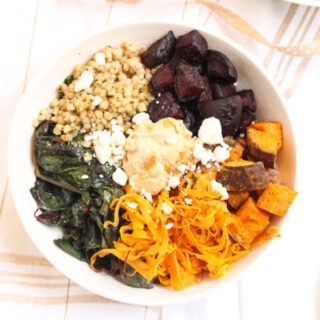
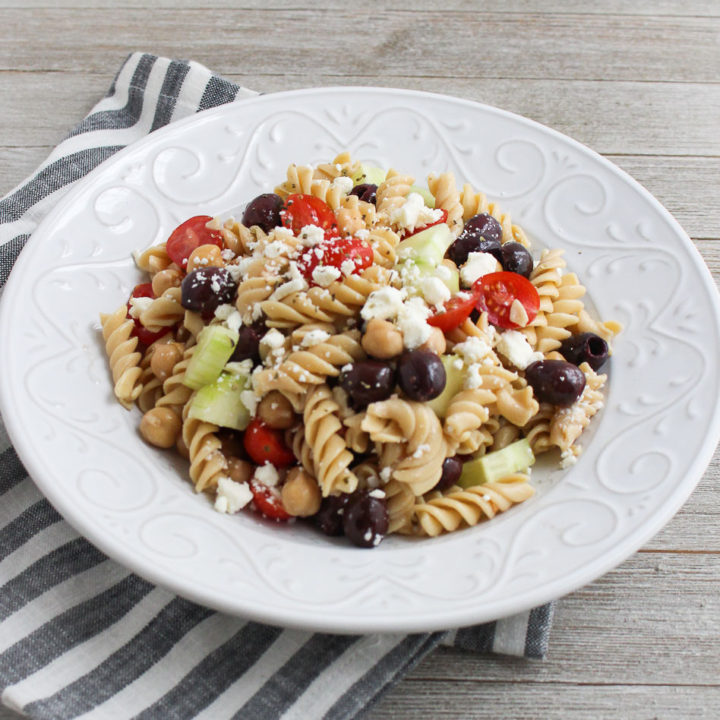
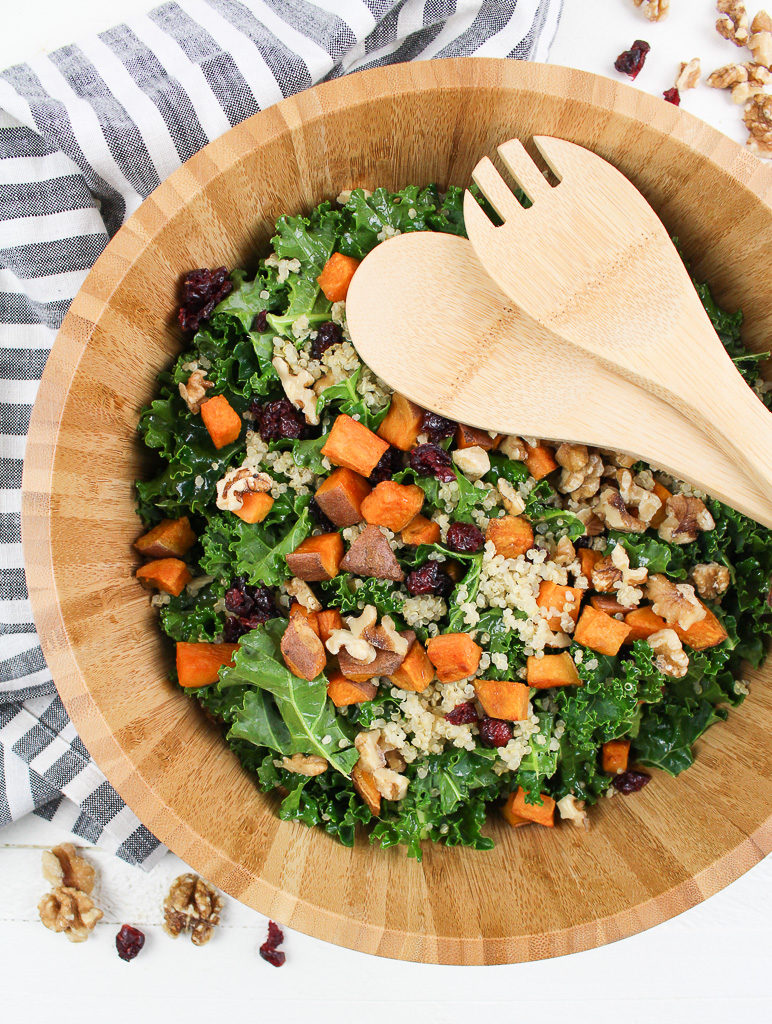
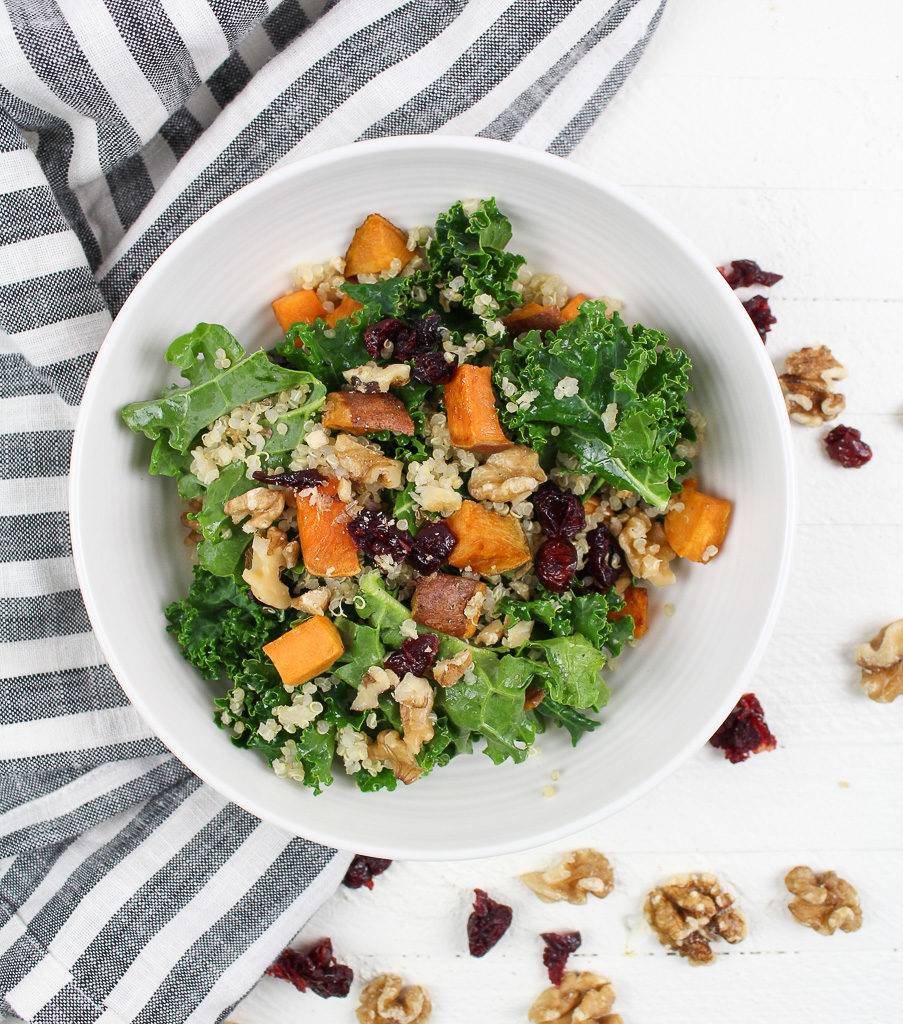
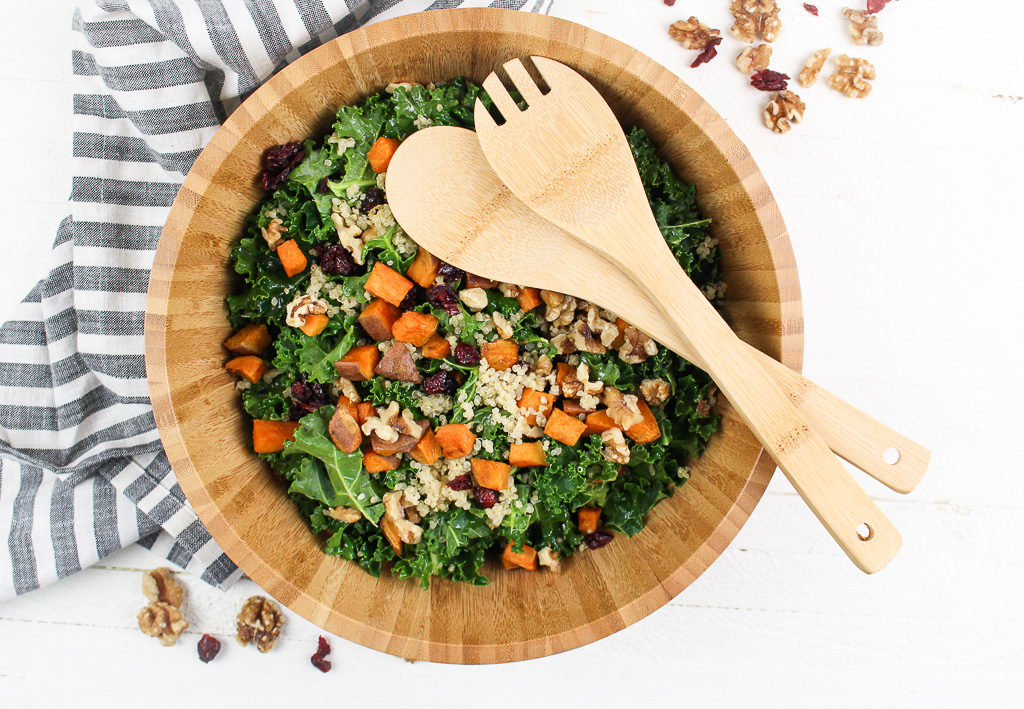
Salads don’t have to be boring! By adding cooked and raw elements like in this Roasted Sweet Potato Kale Salad can elevate any salad experience.
There is nothing worse when trying to enjoy a kale salad and your jaw becomes numb with all the chewing. It’s most likely that the kale wasn’t treated properly. Kale is very fibrous, but the simple technique of massaging kale can change your whole kale salad experience. I’ve talked all about this already here.
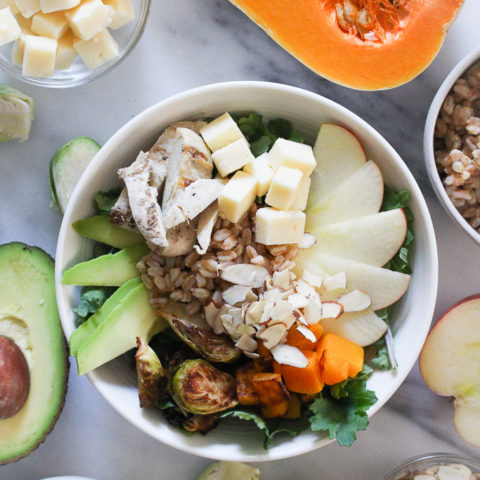
Salads don’t have to be boring! Mix and match with various food groups, flavors, and textures. I like to add both raw and cooked elements to add different depths of flavor.
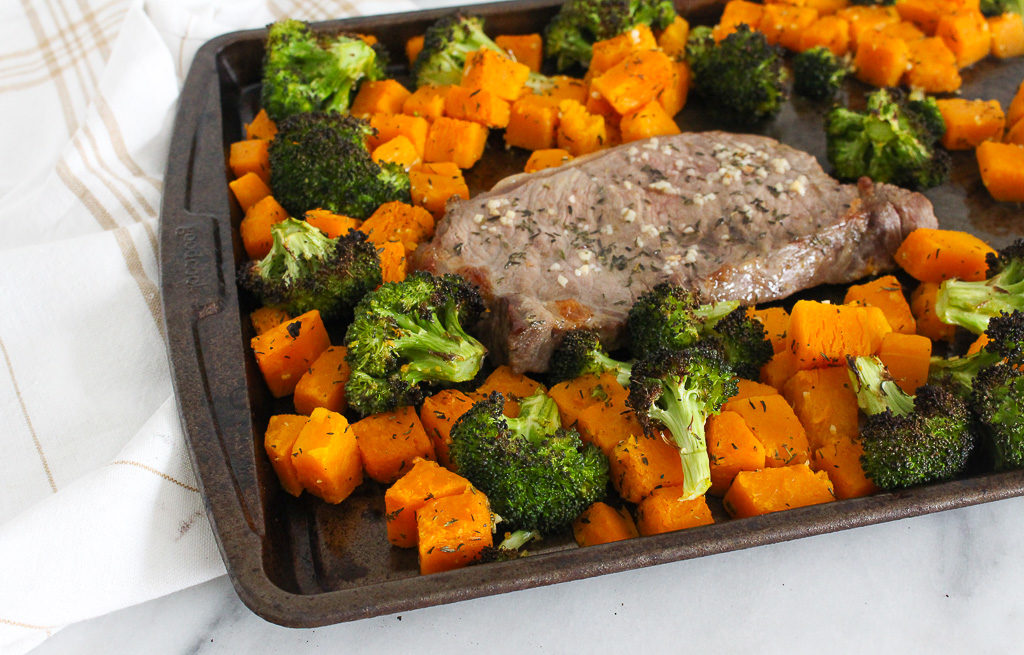
Perfectly roasted sweet potatoes provide additional sweetness from their caramelization.
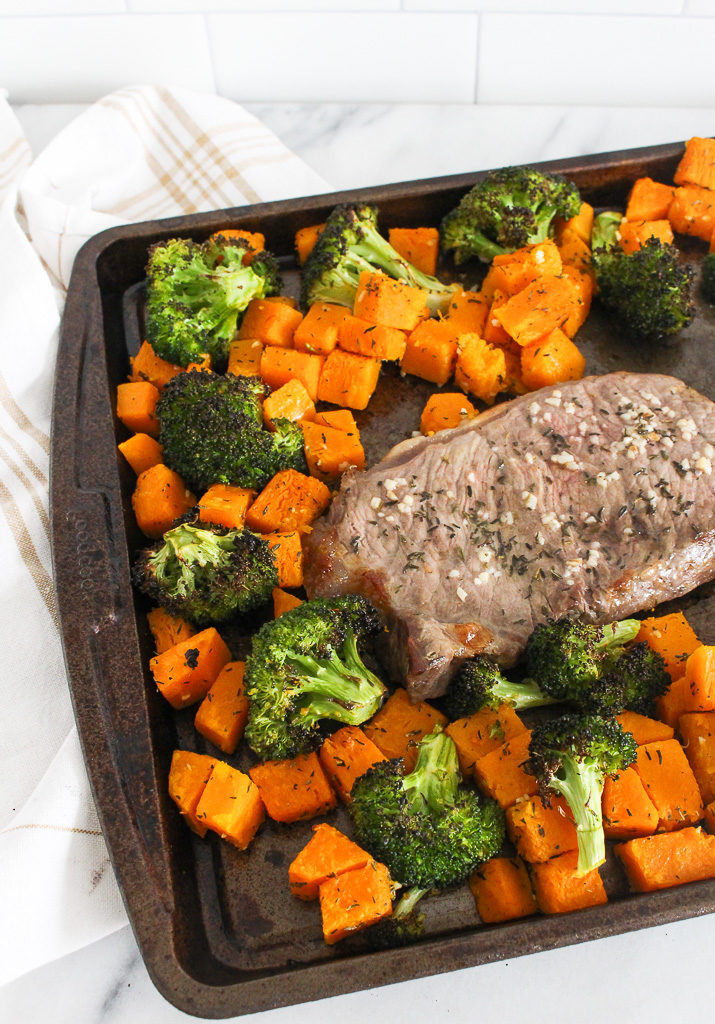
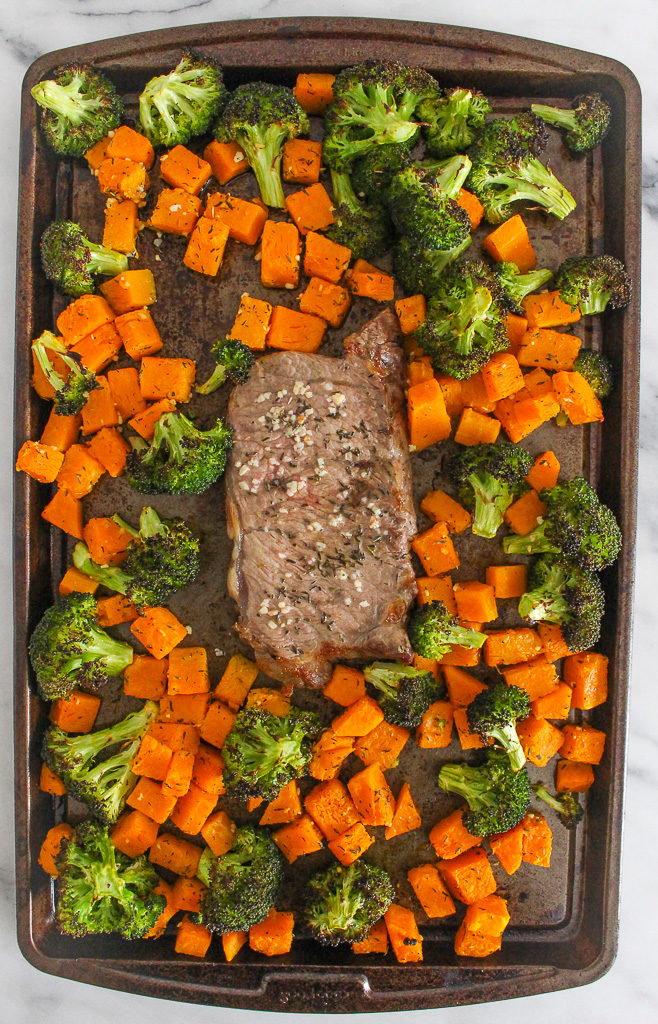
Tips to perfectly roast vegetables:
- Cut vegetables approximately the same size. This will prevent smaller pieces from overcooking and larger pieces not being cooked through.
- Don’t overdo it on the oil. One tablespoon of olive oil is enough for a full tray of vegetables. Instead of drizzling the oil when the vegetables are already on the sheet pan, toss in a large bowl then place vegetables on the sheet pan. This will ensure all vegetables are evenly coated.
- Don’t crowd the pan. Vegetables should be an even layer on the sheet pan. Overcrowding can result in the vegetables steaming rather than roasting.
- Stop stirring. Simply flip vegetables halfway through the cooking process. Constant stirring won’t allow the vegetables to caramelize evenly on each side.
- Looking for easy cleanup. Line your baking sheet with parchment paper.
With a little meal prep, this salad can come together in minutes. Roast sweet potatoes in advance, wash and chop kale, batch cook quinoa, and make the dressing. By getting the prep process started earlier on can help put meals together in minutes. With kale being very fibrous, it lasts longer in the refrigerator. I wash and chop kale for the week and store it in a breathable produce bag. Then, I can easily prepare a salad; add it to a smoothie, or sauté for a quick side dish.
Fun Fact:
Have you ever notices kale that has been sitting in the refrigerator for a longer period of time, the edges start to turn an orange/yellow color. Yes, the kale is aging, but it’s not going bad. As kale ages, the deep green chlorophyll color begins to fade and the vitamin A & C colors shine through. Kale is an excellent source of Vitamins A & C.
Print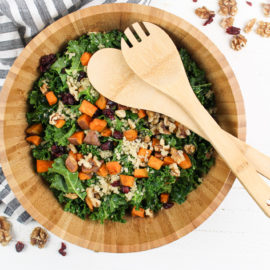
Roasted Sweet Potato Kale Salad
- Prep Time: 20
- Cook Time: 30 minutes
- Total Time: 50 minutes
- Yield: 8
- Category: Salad
- Cuisine: American
Description
Salads don’t have to be boring! By adding cooked and raw elements like in this Roasted Sweet Potato Kale Salad can elevate any salad experience.
Ingredients
For the salad:
1 tablespoon olive oil
2 sweet potatoes, chopped, cut into cubes
8 cups kales, stems removed and chopped
1 cup quinoa, cooked
½ cup chopped walnuts
½ cup dried cranberries
For the dressing:
1/3 cup golden balsamic vinegar
¼ cup olive oil
2 cloves garlic, minced
1 tablespoon maple syrup
salt, to taste
Instructions
- Preheat the oven to 425°F and line a baking sheet with cooking spray or parchment paper.
- In a large bowl, toss sweet potatoes with olive oil and season with salt and pepper. Add to the baking sheet in an even layer. Roast for 30-40 minutes, flipping halfway through until sweet potatoes have caramelized and are fork tender. Remove from oven and let cool completely.
- In a large bowl, add the kale and massage to become tender. Add the sweet potatoes, quinoa, walnuts, and dried cranberries. Toss to combine.
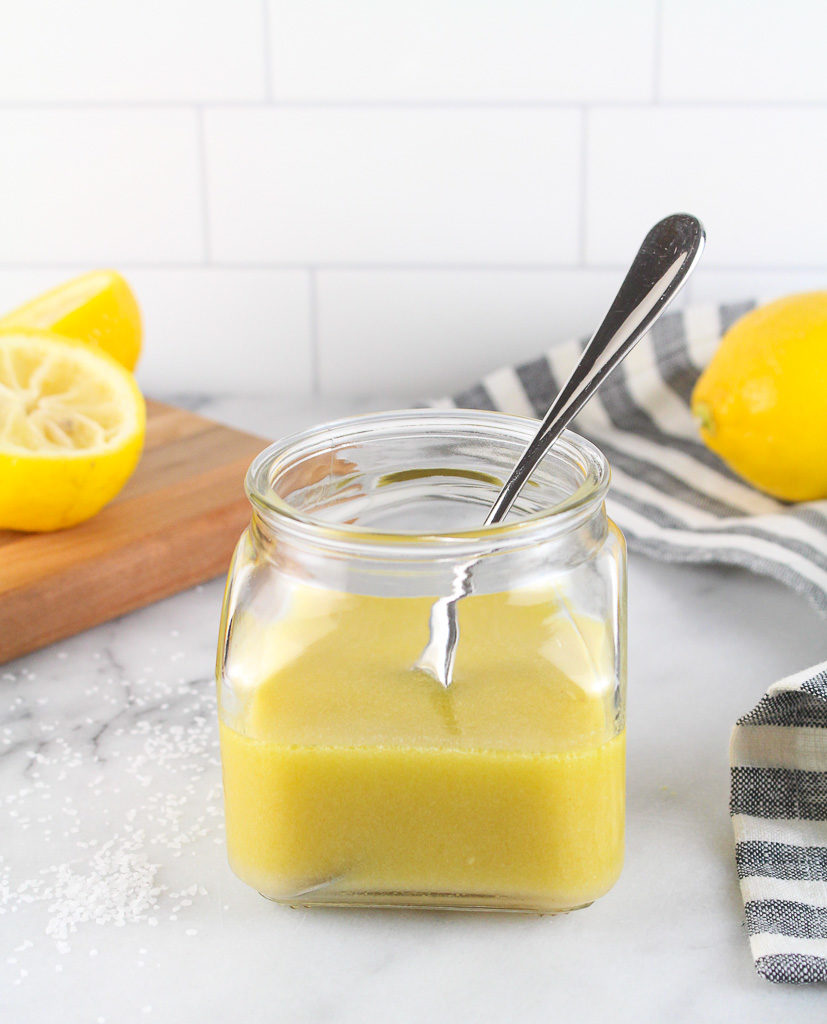
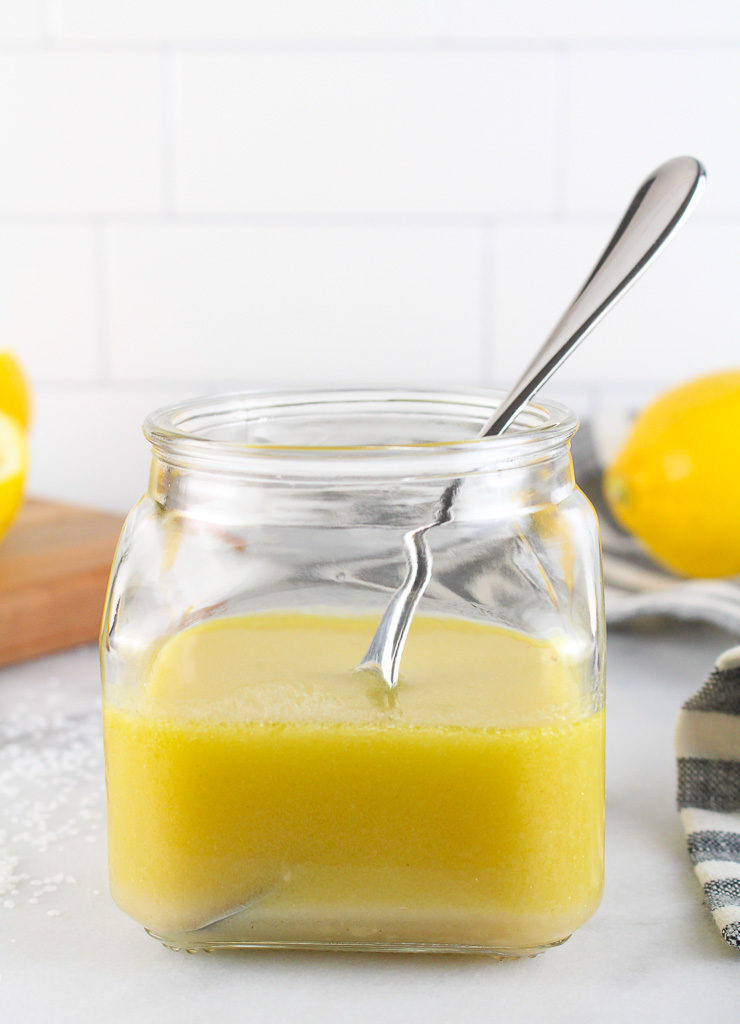
- In a mason jar, combine the balsamic vinegar, olive oil, garlic, and maple syrup. Secure lid and shake to combine. Season with salt and pepper to taste.
- Drizzle dressing over salad and toss to combine.
Notes
The addition of feta cheese to this salad is great if desired.
Keywords: salad, quinoa, sweet potato, kale, walnuts, cranberries, healthy

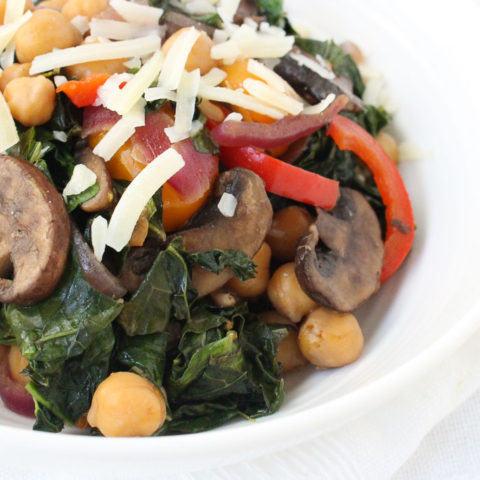
Play around with this salad combination. For a more filling meal add protein, like beans, grilled chicken, shrimp, etc. Switch up the dressing. Add fresh fruit, like pears, apples, or pomegranate seeds too.